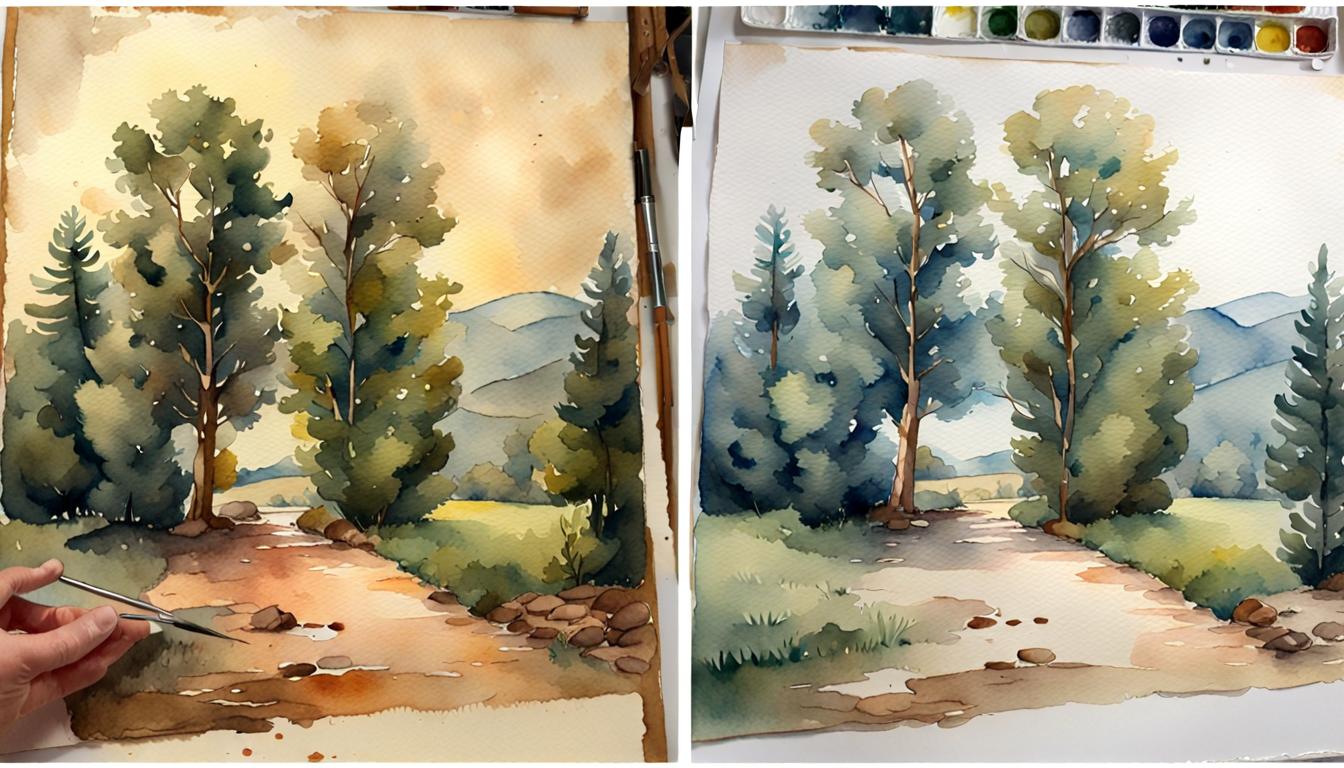
Are you a watercolor enthusiast looking to take your skills to the next level? If so, then you’re in the right place! In the world of watercolor painting, mastering the art of creating realistic water reflections is a skill that can truly elevate your work. Whether you’re painting a serene landscape or a bustling cityscape, understanding how to capture the subtle nuances of water reflections can bring a sense of depth and realism to your artwork.
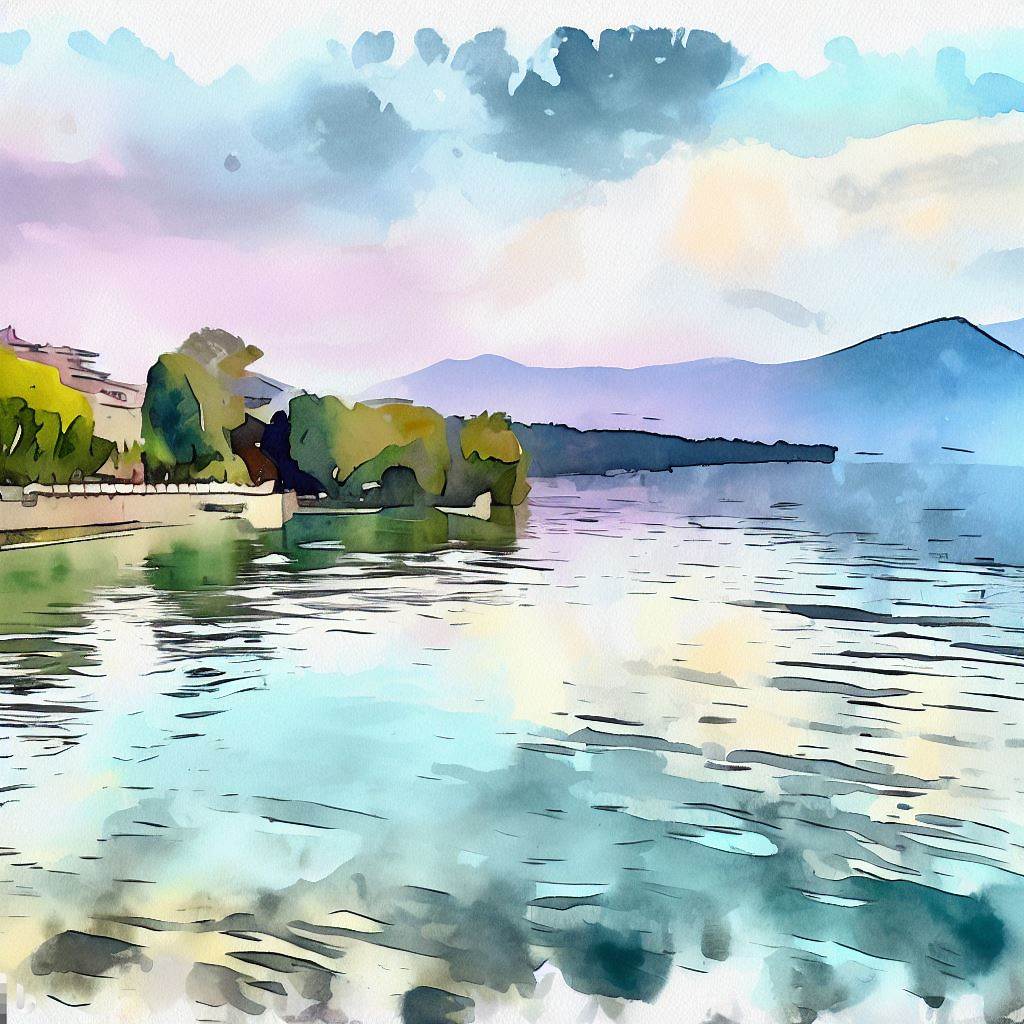
In this guide, we will explore the essential tips and techniques that will help you master the art of water reflections in watercolor. From understanding the physics of light and water to learning how to create convincing ripples and distortions, we will delve into all aspects of this fascinating subject. So, if you’re ready to dive in and unlock the secrets of creating stunning water reflections in watercolor, let’s get started!
Understanding the Beauty of Water Reflections
Water reflections have a mesmerizing quality that can add a touch of magic to any watercolor painting. The way light interacts with water creates a unique visual effect that can capture the imagination of both the artist and the viewer. Understanding the beauty of water reflections starts with observing and appreciating the way light and color play off the surface of the water. By carefully studying the way light reflects and refracts, you can begin to recreate this captivating phenomenon in your watercolor paintings.
To truly appreciate the beauty of water reflections, it’s important to understand the physics behind them. The angle at which light strikes the water’s surface determines the angle at which it is reflected. This angle of reflection is equal to the angle of incidence, as stated by the law of reflection. Additionally, the surface tension of the water and the presence of any disturbances, such as ripples or waves, can affect the way light is reflected and distort the reflections. By studying these principles, you can begin to recreate the complex interplay of light and water in your artwork.
Materials Needed for Watercolor Water Reflections
Before diving into the techniques of creating water reflections, it’s important to have the right materials at hand. Here’s a list of essential supplies you’ll need:

1. Watercolor paints: Choose high-quality watercolor paints that have good lightfastness and a wide range of colors. Opt for a variety of blues, greens, and earth tones to capture the different shades and depths of water.
2. Brushes: Invest in a range of brushes, including round brushes for details and flat brushes for larger areas. Make sure they have a fine point and good water retention capabilities.
3. Watercolor paper: Choose a heavyweight paper that can withstand the wetness of watercolor paints without buckling or warping. Cold-pressed or rough-textured papers work well for creating realistic water reflections.
4. Palette: Use a palette with ample mixing space to blend and create different shades of colors.
5. Water containers: Have two water containers—one for cleaning your brushes and another for mixing colors. This will help you maintain clean colors throughout the painting process.
6. Masking fluid: Consider using masking fluid to preserve areas of white paper that you want to keep free of paint and create highlights in your water reflections.
7. Spray bottle: Keep a spray bottle filled with clean water to create interesting textures and soft edges in your water reflections.
Now that you have your materials ready, let’s move on to preparing your workspace for painting water reflections.
Basic Techniques for Creating Water Reflections
Creating convincing water reflections in watercolor requires mastering a few fundamental techniques. Here are some essential techniques to get you started:
1. Wet-on-wet technique: Wet the area of the paper where you want to create the water reflection. Then, load your brush with a diluted color and gently touch it to the wet area. Allow the paint to flow and blend naturally to create a soft, diffuse reflection.
2. Dry brush technique: Use a dry brush with minimal water and pick up a small amount of paint. Apply the paint in short, controlled strokes to create the texture and details of the water reflection. This technique works well for capturing the ripples and textures of water surfaces.
3. Lifting technique: If you want to create highlights or remove excess paint from your water reflections, use a clean, damp brush or a sponge to lift off the paint. This technique allows you to add depth and luminosity to your reflections.
4. Layering technique: Build up your water reflections gradually by layering transparent washes of color. Start with lighter tones and gradually add darker shades to create depth and dimension. Be patient and allow each layer to dry before adding the next.
By practicing these basic techniques, you will develop a solid foundation for creating realistic water reflections in your watercolor paintings. Once you feel comfortable with these techniques, you can move on to more advanced techniques that will add depth and realism to your water reflections.
Advanced Techniques for Adding Depth and Realism to Water Reflections
To take your water reflections to the next level, it’s essential to master some advanced techniques. These techniques will help you add depth, texture, and realism to your watercolor paintings. Here are a few techniques to consider:
1. Glazing: Use glazes of transparent colors to build up layers of depth in your water reflections. Apply thin washes of color over dry layers, allowing each layer to dry completely before adding the next. This technique creates a luminous effect and enhances the illusion of depth.
2. Scumbling: Scrub or scumble dry or semi-dry paint across the surface of your water reflections to create interesting textures. This technique can be used to capture the play of light on the water surface and add a sense of movement to your reflections.
3. Negative painting: Instead of painting the water reflection directly, paint around the reflection to define its shape. This technique allows you to create a sense of transparency and depth by leaving areas of the paper unpainted.
4. Dry brushing: Use a dry brush with minimal water and a thick consistency of paint to create detailed textures and patterns in your water reflections. This technique works well for capturing the intricate details of stones, rocks, or buildings reflected in the water.
These advanced techniques require practice and experimentation, but they can elevate your water reflections from good to exceptional. Don’t be afraid to push the boundaries and explore new techniques to create unique and captivating watercolor paintings.
Tips for Achieving Different Types of Water Reflections
Water reflections come in various forms, from calm and mirror-like to rippling and distorted. Here are some tips to help you achieve different types of water reflections in your watercolor paintings:
1. Calm water reflections: To create a calm water reflection, aim for a smooth and even surface. Use long, horizontal brushstrokes to mimic the stillness of the water. Keep the colors soft and subdued to capture the tranquility of the scene.
2. Rippling water reflections: For rippling water reflections, introduce gentle brushstrokes or dabs of paint to mimic the movement of water. Vary the intensity and direction of your brushstrokes to create a sense of energy and motion.
3. Distorted water reflections: Distorted water reflections occur when there are disturbances on the water’s surface, such as waves or ripples. Use curved brushstrokes or dabs of paint to create the illusion of distortion. Allow the colors to blend and bleed into each other to capture the ever-changing nature of water reflections.
Experiment with different techniques and observe real-life water reflections to gain a better understanding of how to achieve different effects in your watercolor paintings.br/>
Capturing the Play of Light and Color in Water Reflections
One of the most exciting aspects of painting water reflections is capturing the play of light and color. Light interacts with water in fascinating ways, creating a symphony of colors and reflections. Here are some tips to help you capture this magic in your watercolor paintings:
| Tip | Description |
|---|---|
| Study the colors | Observe the colors present in the scene and use a limited palette to capture the essence of the reflection. Pay attention to the subtle shifts in hue and value caused by the light bouncing off the water surface. |
| Reflective colors | When painting water reflections, remember that the reflected colors are usually slightly duller and cooler than the original colors. Use this knowledge to create a convincing reflection that harmonizes with the rest of the painting. |
| Contrast and highlights | Enhance the contrast between light and shadow in your water reflections to add depth and visual interest. Use lighter values and brighter colors for the highlights and darker values for the shadows. |
| Play with transparency | Water is transparent, so try to capture this quality by using washes of color and allowing the layers to shine through. Build up the transparency gradually by layering multiple washes, and experimenting with different techniques to create interesting textural effects. |
By understanding the interplay of light and color, you can bring your water reflections to life and create a captivating visual experience for the viewer.
Common Mistakes to Avoid When Painting Water Reflections
As with any form of art, there are common mistakes that artists make when painting water reflections. By being aware of these mistakes, you can avoid them and create more convincing and realistic watercolor paintings. Here are some common mistakes to watch out for:
1. Overworking the reflections: It’s easy to get carried away with adding too many details and brushstrokes to your water reflections. Remember that reflections are often softer and less detailed than the objects they reflect. Keep your brushwork loose and suggestive to maintain a sense of realism.
2. Ignoring the physics of light: Understanding the physics of light and water is crucial for creating accurate water reflections. Make sure to consider the angle of incidence, the angle of reflection, and the presence of any disturbances that can affect the reflections.
3. Using unrealistic colors: Avoid using overly vibrant or unrealistic colors in your water reflections. Water reflections tend to be more muted and softer in color compared to the objects they reflect. Use a limited palette and observe real-life water reflections to capture the true essence of the scene.
4. Neglecting the surrounding elements: Water reflections are influenced by the surrounding elements, such as the sky, trees, or buildings. Make sure to consider these elements when painting water reflections to create a cohesive and harmonious composition.
By avoiding these common mistakes, you can create water reflections that are visually compelling and true to life.
Inspiring Examples of Watercolor Paintings with Stunning Water Reflections
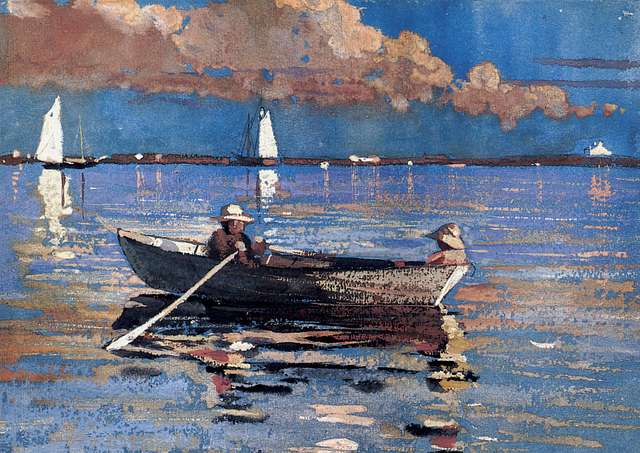
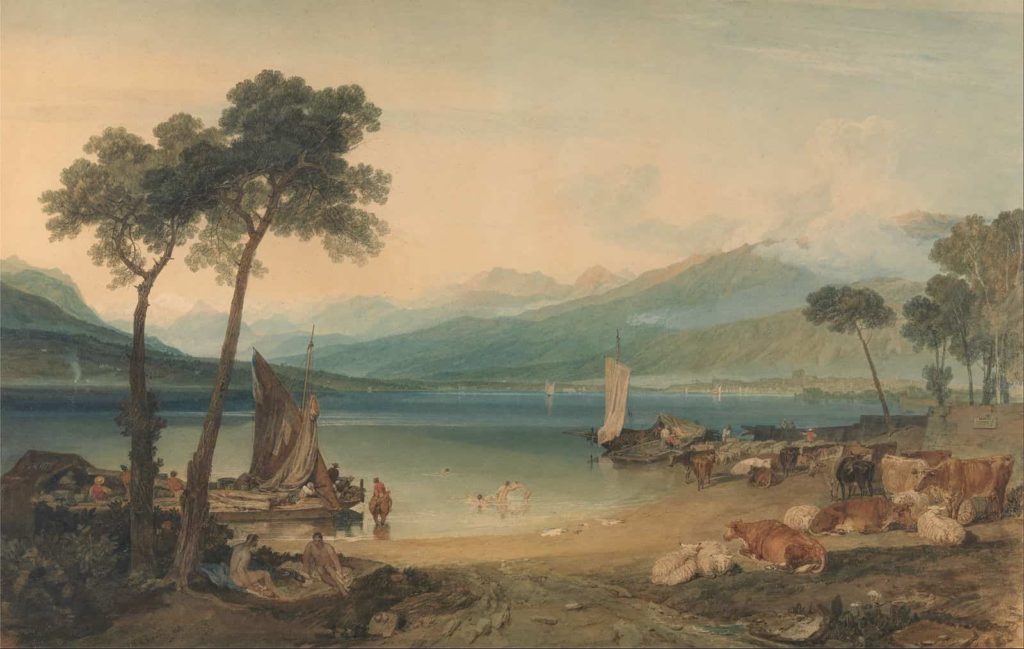
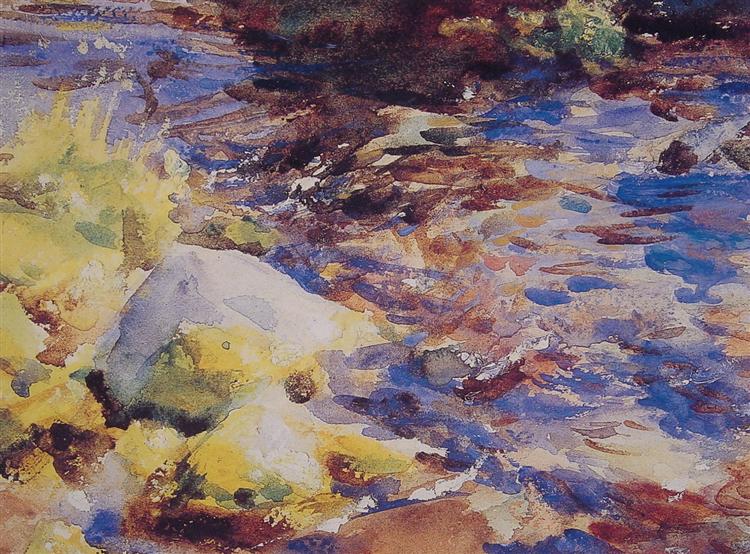
To inspire you on your journey to mastering water reflections in watercolor, here are some famous watercolor masters who have created stunning water reflections in their paintings (Public Domain images)
- J.M.W. Turner: Turner is one of the most famous watercolor artists of all time. In his 1840 painting “Lake Geneva,” Turner uses watercolor and gouache to create a vibrant and detailed scene with glistening reflections in the water.
- Winslow Homer: Homer was a self-taught artist who drew inspiration from real-life scenes. His painting “Gloucester Harbor” is a vibrant watercolor masterpiece that showcases his mastery of light and reflection in the water.
- John Singer Sargent: Sargent is a world-famous artist known for his distinctive portrait paintings. One example of his watercolor paintings featuring water reflections is “Reflections Rocks and Water,” which he painted between 1908 and 1910. This painting showcases his mastery of light and reflection in the water.
These examples demonstrate the endless possibilities and creative potential of water reflections in watercolor. Use them as inspiration and reference points as you continue to develop your own unique style.
Conclusion: Embracing the Magic of Water Reflections in Your Watercolor Paintings
Water reflections in watercolor have a captivating quality that can truly elevate your artwork. By understanding the physics of light and water, mastering essential techniques, and experimenting with advanced techniques, you can create stunning and realistic water reflections. Remember to observe and appreciate the beauty of water reflections in real life, as this will inform and inspire your artistic journey. With practice and dedication, you can unlock the secrets of creating breathtaking water reflections that will leave viewers in awe. So, embrace the magic of water reflections and let your creativity flow in your watercolor paintings!
