Introduction:
Embark on a captivating journey into the world of watercolor glazing, a technique that allows artists to create stunning depth, luminosity, and richness in their paintings. By layering transparent washes of watercolor paint, you can achieve remarkable layered transparency effects that will leave your audience mesmerized. In this blog post, we will explore the fundamentals of watercolor glazing, provide a step-by-step guide, offer valuable tips and tricks, and showcase inspiring examples from renowned watercolor artists.
What is Watercolor Glazing Technique?
Watercolor glazing is a painting method that involves applying multiple layers of transparent watercolor paint on top of each other. Each layer, known as a glaze, allows the underlying colors to shine through, creating a sense of depth and complexity. This technique has been used for centuries and is beloved by watercolor enthusiasts for its ability to capture light and atmosphere.
Materials You’ll Need:
To get started with watercolor glazing, you’ll need the following materials:
- High-quality transparent watercolor paints
- Acid-free, heavyweight watercolor paper
- Soft watercolor brushes
- Palette
- Water container
- Masking tape
- Optional: Other supplies like salt, alcohol, or sponges for unique effects
Step-by-Step Guide to Watercolor Glazing:
- Prepare Your Paper:
Choose the right watercolor paper and stretch it if necessary to prevent buckling. - Choose Your Colors:
Select a harmonious or contrasting color palette for your glazing. - Apply the First Wash:
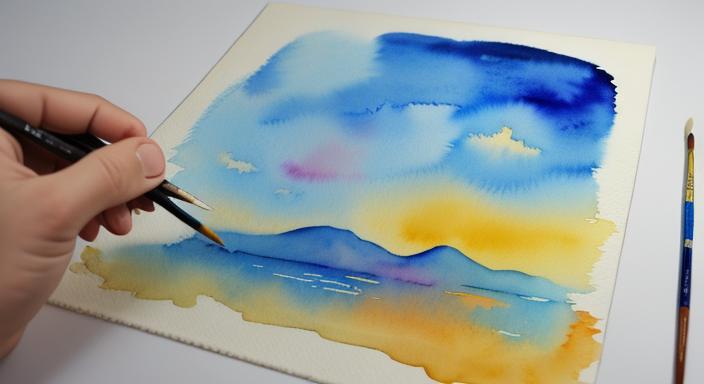
Begin by applying a light, diluted wash of your chosen color to the paper. Allow it to dry completely. - Build Subsequent Layers:
Apply subsequent layers of paint, gradually darkening or changing the colors. Let each layer dry thoroughly to avoid muddying the colors. - Finish with a Final Glaze:
Apply a final glaze to unify the painting and achieve a cohesive look.
Tips and Tricks for Success:
- Control the transparency of your washes by adjusting the water-to-paint ratio.
- Blend the edges of each glaze using a clean, damp brush to create smooth transitions.
- Experiment with different brush techniques, such as dry brushing or lifting off paint, for unique effects.
- Avoid overworking the painting to maintain the delicate nature of glazing.
Common Mistakes to Avoid:
- Overworking the painting can result in muddy colors and loss of translucency.
- Using too much water can cause unwanted bleeding and blurring of colors.
- Not letting the washes dry completely can lead to unintended blending and smudging.
Adding Dimension: Advanced Watercolor Glazing Techniques
Creating Texture
Experiment with different brushstrokes and layering techniques to add texture. This can evoke emotions and enhance the tactile experience of your artwork.
Glazing for Highlights and Shadows
Use glazing to emphasize highlights and shadows, giving your painting a three-dimensional quality. It’s akin to playing with light and shadow on a textured surface.
Inspiring Examples from Renowned Watercolor Artists:
- J.M.W. Turner: Known for his masterful use of glazing to capture atmospheric landscapes.
- John Singer Sargent: His portraits and figure paintings showcase the luminosity achieved through glazing.
- Winslow Homer: His seascapes and coastal scenes demonstrate the power of glazing in conveying light and movement.
Conclusion:
Watercolor glazing is a versatile and rewarding technique that allows artists to express their creativity and explore the boundaries of watercolor painting. By following the steps outlined in this guide, you can unlock the potential of glazing and create captivating artworks that showcase depth, luminosity, and richness. So, pick up your brushes, embrace the magic of transparency, and embark on a journey of artistic exploration with a watercolor glazing technique.


