I. Introduction

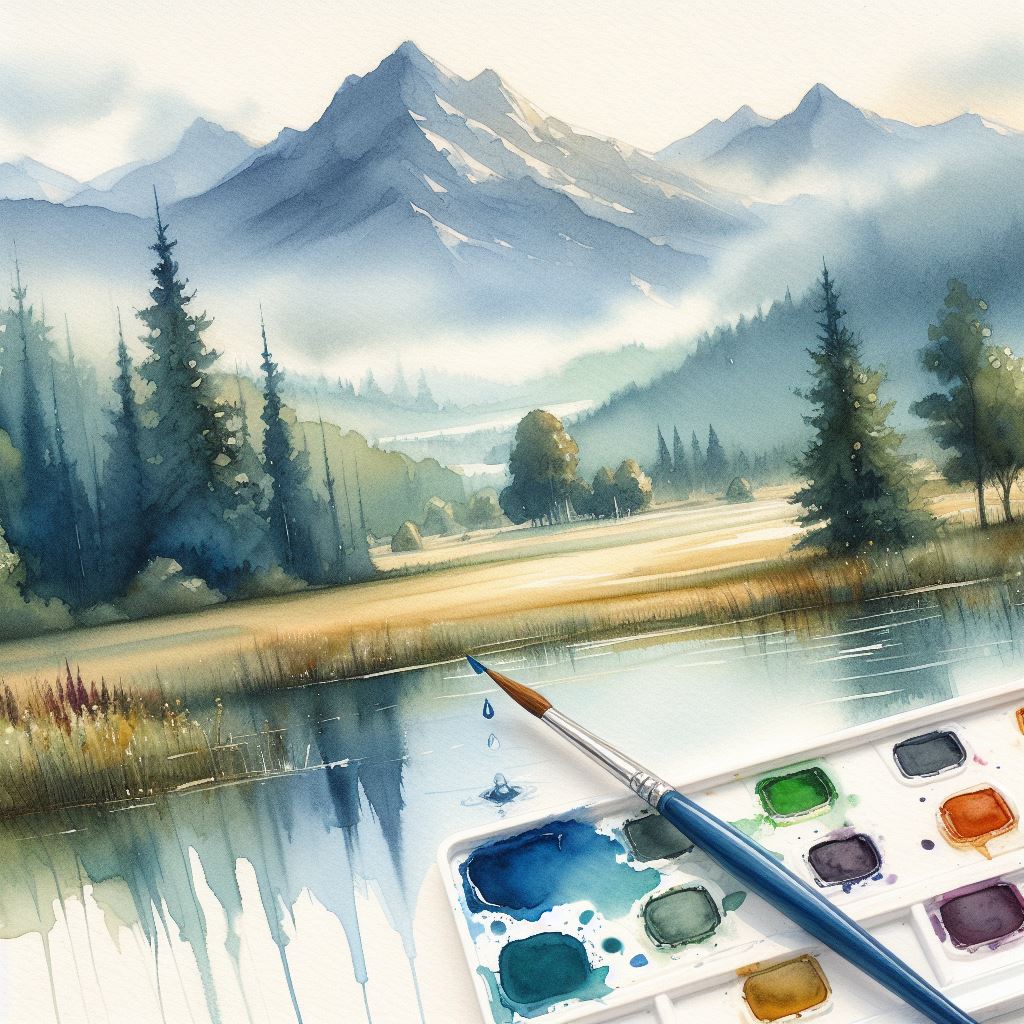
Watercolor washes, a fundamental technique in the world of watercolor painting, possess the power to imbue your artwork with ethereal beauty and create captivating backgrounds. In this comprehensive guide, we will delve into the intricacies of mastering watercolor washes, equipping you with the knowledge and skills to create stunning artistic backdrops that elevate your artwork to new heights.
II. Understanding Watercolor Washes
A. Definition and Purpose
At its core, a watercolor wash is a broad, translucent layer of watercolor paint applied to paper in a single, sweeping motion. Its primary purpose is to establish a seamless and harmonious backdrop, setting the stage for the main subjects of your artwork to shine.
B. Types of Washes
1. Flat Wash
The flat wash is the most fundamental and uniform of all washes, characterized by its consistent color density across the entire surface. It forms the base layer for many watercolor paintings and provides a clean canvas to work upon.
2. Graded Wash
The graded wash transitions smoothly from light to dark, or vice versa, creating a gradual shift in color intensity. It adds depth and dimension to your background, making it an excellent choice for creating atmospheric effects.

3. Variegated Wash
With an enchanting mottled appearance, the variegated wash boasts irregular color distribution, adding an element of unpredictability and organic charm to your background.
4. Wet-on-Wet Wash
The wet-on-wet wash involves applying paint to a wet surface, resulting in soft and diffused edges. This technique is perfect for achieving dreamy, cloud-like backgrounds and subtle gradients.
III. Choosing the Right Paper and Brushes
A. Paper Quality and Texture
The selection of the right watercolor paper is paramount, as it directly impacts the behavior of your washes. Consider factors such as weight, texture, and archival quality to ensure the best results.
B. Brush Types and Sizes
Choosing the appropriate watercolor brushes is essential for executing various wash techniques. From round brushes for broad strokes to flat brushes for even application, understanding their characteristics enhances your artistic repertoire.
C. The Impact of Brush Strokes on Washes
The type of brush stroke you employ can significantly affect the final appearance of your washes. Mastering the control of your brushes allows you to create an array of backgrounds with distinct visual effects.
IV. Preparing Your Workspace
A. Organizing Your Materials
Efficiency is key to a smooth painting process. Organize your watercolors, brushes, water containers, and paper to avoid distractions and ensure a seamless workflow.
B. Setting up a Clean and Well-lit Area
A clean and well-lit workspace not only uplifts your creative spirit but also helps you accurately judge color intensity and ensure clean washes.
V. Preparing Watercolor Paints and Mixing Colors
A. Watercolor Pigments and Their Characteristics
Understanding the nature of watercolor pigments, including staining, granulating, and sedimentary properties, empowers you to make informed color choices.
B. Creating Harmonious Color Combinations
Explore the color wheel to discover complementary, analogous, and triadic color schemes that add harmony and balance to your backgrounds.
C. Tips for Achieving Consistent Color Strength
Consistency in color strength is crucial for achieving uniform washes. Master the art of pigment-to-water ratio to produce vibrant or delicate backgrounds with confidence.
VI. Basic Watercolor Wash Techniques
A. Flat Wash Step-by-Step Guide
- Begin by wetting your brush with clean water and dampening the entire surface area where you want to apply the flat wash.
- Load your brush with a sufficient amount of watercolor paint, ensuring it is evenly distributed.
- Starting at one edge of the dampened area, apply the paint in a smooth, horizontal stroke, moving steadily across the paper.
- Maintain consistent pressure on the brush to ensure an even layer of color.
- Once you reach the other edge, reload your brush if necessary, and repeat the process until the entire area is covered with the flat wash.
- Allow the wash to dry completely before proceeding with additional layers or details.
B. Graded Wash Step-by-Step Guide
- Wet the surface of the paper thoroughly within the area you wish to apply the graded wash.
- Prepare two separate puddles of the same watercolor paint, one with a concentrated pigment and the other with a more diluted hue.
- Starting at one edge of the dampened area, load your brush with the more concentrated color.
- Apply a horizontal stroke to the paper, covering a portion of the area.
- Without rinsing your brush, dip it into the puddle of the more diluted color.
- Place the brush where the first stroke ended, then blend the colors together by making a smooth horizontal stroke across the paper.
- Repeat the process, gradually using more of the diluted color until you achieve the desired gradient effect.
- Allow the wash to dry completely before adding any further layers.
C. Variegated Wash Step-by-Step Guide
- Wet the area of the paper you want to cover with the variegated wash.
- Prepare multiple puddles of watercolor paint in various concentrations and hues.
- Randomly apply each color to the dampened area, using quick and spontaneous brush strokes.
- Allow the colors to blend and interact with each other, creating unique and unpredictable patterns.
- Tilt the paper in different directions to encourage further blending and dispersion of the colors.
- If desired, use a clean, damp brush to soften harsh edges and create a smoother transition between colors.
- Let the variegated wash dry completely before proceeding with additional layers or details.
D. Wet-on-Wet Wash Step-by-Step Guide
- Wet the entire surface of the paper with clean water, ensuring it is evenly saturated.
- Load your brush with watercolor paint and apply it to the wet surface with swift and fluid strokes.
- Observe as the paint spreads and diffuses on the wet paper, creating soft edges and subtle transitions.
- Experiment with different paint colors and brush strokes to achieve various effects, such as blending, marbling, or blossoming.
- Tilt the paper or add more water to guide the direction of the pigment flow.
- Allow the wet-on-wet wash to dry naturally, embracing the spontaneous and organic results.
VII. Layering and Blending Washes
A. Understanding Translucency and Opacity
The transparency of watercolor paint allows you to layer multiple washes to achieve various visual effects. Understanding the translucency of each layer is essential for creating depth and complexity in your backgrounds.
B. Techniques for Layering Washes
Layering washes requires patience and control. Work from light to dark, allowing each layer to dry before adding the next to avoid muddiness.
C. Blending Colors for Smooth Transitions
Blending washes together enables seamless color transitions. Use a clean, damp brush to gently blend the edges of adjacent washes, creating harmonious connections between colors.
VIII. Special Effects with Watercolor Washes
A. Salt Texture Technique
- While the watercolor wash is still wet, sprinkle a pinch of coarse salt onto the surface.
- Let the salt sit on the wash until it dries completely.
- Once dry, gently brush off the salt, revealing a beautiful textured pattern created by the salt’s interaction with the paint.
B. Alcohol Spritz Technique
- Prepare a small spray bottle filled with rubbing alcohol.
- Apply a watercolor wash to your paper and let it sit for a moment.
- Lightly spritz the surface with the rubbing alcohol, causing the paint to react and create unique textures and patterns.
- Allow the alcohol to evaporate and the wash to dry completely before adding additional layers.
C. Wax Resist Technique
- Using a white wax crayon or candle, draw patterns or shapes on your paper before applying the watercolor wash.
- The wax will create a resist, preventing the paint from adhering to the areas covered in wax.
- After applying the wash, you will notice the paint avoids the waxed areas, resulting in intriguing white patterns against the colored background.
IX. Creating Textured Backgrounds
A. Using Different Brush Techniques
Experiment with various brush techniques to add texture to your backgrounds. Techniques such as stippling, dry brushing, and splattering can create fascinating visual effects.
B. Incorporating Textured Materials
Explore the use of textured materials like sponges, tissue paper, or even salt to add interesting textures to your washes.
C. Incorporating Granulating Watercolors
Granulating watercolors contain larger pigments that settle into the paper’s texture, producing unique granulated patterns. Experiment with these paints to add a distinctive touch to your backgrounds.
X. Avoiding Common Mistakes with Watercolor Washes
A. Overworking Washes
Avoid excessive brushwork on wet washes, as it can disturb the paint and lead to muddy results. Let the washes dry naturally to maintain their purity and transparency.
B. Incorrect Water-to-Paint Ratio
Balancing the right amount of water and pigment is crucial for achieving vibrant yet transparent washes. Practice and observation will help you develop an instinct for the perfect ratio.
C. Not Allowing Layers to Dry Properly
Patience is essential when layering washes. Rushing to add additional layers before the previous ones dry can lead to unintentional mixing and loss of clarity.
XI. Combining Washes with Other Watercolor Techniques
A. Adding Details with Pen and Ink
Combine watercolor washes with pen and ink to add intricate details and definitions to your backgrounds. The contrast between the soft washes and sharp lines can create visually striking effects.
B. Incorporating Splatter Effects
Use splatter techniques with watercolor paint to add dynamic and spontaneous elements to your backgrounds. Splatters can evoke a sense of energy and movement in your artwork.
C. Creating Depth with Dry Brush Technique
The dry brush technique involves using a partially dry brush to apply watercolor paint, creating a textured appearance on the paper. Employ this method to add depth and dimension to your wash backgrounds.
XII. Inspirational Ideas for Watercolor Wash Backgrounds
A. Landscapes and Skies
Watercolor washes are perfect for painting serene landscapes and captivating skies. Experiment with different wash techniques to create breathtaking sunsets, misty mountains, and dreamy clouds that set the mood for your artwork.

B. Abstract and Geometric Designs
Unleash your creativity by using watercolor washes to form abstract patterns and geometric shapes. The fluidity of the washes combined with precise brushwork can result in mesmerizing and visually engaging backgrounds.
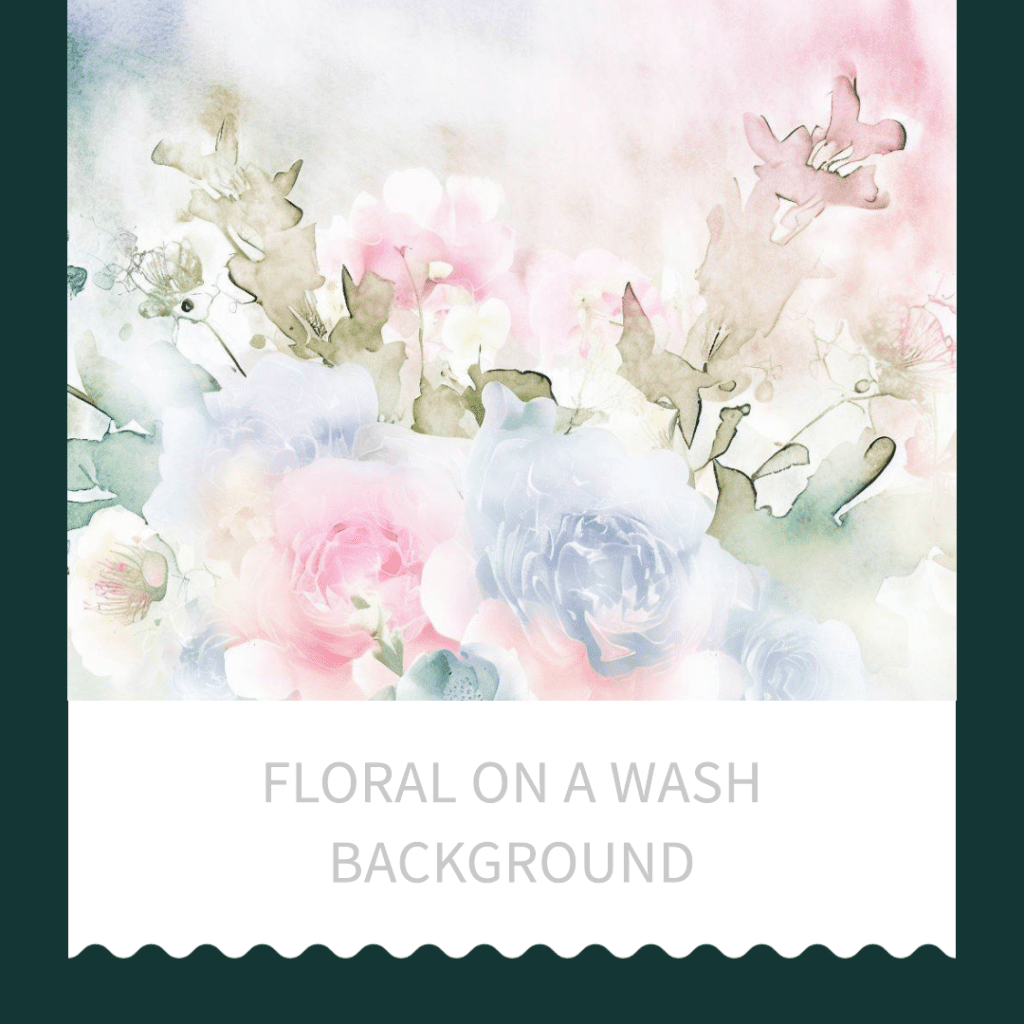
C. Floral and Botanical Themes
Watercolor washes lend themselves beautifully to painting delicate floral arrangements and botanical illustrations. Let the washes form the backdrop for your blossoms, leaves, and intricate details, making your artwork truly captivating.
XIII. Framing and Displaying Watercolor Wash Artwork
A. Selecting the Right Frame and Mat
Choose frames and mats that complement your watercolor wash artwork. Consider the colors and style of your background and select framing options that enhance the overall presentation.
B. Properly Mounting the Artwork
Ensure your artwork is securely mounted and framed to protect it from damage and maintain its integrity over time. Acid-free materials are recommended to prevent deterioration.
XIV. Caring for Watercolor Wash Artwork
A. Protecting from UV Light and Moisture
Display your watercolor wash artwork away from direct sunlight to prevent fading. Additionally, avoid hanging it in damp or humid areas to prevent mold and water damage.
B. Cleaning and Maintaining Watercolor Paints
Regularly clean your watercolor brushes and palettes to maintain the vibrancy and purity of your paint colors. Proper care of your materials ensures consistent results and longevity.
XV. Conclusion
In conclusion, watercolor washes are an indispensable tool in the artist’s repertoire, enabling the creation of beautiful and captivating backgrounds. By mastering the various wash techniques, understanding color theory, and exploring creative possibilities, you can elevate your artwork to new heights.
Allow the unpredictability and organic charm of watercolor washes to inspire your creativity, leading you to discover new techniques and textures. Embrace the imperfections and spontaneity that come with watercolor, as they add a unique charm and personality to your backgrounds.
Remember, practice is key to becoming proficient in watercolor wash techniques. As you experiment and explore, you’ll gain confidence in your abilities, ultimately producing breathtaking artwork that showcases the mesmerizing beauty of watercolor wash backgrounds. So, pick up your brushes, dive into the world of watercolors, and let your imagination flow freely on the canvas of your choice.
Happy painting!
