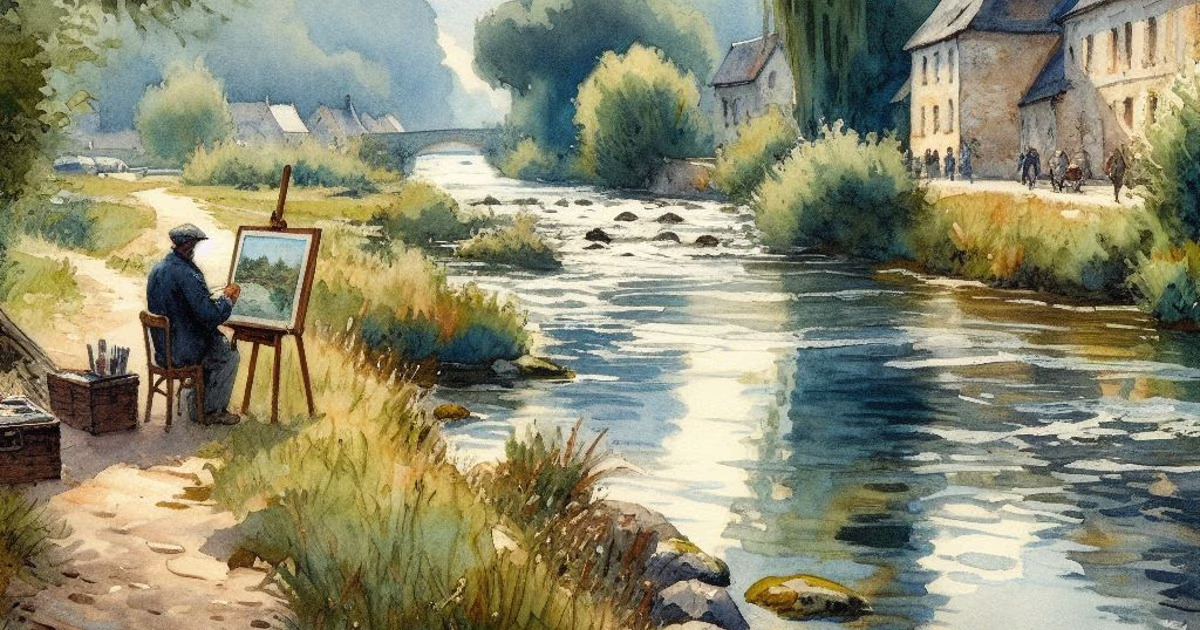
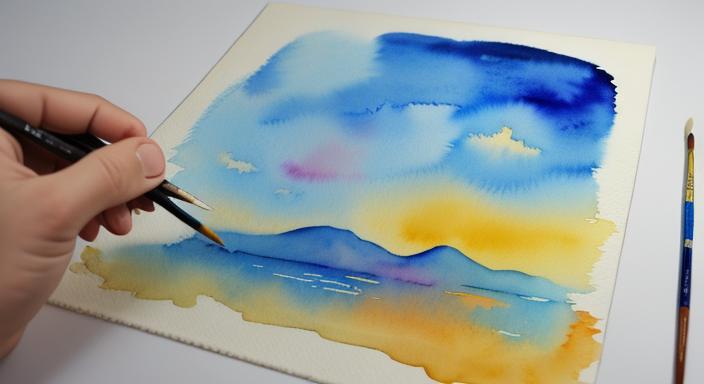
Introduction to How to Lift and Mask Watercolors: Are you ready to unleash your creativity and take your watercolor paintings to the next level? Unlocking the magic of lifting and masking techniques can transform your artwork, adding depth, dimension, and a touch of enchantment. In this guide, we will delve into the secrets of the pros, revealing the tried and true methods that will elevate your watercolor game.
Whether you’re a beginner or a seasoned artist, mastering the art of lifting and masking can open up a whole new world of possibilities for your paintings. Join us as we explore the different tools and techniques that will allow you to effortlessly remove and restore color, create stunning highlights, and add mesmerizing details to your watercolor masterpieces.
Get ready to unlock the magic and watch as your paintings come to life in ways you never thought possible. Let’s dive in and discover the secrets of lifting and masking watercolors like a pro!
Understanding the Different Techniques for Lifting and Masking
Watercolor painting is known for its transparent and delicate nature. However, there are times when you might want to remove or adjust certain areas of color in your painting. This is where the techniques of lifting and masking come into play. Lifting involves removing color from the paper, while masking allows you to protect specific areas from paint application.
Lifting techniques can be used to create highlights, correct mistakes, or add texture to your watercolor paintings. There are several methods for lifting, including blotting, scrubbing, and lifting with a brush. Each technique produces a different effect and requires a specific approach.
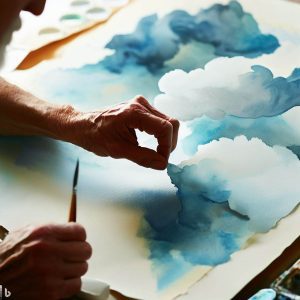
On the other hand, masking involves using a masking fluid or tape to cover areas of the paper that you want to preserve. This allows you to paint freely without worrying about ruining those areas. Once the paint is dry, you can simply remove the masking fluid or tape to reveal the untouched sections of your painting.
Understanding these techniques and when to use them will give you more control over your watercolor paintings and help you achieve the desired effects. In the following sections, we will explore the tools and materials needed for lifting and masking, as well as provide step-by-step guides for each technique.
Tools and materials needed for lifting and masking
Before you begin lifting and masking your watercolor paintings, it’s important to gather the necessary tools and materials. Having the right equipment will make the process smoother and more enjoyable. Here are some of the essential items you will need:
1. Watercolor brushes: Different brushes have different characteristics and are suitable for specific techniques. For lifting, you’ll need a stiff brush with short bristles that can scrub the paint off the paper effectively. For masking, a fine synthetic brush or a specialized masking fluid applicator will work well.
2. Masking fluid: This is a liquid rubber compound that dries into a protective layer. It can be applied with a brush or a specialized applicator. Make sure to choose a masking fluid that is easy to remove and doesn’t damage the paper.
3. Masking tape: If you prefer not to use masking fluid, masking tape is a great alternative. It is easy to apply and remove, and it provides clean edges when lifted.
4. Watercolor paper: Investing in good quality watercolor paper is essential for successful lifting and masking. Look for paper that is thick and has a rough or cold-pressed texture, as it will hold up better to scrubbing and lifting.
5. Palette: A palette is necessary for mixing and diluting your watercolor paints. Choose a palette with wells that are large enough to accommodate your brushes and allow for easy mixing.
6. Water containers: You’ll need containers for clean water and for rinsing your brushes. Make sure to have at least two containers to prevent cross-contamination of colors.
Having these tools and materials ready will ensure that you can work efficiently and achieve the best results with your lifting and masking techniques. Now, let’s dive into the step-by-step guides for lifting and masking watercolors!
Step-by-step guide on lifting watercolors
1. Wet the area you want to lift: Before you begin lifting, moisten the area of your watercolor painting that you want to remove or adjust. Use a clean brush or a spray bottle to evenly wet the area. This will make the lifting process easier and prevent any harsh lines or edges.
2. Blot the paint: Take a clean paper towel or a piece of tissue and gently press it onto the moistened area. The paper towel will absorb the paint, lifting it off the paper. Be careful not to rub too harshly, as this can damage the paper.
3. Scrub the paint: If blotting alone is not enough to remove the desired amount of paint, you can use a stiff brush to scrub the area. Wet the brush and use it to gently scrub the paint in a circular motion. This will help lift more paint and create interesting textures.
4. Repeat if necessary: If the paint is not lifting as much as you’d like, repeat the process of wetting, blotting, and scrubbing until you achieve the desired effect. Take breaks between each round of lifting to allow the paper to dry and prevent overworking the area.
5. Clean and dry the brush: After each round of lifting, make sure to clean and dry your brush before moving on to the next area. This will prevent any unwanted color mixing and ensure clean results.
Lifting watercolors can be a delicate process, but with practice and patience, you’ll be able to master this technique and achieve stunning results. Now, let’s move on to the step-by-step guide on masking watercolors.
Step-by-step guide on masking watercolors
1. Prepare your paper: Before applying the masking fluid or tape, make sure your watercolor paper is completely dry. Any moisture on the paper can cause the masking fluid to seep into the fibers, making it difficult to remove later.
2. Apply the masking fluid: Using a fine brush or a specialized applicator, carefully apply the masking fluid to the areas you want to protect. Make sure the fluid covers the entire area and extends slightly beyond the edges to ensure clean lines when the masking is removed.
3. Let the masking fluid dry: Allow the masking fluid to dry completely before applying any paint. This usually takes a few minutes, but it may vary depending on the brand and thickness of the fluid.
4. Paint your watercolor: Once the masking fluid is dry, you can freely paint over it without worrying about ruining the masked areas. Explore different techniques and colors to create stunning effects in your painting.
5. Remove the masking: After the paint is completely dry, gently rub the masking fluid with your finger or use an eraser to remove it. Take your time and be careful not to damage the paper. If you used masking tape, simply peel it off from the paper.
By following these step-by-step guides, you’ll be able to lift and mask watercolors with confidence and achieve professional-looking results. However, there are some common mistakes to avoid when using these techniques. Let’s take a look at them in the next section.
Common mistakes to avoid when lifting and masking watercolors
1. Overworking the paper: One of the biggest mistakes artists make when lifting and scrubbing watercolors is overworking the paper. Scrubbing too vigorously or for too long can cause the paper to become damaged or even tear. Take breaks between each round of lifting, allowing the paper to dry and regain its strength.
2. Using poor-quality masking fluid: Not all masking fluids are created equal. Using a low-quality masking fluid can make it difficult to remove, leaving a residue on the paper or causing the paper to tear when removing the masking. Invest in a good quality masking fluid that is easy to apply and remove.
3. Applying too much masking fluid: It’s important to apply the masking fluid sparingly and evenly. Applying too much can create thick edges or cause the masking to seep into the paper fibers, making it difficult to remove later. Start with a thin layer and add more if needed.
4. Rushing the drying process: Waiting for the masking fluid or paint to dry is crucial for successful lifting and masking. Rushing the drying process can cause smudging or unwanted mixing of colors. Be patient and wait for each layer to dry completely before moving on to the next step.
Avoiding these common mistakes will help you achieve the best results with your lifting and masking techniques. However, there are also some tips and tricks that can take your watercolor paintings to the next level. Let’s explore them in the next section.
Tips and tricks for achieving professional results
1. Experiment with different lifting techniques: Don’t limit yourself to just one lifting technique. Explore different methods, such as blotting, scrubbing, and lifting with a brush, to create interesting textures and effects in your paintings.
2. Use a palette knife for lifting: For larger areas or when you want to create more dramatic effects, try using a palette knife instead of a brush. The flat edge of the palette knife allows for more control and precision when lifting.
3. Combine lifting and masking techniques: Lifting and masking can be used together to create intricate details and highlights in your watercolor paintings. Experiment with masking certain areas and then lifting the surrounding paint to create a sense of depth and dimension.
4. Practice on scrap paper: Before applying lifting or masking techniques to your actual paintings, practice on scrap paper to familiarize yourself with the process and perfect your technique. This will give you more confidence when working on your final piece.
5. Observe and learn from other artists: Study the works of other watercolor artists who excel at lifting and masking. Analyze their techniques, color choices, and brushwork to gain inspiration and incorporate their methods into your own practice.
By implementing these tips and tricks into your watercolor paintings, you’ll be able to achieve professional results and take your artwork to new heights. Now, let’s explore some advanced techniques for lifting and masking watercolors.
Exploring advanced techniques for lifting and masking watercolors
1. Salt technique: Sprinkling salt onto wet watercolor paint creates a unique texture and pattern. Once the paint is dry, you can lift the salt off the paper to reveal the underlying colors and create interesting effects.
2. Alcohol technique: Using rubbing alcohol or a blending solution, you can create stunning textures and patterns in your watercolor paintings. Apply the alcohol to wet or dry paint and watch as it lifts and spreads the pigment, creating beautiful and unexpected results.
3. Stamping technique: Use rubber stamps or found objects, such as leaves or flowers, to create interesting shapes and textures in your watercolor paintings. Apply paint over the objects and then lift them off the paper to reveal the negative space.
4. Masking with frisket film: Frisket film is a transparent adhesive film that can be cut into any shape or design. Apply the frisket film to your watercolor paper, paint over it, and then lift it off to reveal the masked areas. This technique allows for precise control and intricate details.
These advanced techniques require experimentation and practice to master, but they can add a whole new level of creativity and depth to your watercolor paintings. Now, let’s take a moment to draw inspiration from artists who have used lifting and masking techniques in their artwork.
Inspiration and examples of artwork using lifting and masking techniques
Examples of watercolor painting by artists using lifting and masking techniques:
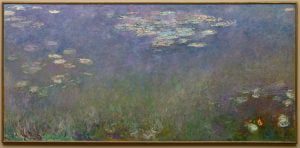
- Claude Monet (1840-1926) was a French Impressionist painter who is known for his use of light and color. He often used lifting and masking techniques to create delicate effects in his paintings. For example, in his painting “Water Lilies” (1919), he used lifting to create the soft, hazy effect of the water lilies.
- John Singer Sargent (1856-1925) was an American artist who is known for his portraits and figure paintings. He often used masking techniques to create sharp, detailed edges in his paintings. For example, in his painting “The Daughters of Edward Darley Boit” (1882), he used masking to create precise outlines of the girls’ faces and clothing.
- Winslow Homer (1836-1910) was an American artist who is known for his marine paintings. He often used lifting and masking techniques to create dramatic effects in his paintings. For example, in his painting “The Gulf Stream” (1899), he used lifting to create the sense of the waves crashing against the boat.

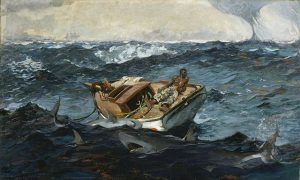
These are just a few examples of watercolor paintings by artists using lifting and masking techniques. These techniques can be used to create a variety of effects, from delicate and subtle to dramatic and bold.
Conclusion: Embrace the magic of lifting and masking watercolors
Congratulations! You have now unlocked the secrets of lifting and masking watercolors like a pro. By understanding the different techniques, gathering the necessary tools and materials, and following the step-by-step guides provided, you’ll be able to effortlessly remove and restore color, create stunning highlights, and add mesmerizing details to your watercolor masterpieces. Remember to avoid common mistakes, implement tips and tricks, and explore advanced techniques to take your artwork to the next level. Embrace the magic of lifting and masking watercolors and watch as your paintings come to life in ways you never thought possible. Happy painting!
