
Have you ever struggled to capture the glow of warm sunlight on skin? Or the subtle blush of a cheek? Watercolor skin tones are both rewarding and challenging, but don’t worry! This guide will unlock the techniques, color mixing, and practice tips to help your watercolor portraits truly shine.
Listen to our Podcast on Skin Tones
In this comprehensive guide, we will cover everything you need to know about painting watercolor skin tones, from the materials you need to the techniques you can use. We will also provide practice exercises and tips to help you improve your skills.
Materials
Paints
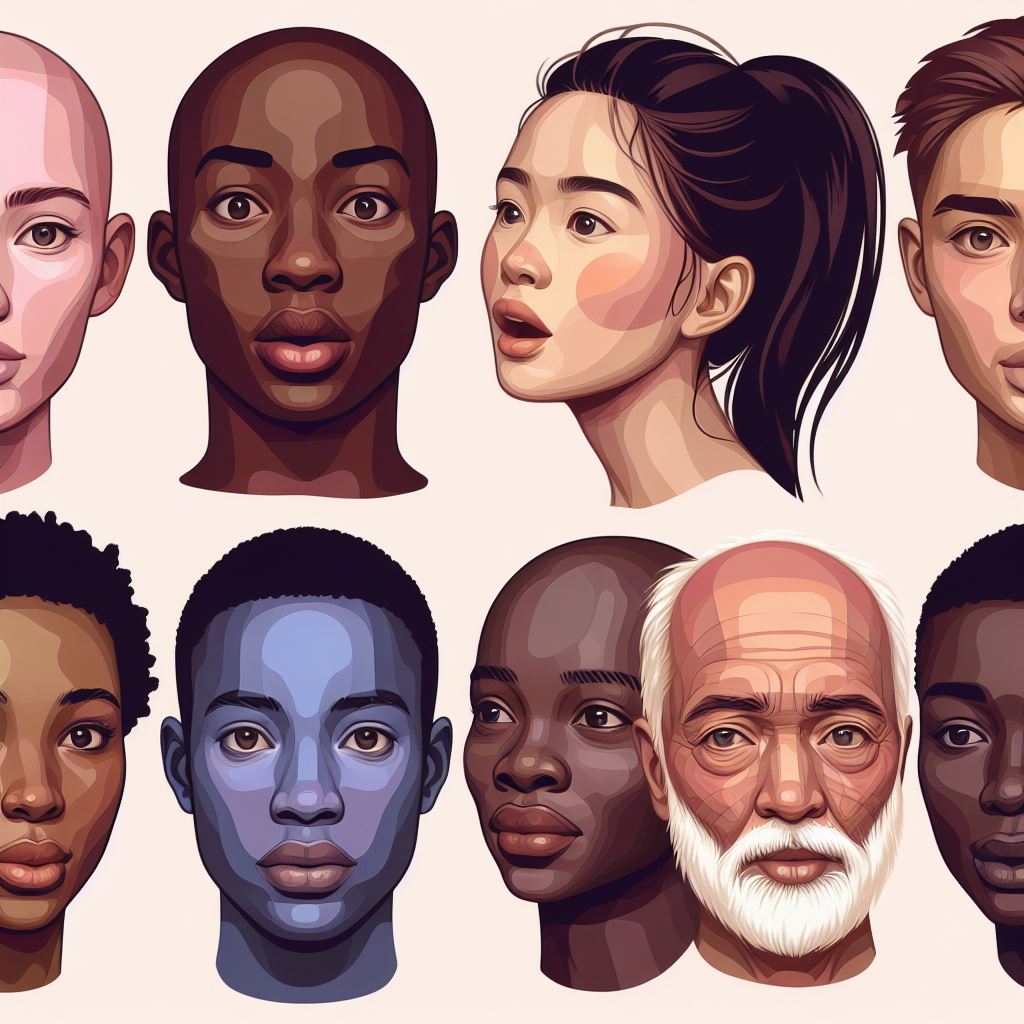
The first step to painting watercolor skin tones is to choose the right paints. You will need a range of flesh tones, from light to dark. You can also add a touch of red or yellow to your flesh tones to create warmer or cooler skin tones. Understanding color theory basics will greatly help in this process.
Brushes
You will need a variety of brushes for painting watercolor skin tones. A small, round brush is good for detail work, while a larger, flat brush is good for laying down washes of color. Learn more about mastering brush stroke techniques to enhance your skills.
Paper
The type of paper you use will also affect the way your watercolor skin tones look. A smooth, cold-pressed paper will give you a more even finish, while a rough, hot-pressed paper will give you a more textured finish. For more on choosing the right surface, check out our guide on choosing the right canvas for your art.
Skin Tone Techniques
Painting skin is not the easiest of genres to master. There are several different techniques you can use to paint watercolor skin tones. Some of the most common techniques include:
Layering
Layering is a technique where you apply multiple layers of paint to build up the color and create depth. When layering, it is important to let each layer dry completely before applying the next.
Glazing
Glazing is a technique where you apply thin, transparent layers of paint over each other. This can create a very smooth, even finish. Learn more about glazing in our beginner’s guide to watercolors.
Wet-on-wet
Wet-on-wet is a technique where you apply paint to wet paper. This can create a soft, blended look. Master this technique with our video tutorial on essential watercolor techniques.
Dry brush
Dry brush is a technique where you apply paint to dry paper with a dry brush. This can create a textured, aged look. Explore more about this in our guide on mastering brush stroke painting.
How to Mix Watercolor Skin Tones

Mixing watercolor skin tones can be a challenge, but by following these steps, you can create realistic and beautiful skin tones:
- Start with a base color: Choose a color that is close to the skin tone of your subject.
- Add warm and cool colors: Use warm colors for highlights and cool colors for shadows.
- Adjust the value: Add white to lighten or black to darken the skin tone.
- Experiment: Try different color combinations to find what works best.
For a deeper dive into color mixing, check out our guide on color mixing for artists.
Practice Exercises
To improve your skills, try these practice exercises:
- Painting simple skin tones: Start with a single cheek or hand.
- Painting complex skin tones: Move on to full faces or figures.
- Painting skin tones in different lighting: Practice with various lighting conditions.
For inspiration, explore our showcase gallery to see how other artists approach skin tones.
Tips and Tricks
- Avoid using too much water to prevent muddy colors.
- Let each layer dry completely before applying the next.
- Use a variety of brushstrokes for different effects.
- Don’t be afraid to make mistakes and experiment.
For more advanced techniques, check out our article on mastering the blending painting technique.
Conclusion
Watercolor skin tones are a beautiful and challenging subject to paint. By following the tips and techniques in this guide, you can improve your skills and create realistic, expressive skin tones. Remember, practice makes perfect, so keep exploring and refining your technique.
For more inspiration and techniques, browse our painting articles or consider subscribing to our newsletter for regular tips and updates.

