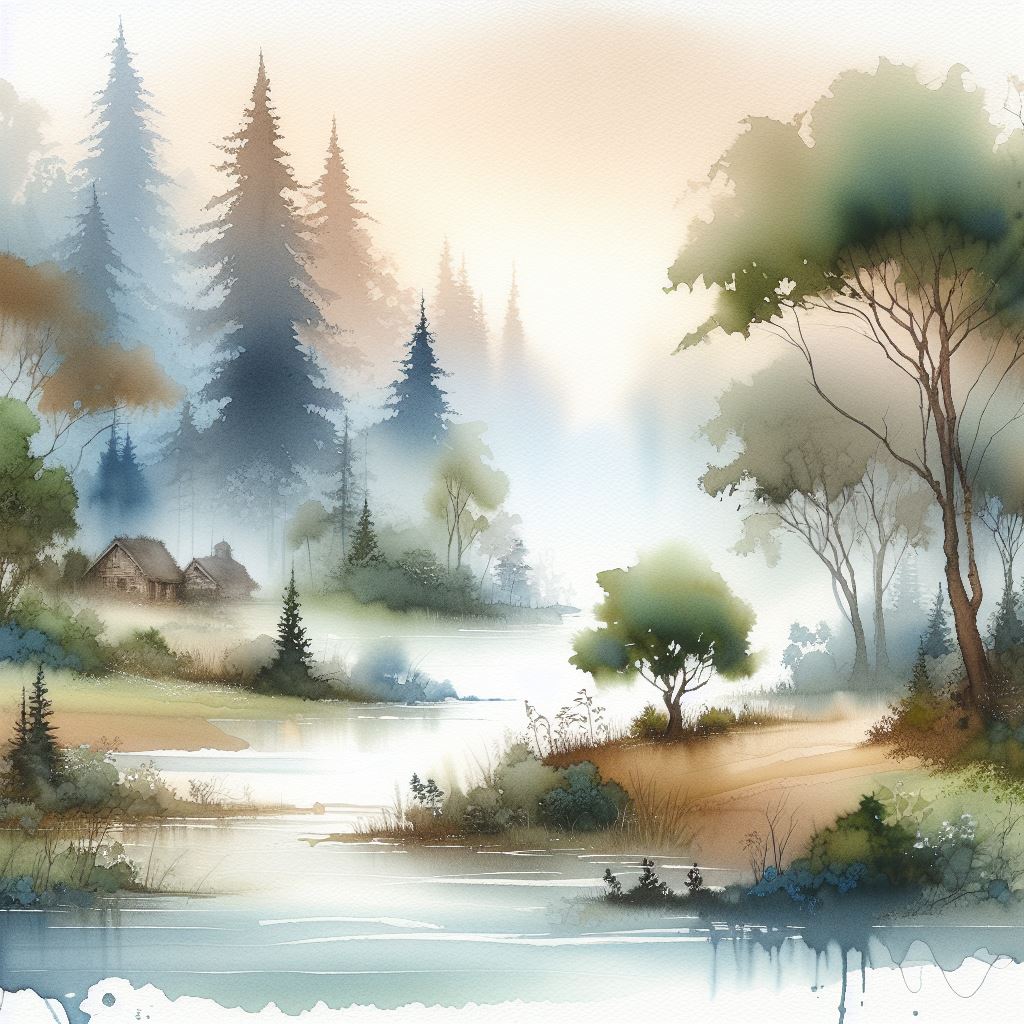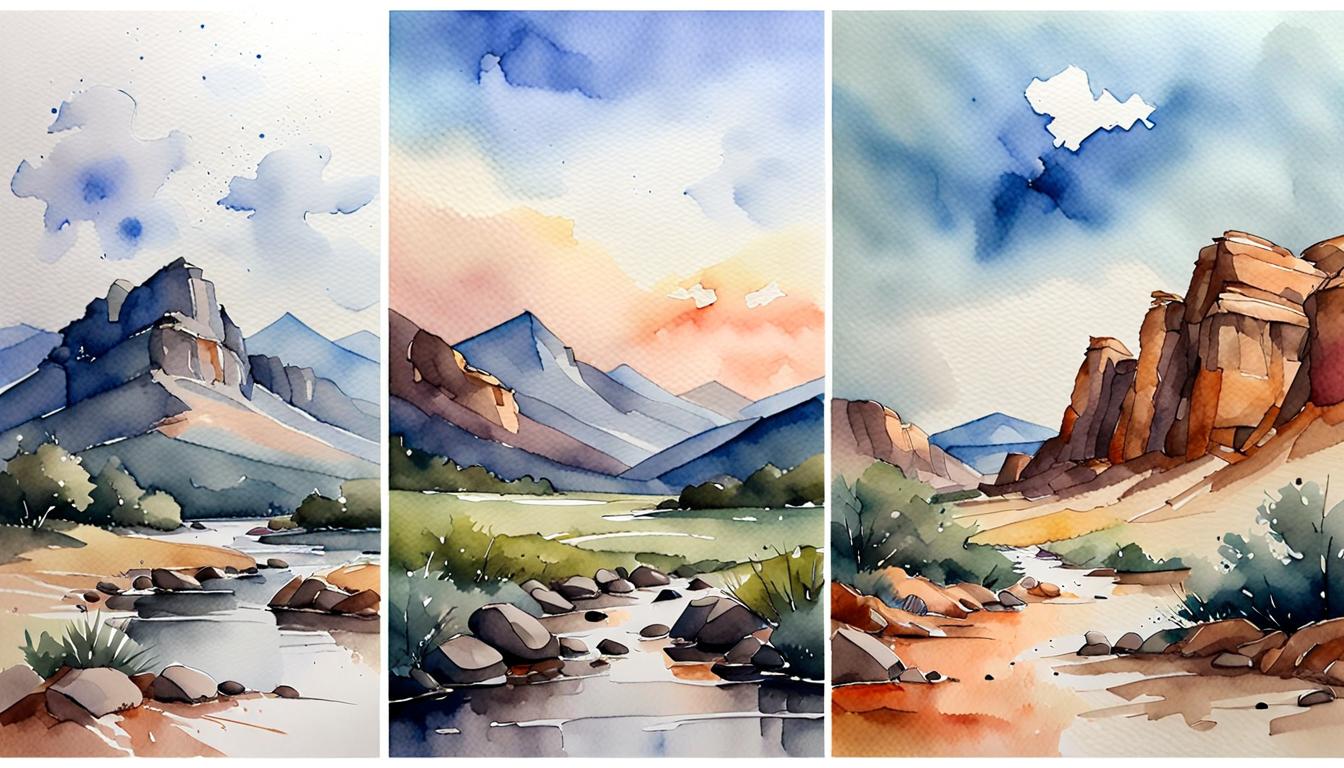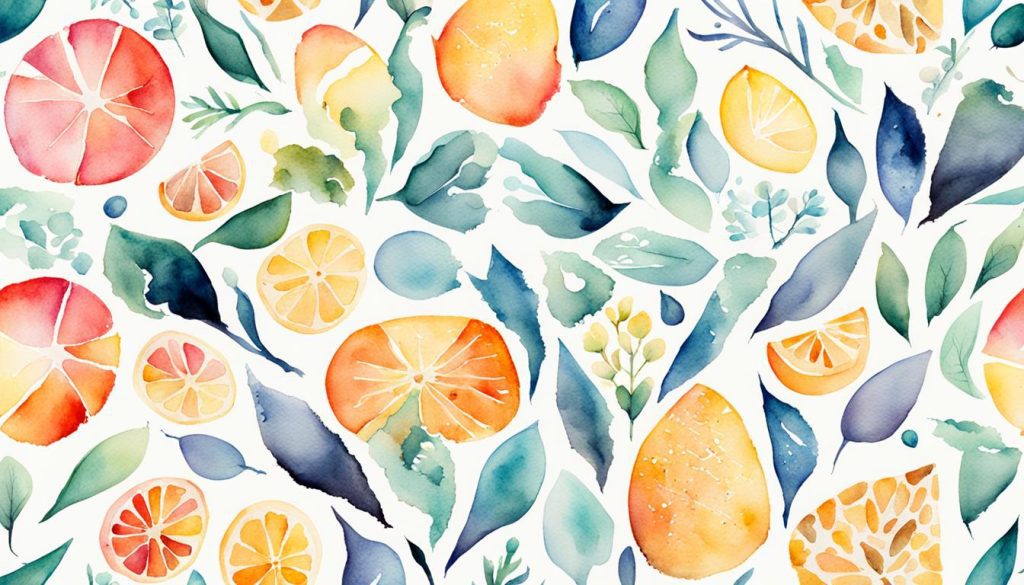
Watercolor’s fluid nature lends beautifully to creating captivating visual textures and repeats. Yet many artists find these techniques intimidating. Have no fear! Whether a beginner or a seasoned pro, integrating textures and patterns allows for imbuing works with striking depth and vibrancy. By exploring various methods, you’ll soon skillfully wield watercolor’s textures to dramatic effect.
We’ll cover the essentials for harnessing watercolor’s textural potential through an array of techniques. You’ll discover how to:
- Produce eye-catching textures like salt crusts, sgraffito scrapes and splattered drops
- Build rhythmic intrigue through gradients, lifts and stamps
- Combine approaches for truly unique results
So let your creativity surge as we dive into watercolor textures and patterns that dazzle!
Key Steps for Getting Started
Quality tools and fundamental practices set the stage for textural success.
Gather the Essentials
Begin gathering painterly must-haves like trusted brushes, pigments, dishes for water, a palette for mixing, and heavy cold-pressed paper. Having the right watercolor brushes makes finer detailing easier.
Understand Basic Techniques
Additionally, familiarize yourself with core watercolor skills like wet-on-wet blending, glazing transparent layers, charging areas with clean water, and dry brushing. These form the foundation for most texturing methods. Refer to tutorials on basic watercolor techniques to better understand these core skills before advancing.
Once fundamental materials and familiarity with aqua media handling are gained, exciting possibilities unfold!
Sparking Textural Interest
Applying colors thickly and then intentionally disturbing areas during drying creates uneven, eye-catching surfaces. Here’s how to try essential techniques:
Salt Crystals
Flakes absorb moisture, leaving organic granular imprints resembling craters on the moon! Try salt texturing early on to see swift success spurring further experimentation.
Tissue Blotting
Simply press down firmly with tissue to lift wet pigment. Remaining sporadic shapes and edges intrigue. Make sure not to overwork one area while blotting through so some original wash remains.
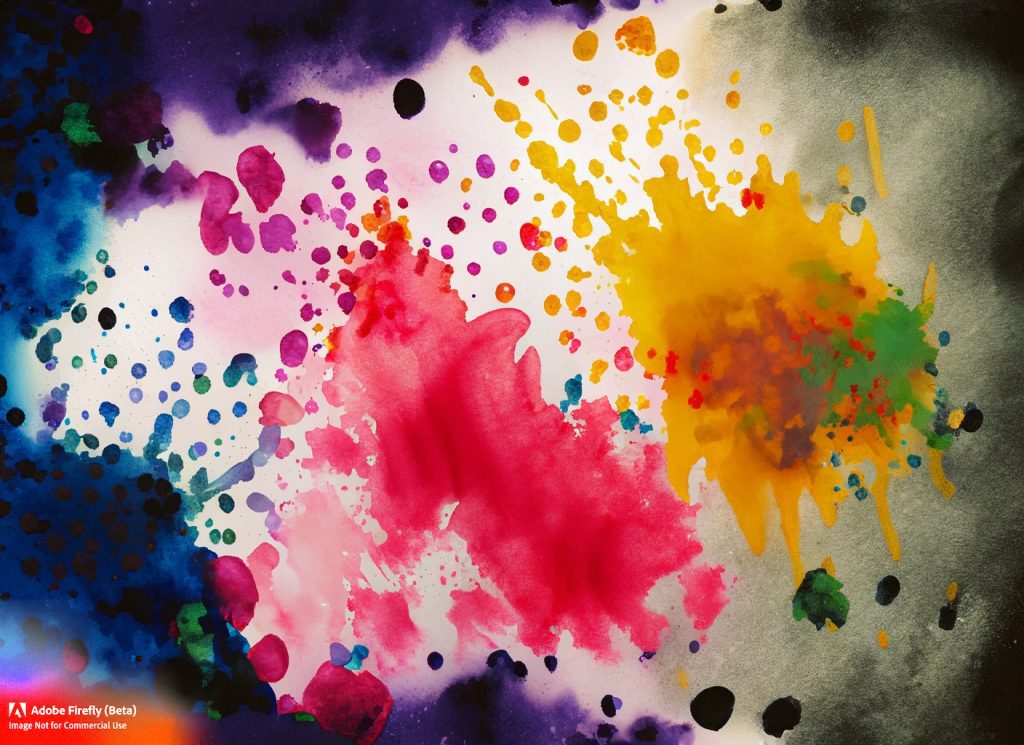
Splattering
Flicking brush bristles skillfully infuse movement with speckled accents. Adjust consistency to control spray radius. Position paper at an angle and work over the trash bin to control excess splatter. See how Jackson Pollock perfected action painting splatter techniques with oils.
Dry Brush Scraping
Dab brush in barely moist paint then scrape across paper to scratch out mysterious scrawled messages. Let the paper itself guide where intricate furrows flow by angling brush to catch uniquely on texture.
Sgraffito Revealing
After applying a dark pigmented layer, scratch through with a tool to rediscover the glowing color beneath once dry. Try carving Little designing shapes or consider using watercolor underpaintings for oil glazing.
Don’t limit yourself to just one at a time! Allow various textures to organically mingle just like nature does.
More Advanced Texturing Techniques
Prepared to dive deeper? Addition approaches for intriguing surfaces include:
- Back Runs: Position paper nearly vertically allowing paint to drip freely down its surface guided by gravity and moisture.
- Cling Wrap Wrinkling: Wrap painted areas in plastic letting pigments soak through transparent creases.
- Alcohol Diffusing: Drop alcohol ink onto dried watercolor, watching tones spread into each other uncontrollably.
- Glue Texturing: Apply tacky glue randomly before painting overtop. Peeling back dried glue memorializes its patterns.
Let natural effects take the lead discovering how colors evolve when manipulating water, adhesive, polymers and flow all at once!
Patterning With Purpose
Let your watercolors rhythmically sing by incorporating captivating repeats into compositions. Harmonize using:
Masking Fluid
Safeguard areas before painting to later peel away, unveiling untouched shapes of your choosing. Try liquid friskets for fine details or rubber cement for bold blocks.
Found Object Stamping
Dip household items like corks or sponges in colors and print them across the paper systematically. Stamp in different angles and impressions using the same objects for multidimensional patterns.
Wax Resisting
The wax repels watercolor washes, causing them to only cling to uncoated places. Enthralling negative space emerges! Try batik-style wax to resist filling decorative voids later with vibrant glazing.
Strategic Lifting
Remove areas of wet glazes to hand-pick spots revealing underlying layers or bare paper. Highly controlled! Master lifting techniques crucial for the luminous glow of lights and highlights.
And this is just scratching the surface of possible patterns! Switch between techniques already mentioned to create secondary designs as well.
Combining Methods For Captivating Complexity
Don’t just stick with one texture or pattern method in isolation. Allow them to organically interplay!
- Start by printing precise stamp impressions
- Paint29797 around those maintaining edges
- Once dry, scrape away stamps revealing glowing blocks of color
- Finally, sprinkle salt into some stamped squares before drying for added complexity
Let the texture of rough watercolor paper itself also guide you, letting washes pool irregularly across its valleys and peaks. Interlace order with chaos!
Getting Creative With Textures and Patterns
With endless techniques now in your artistic toolbox, how will you wield textures and patterns in your unique watercolor voice? Below are some creative inspirations to ignite experimentation:
Textured Abstracts
Start by wetting entire paper and sprinkling salt randomly. Once dry, glaze contrasting colors allowing them to organically move around crystals. Remove salt and continue layering glazes that evolve with underlying pools.
Whimsical Nature Patterns
Plan out repeating stamp designs resembling leaves, petals, and butterflies. Print staggered organic rows in harmonious colors. Allow slight inconsistencies adding handmade charm. Outline details lightly in contrasting glaze ties together.
Atmospheric Landscape Textures
Use torn tissue blotting shadows under sky exposure leaving small fibers. Dry brush scrape zigzagging suggestions of grass across midground. Lightly spatter drops falling from clouds gathered on peaks. Let paper encourage flowing effects.
Graphic Mixed Media Layers
Brush geometric blocked-out rings of wax resist across pristine paper. Echo with stamped starburst prints aligned precisely within each ring gap. Scrape away the wax revealing a clean color beneath once dry. Finally, splatter tiny dots surrounding the central motif dynamic interplays of order and chaos.
The examples above just graze the possibilities. Let your inner artist guide texture and pattern play for maximum impact suiting subjects and styles that inspire you most!
Example 1: How to create a gradient pattern with watercolor
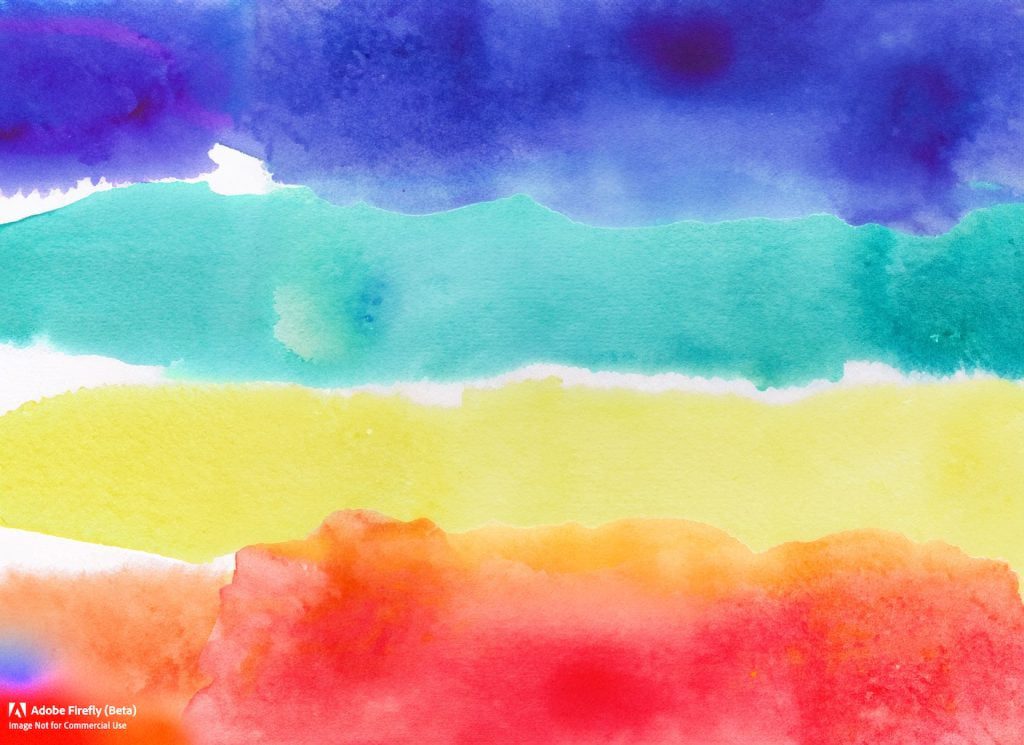
Here are the steps to create a gradient pattern with watercolor:
- Choose the colors you want to use for your gradient pattern.
- Apply the first color at the top of your paper and the second color at the bottom.
- Blend the two colors together by using a wet brush to create a smooth transition between the two colors more >> 1.
- Apply additional layers of color to create a stronger transition and a more vibrant gradient.
- Experiment with different techniques, such as using pure sap green to blend in the leaf-green mixture for a foliage gradient.
- Practice basic exercises to inspire your painting and improve your skills.
Example 2: How to use plastic wrap to create texture in watercolor
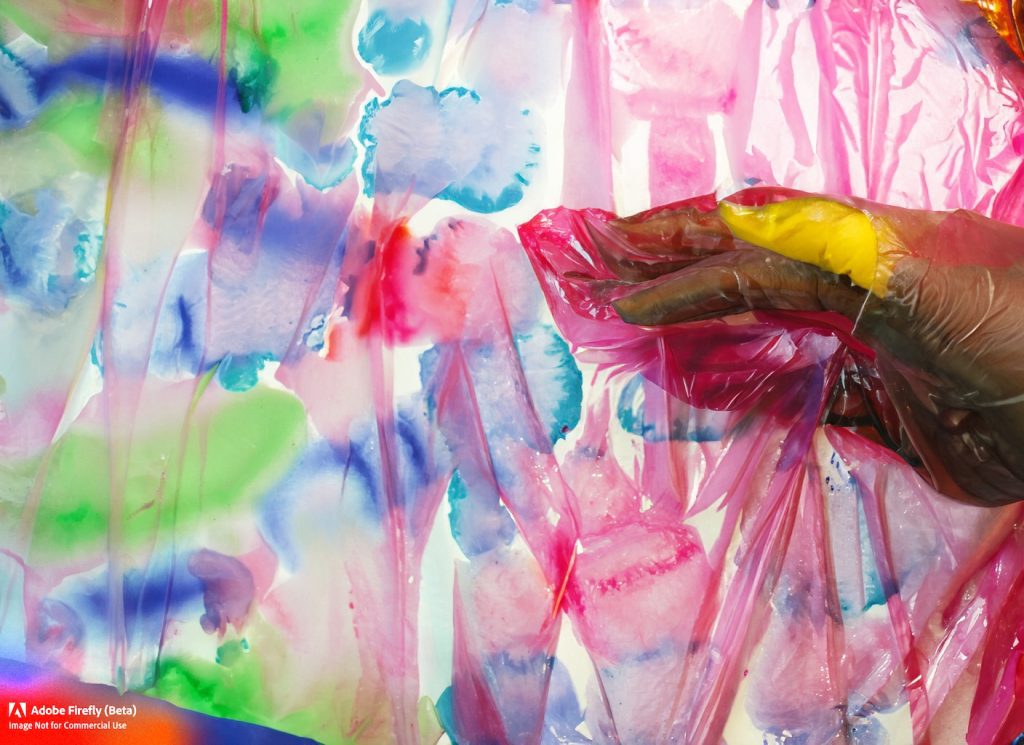
Here’s how to use plastic wrap to create texture in watercolor:
- Wet your watercolor paper with a sponge dipped in water.
- Apply watercolor paint to the wet paper.
- Cover the wet paint with plastic wrap, crinkling it up to create texture.
- Let the paint dry completely.
- Remove the plastic wrap to reveal the textured surface.
- Use the textured surface as a background or incorporate it into your painting.
Note: You can also experiment with different types of plastic wrap, such as cling wrap or press’n seal, to achieve different textures
Conclusion
With this broad array of textures and patterns now readily available through essential techniques, integrate dimensional details into every watercolor creation moving forward. Allow water to guide pigments into mesmerizing pools. Strategically reveal glimpses of those secret layers lying beneath the surface. Celebrate the medium’s liquid light and unique energy!
Most importantly, simply enjoy playing with watercolor’s inherent willingness to create happy accidents. By continuously discovering versatile texturing approaches, your paintings will mature wielding textures more adeptly through daily practice.
What emerging patterns or combinations call to you for further exploration? Print, scrape, splatter and resist until textures flow freely from imagination to paper! Let the textures inspire rather than intimidate as you continue your creative watercolor journey.
