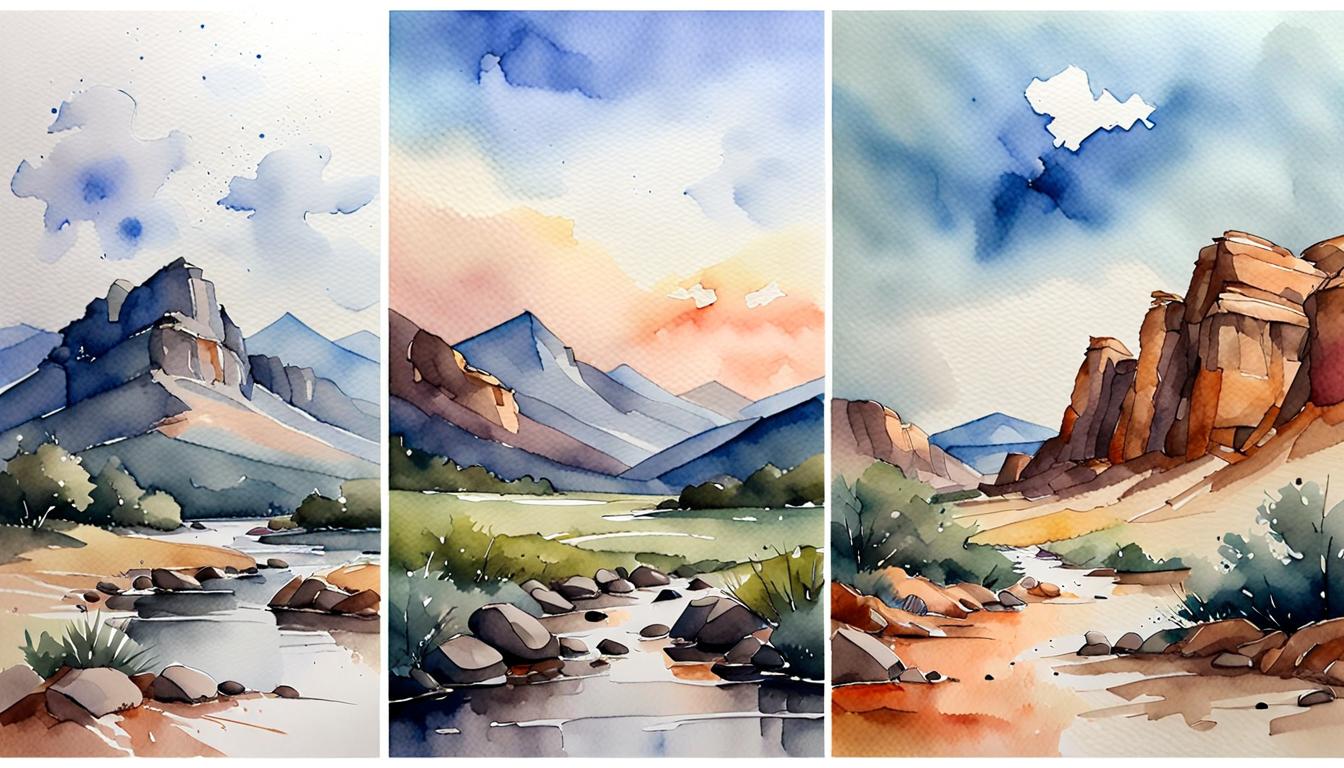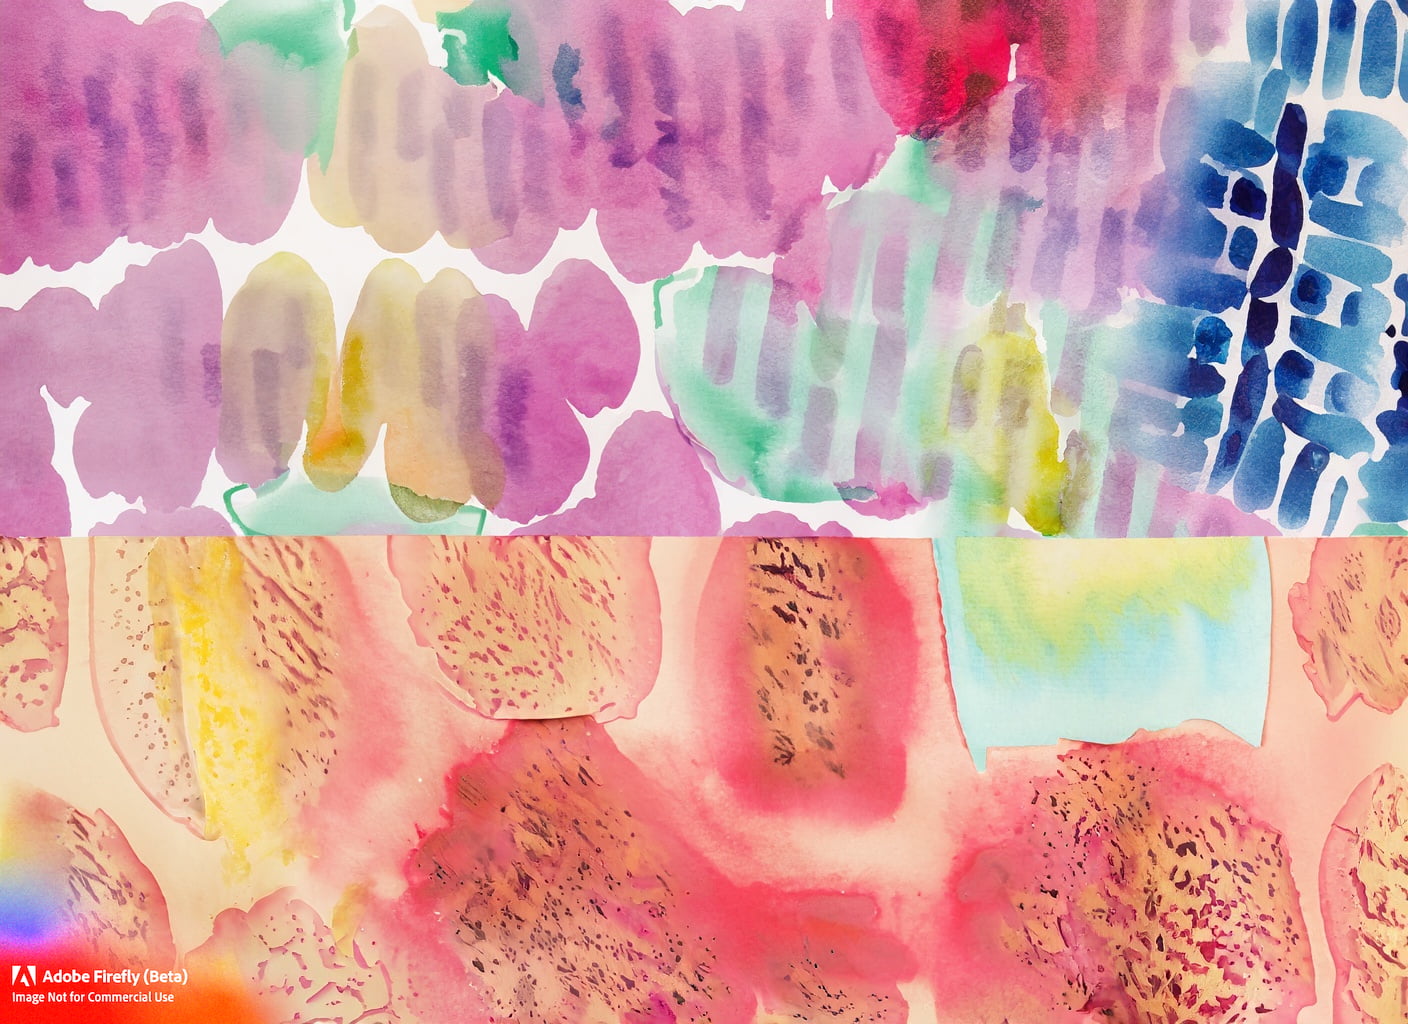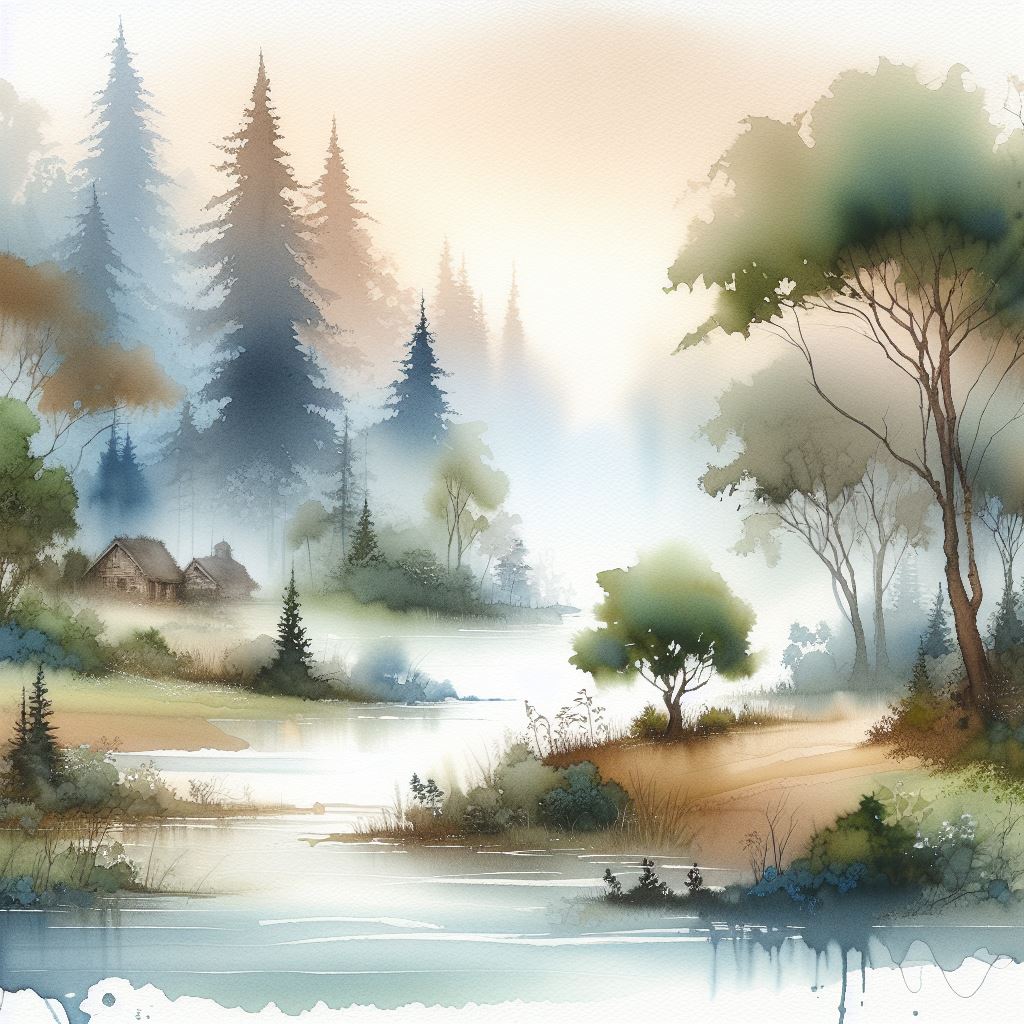
Ever feel stuck painting flat watercolor surfaces, longing for the captivating depth of texture? Fear not, aspiring artists! This guide unlocks three beginner-friendly techniques that will transform your canvases from one-dimensional landscapes into tactile worlds alive with shimmering crystals, dancing droplets, and playful shapes. No prior mastery is required, just your open heart and a thirst for creative exploration with easy watercolor textures.
Building Your Watercolor Arsenal
Before we dive into texture magic, let’s ensure you have the essentials in your artistic armoury. Check out our “Watercolor Essentials for Beginners” guide for all the brushes, paints, and paper you need to embark on this vibrant journey. Remember, it’s not about expensive gear, but about the passionate intention behind each stroke.
Paper: Choose a cold-press paper around 140lb. This weight absorbs pigment beautifully, allowing for layering and texture without buckling. Imagine it as a soft canvas eager to embrace your creative whispers.
Mastering the Fundamentals
Now, let’s delve into the heart of textures! Remember, watercolor offers a unique dance between control and surrender.
Wet-on-wet: Imagine a soft, damp canvas whispering, “Come, dance with me!” This technique invites you to layer color onto a wet surface, letting the hues blend and flow organically. Think vibrant sunsets bleeding into twilight skies.
Wet-on-dry: In contrast, dry paper offers a crisp stage for precise brushstrokes. Experiment with layering thin, transparent glazes, one drying after the other, to build rich, dimensional color. Picture delicate flower petals unfolding layer by layer.
Brushstrokes: Your brush is your wand, weaving stories of light and shadow on the paper. Master a few key techniques – the side-loaded stroke for bold washes, the lifted stroke for wispy tendrils, and the flicking stroke for playful splatters. Practice these like secret incantations, unlocking new expressive possibilities on your canvas.
Essential Drills: Before launching into full-blown textures, hone your skills with simple exercises. Try gradient washes to understand color flow, or blend wet-on-wet to experience the magic of merging hues. These are your training grounds, building confidence and muscle memory for your artistic journey.
Unveiling Easy Watercolor Textures Secrets
Now, the spotlight shines on the three techniques that will elevate your art from flat to fantastic!
Sparkling Seascapes: Unveiling Subtle Texture with Salt Crystals
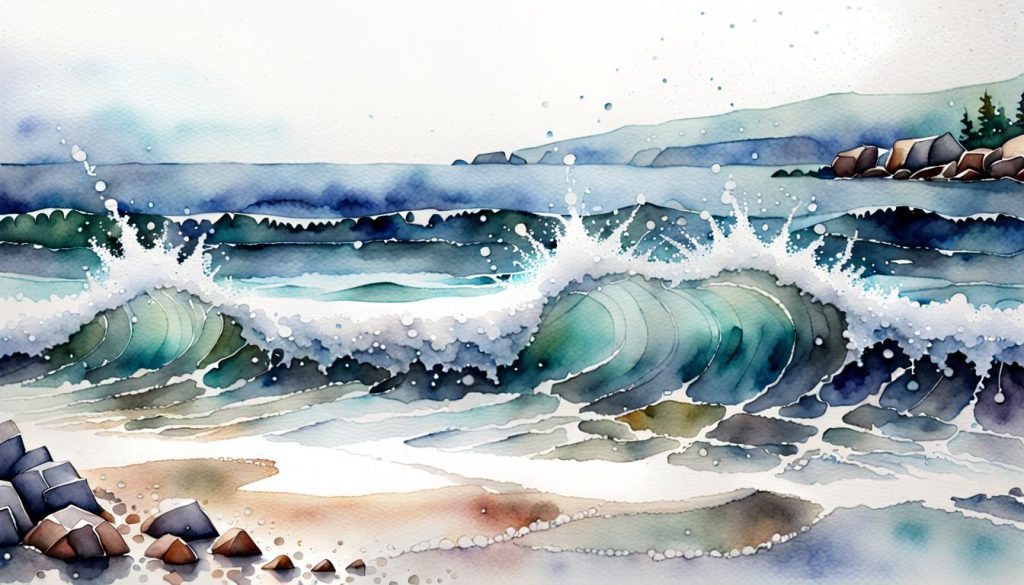
- Paint a wash of color on damp paper. Let your imagination flow – shimmering coral reefs, misty mountain peaks, or a starry night sky.
- While the paint is still wet, generously sprinkle salt crystals. Watch them dance across the surface, leaving tiny white flecks behind.
- As the paint dries, the salt crystals repel pigment, creating charming, subtle pebbled textures. Gently brush away the salt to reveal the hidden beauty within.
- Layer washes of additional colors for added depth and complexity. Imagine sunlight dancing on ocean waves or moonlight glinting off snow-capped peaks.
Dancing Raindrops: Bringing Life with Spontaneous Splatter Textures
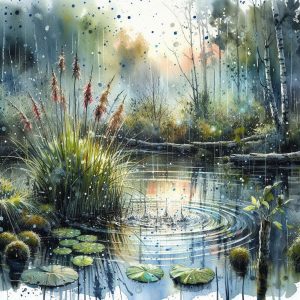
- Load your brush with thinned paint. Imagine it brimming with playful rain droplets.
- Dip, flick, or tap the brush over your canvas, letting the droplets fly like joyous raindrops in a summer storm.
- Adjust the density of your splatters for a dynamic effect. Sparse sprinkles dance delicately, while dense clusters create vibrant chaos.
- Place a tissue underneath your paper to catch stray drips. Remember, happy little accidents can spark unexpected beauty.
- Layer splatters over different washes to add vibrancy and dimension. Think lush meadows dotted with wildflowers or abstract landscapes bursting with energy.
Unveiling Negative Delights: Mastering Shapes and Surprises with Masking Fluid
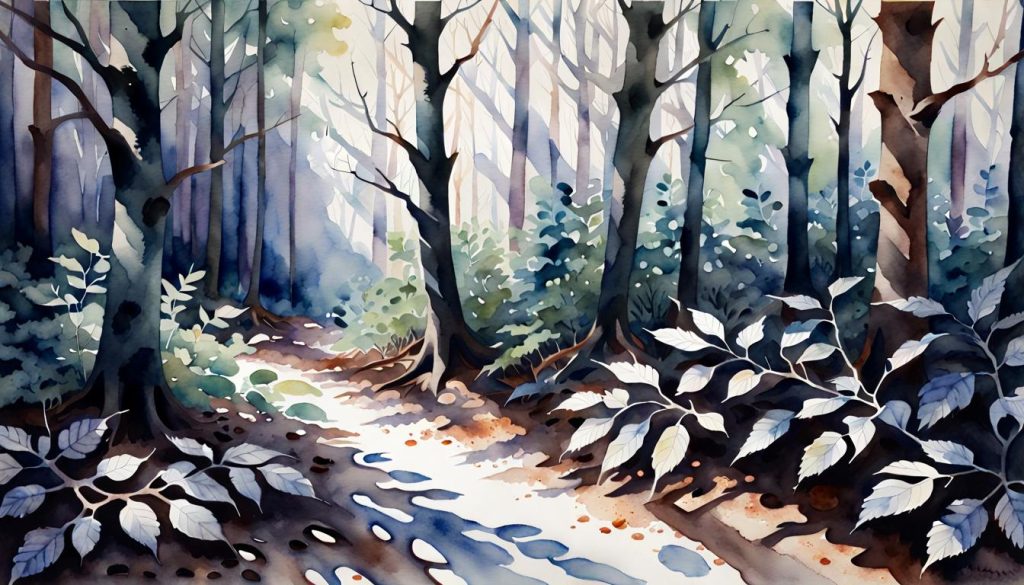
- Transform your brush into a magician’s wand, dipping it in the magical masking fluid. Apply it in bold lines, playful curves, or organic textures, creating areas you want to protect from paint.
- Let the masking fluid dry like a playful shield, then wash your canvas with vibrant hues. Watch as color dances around the masked areas, revealing negative shapes and surprising patterns.
- Peel away the masking fluid like unveiling a secret. Beneath it lies a world of crisp lines, organic textures, and negative shapes that whisper intriguing stories.
- Experiment with creative masking tools. Cutouts, string, or even textured leaves can add unique patterns to your art. Imagine geometric shapes floating in space or branches casting intricate shadows on a forest floor.
Putting It All Together
Now, it’s time to unleash your inner artist!
Remember, practice makes perfect, so embrace the playful spirit of these techniques. Experiment with different subjects, textures, and color combinations. Paint floral still lifes where each petal whispers a story with subtle salt textures, capture the energy of cityscapes with bold splatter strokes, or create abstract worlds where masking fluid reveals mesmerizing negative shapes. Let your imagination be your guide, and watch as your canvases transform from flat landscapes into tactile worlds alive with texture, color, and endless possibilities.
Ready to embark on your artistic journey? Dive into the vibrant world of easy watercolor textures and unleash your inner artist! Remember, the magic lies not just in the techniques, but in the joy of experimentation, the thrill of discovery, and the endless stories your brush can tell.
