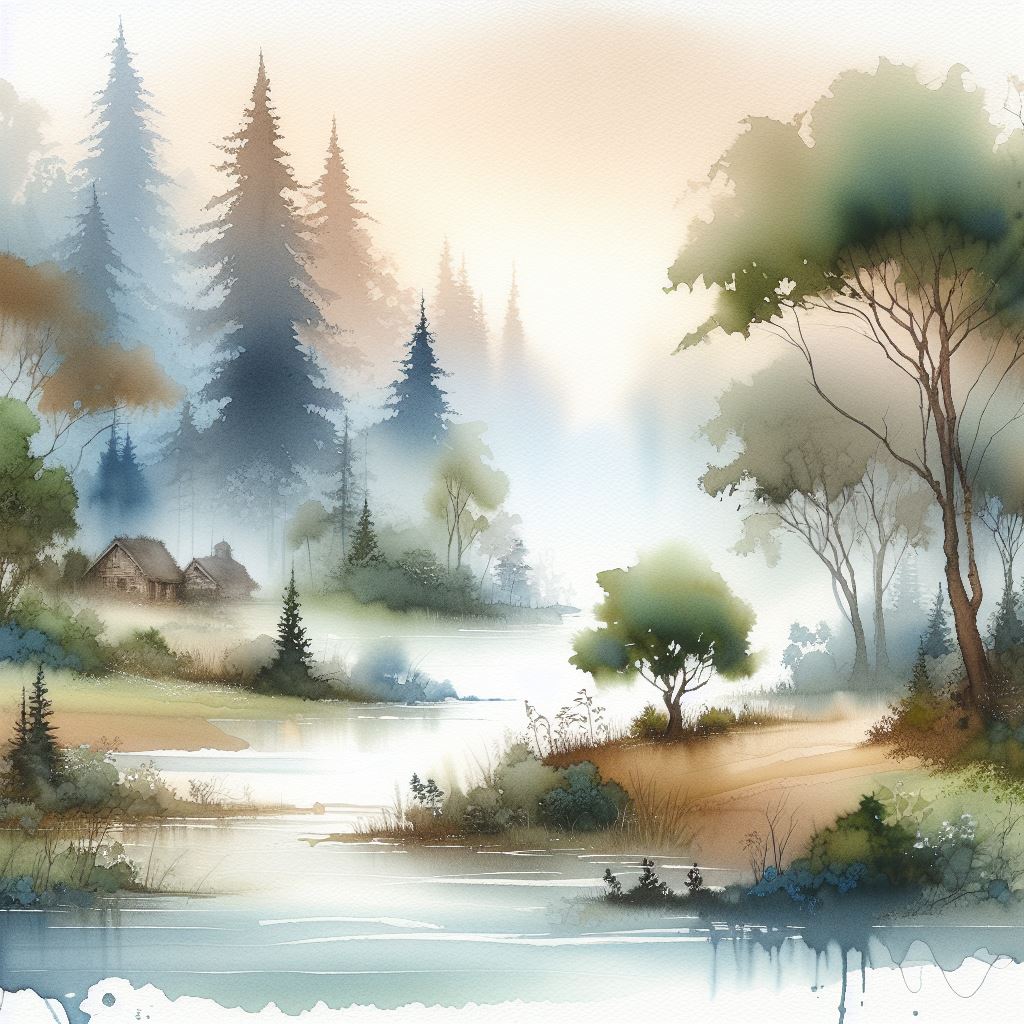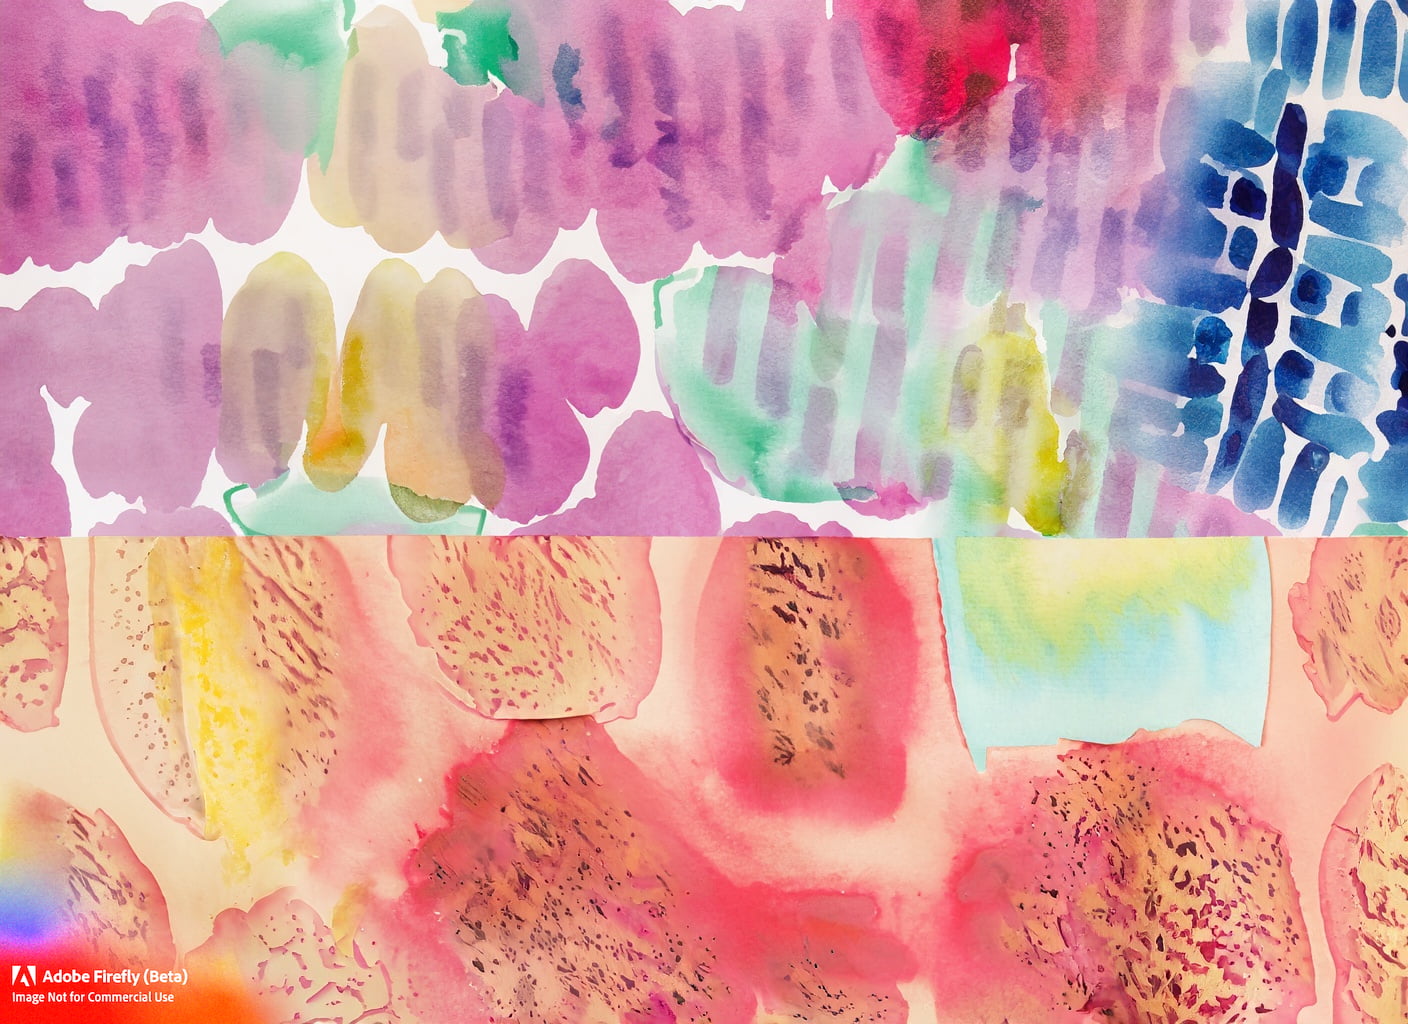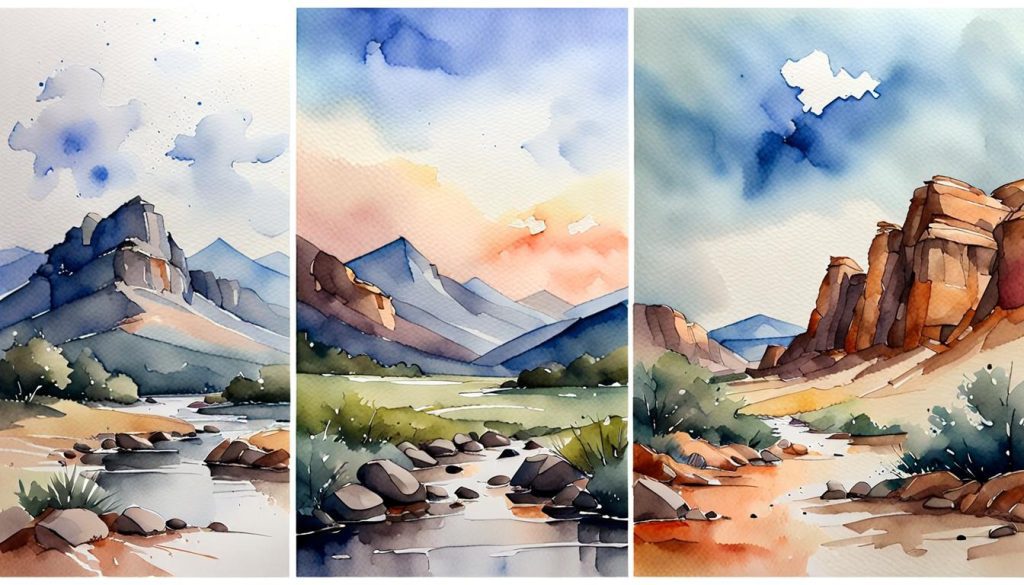
The texture of watercolor paper plays a vital role in how paints interact with its surface and the end visual effects achieved. From ultra-smooth hot-pressed sheets to heavily textured cold-pressed pads, understanding the characteristics of these surfaces allows artists to create stunning works tailored to different techniques intentionally.
This guide examines paper textures from smooth to rough and how to purposefully leverage these unique traits for dramatic and exquisite artistic impact.
An Overview of Watercolor Paper Textures
Watercolor paper comes in three main surface profiles:
Smooth – Also called hot pressed, smooth paper contains no tooth and has a flat, even surface.
Medium – Referred to as cold-pressed medium, this paper has a light uneven texture with slight valleys across the surface.
Rough – Rough paper has a pronounced ragged texture allowing paint to deeply settle across peaks and crevices.
Smooth paper leads to greater control for precise details and effects. Rough paper facilitates more organic, diffused techniques where the texture itself enhances the art.
Below explores how to master these different papers from polished works to free-flowing ones full of atmosphere and depth enabled purely by surface qualities.
Harnessing Slick Smooth Paper
With its nonporous surface that avoids excess water absorption, smooth hot pressed paper allows watercolorists to apply controlled layers of pigment. Its slick surface facilitates fine brushwork, glazing techniques, sharp edges, and graphic elements.
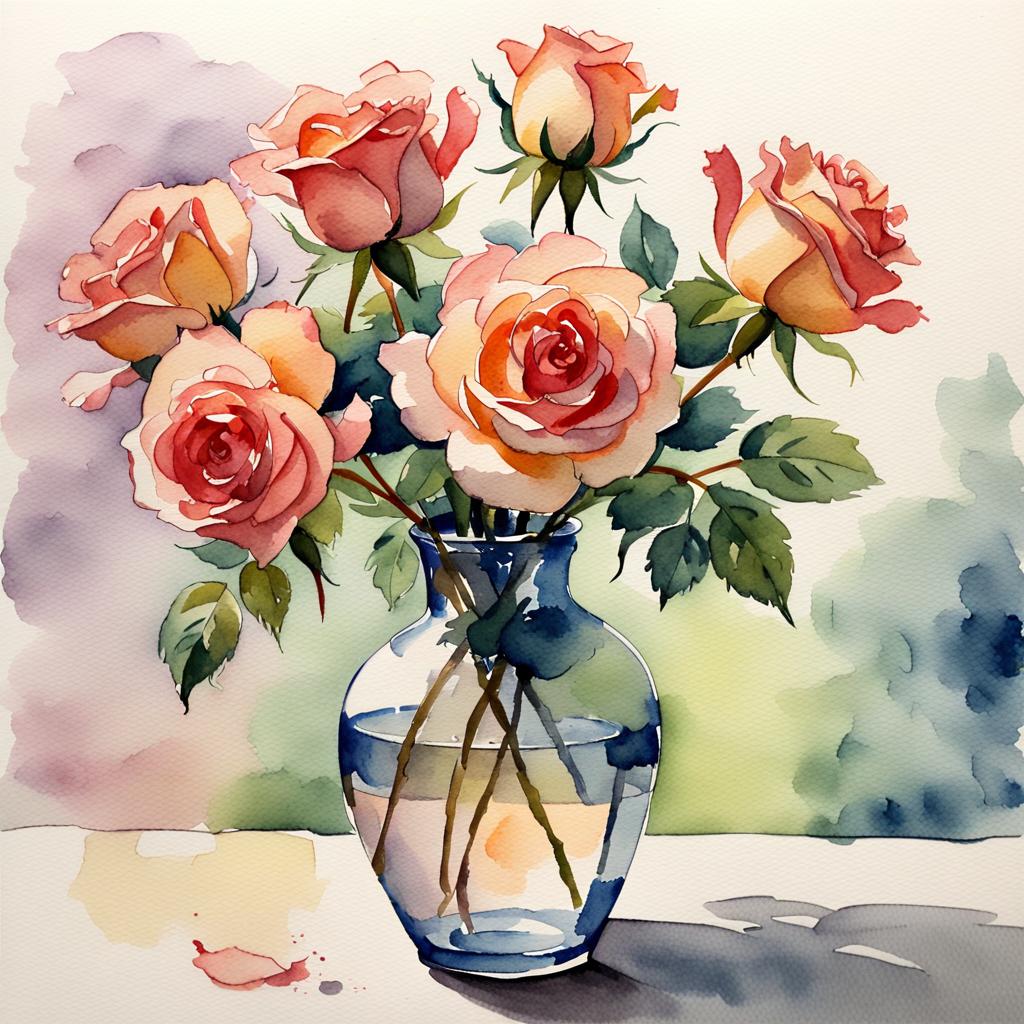
Smooth paper is ideal for detailed botanical illustrations, vivid still-life renderings focused on form, and gently graduated landscapes allowing colors to subtly transition wet-into-wet.
Step-by-Step Example Painting on Smooth Paper
Follow along with creating your own vibrant floral still life showcasing smooth paper’s advantages:
Materials
- Hot-pressed watercolor paper pad or sheet
- Variety of rounded and pointed brushes
- Watercolor paints in range of greens, pinks and oranges
Directions
- Lightly sketch an outline of the flowers and vase arrangement with areas mapped for shadows and highlights
- Mix brighter green and dilute with lots of water to lay initial light washes over leaves and stems
- Allow to fully dry before glazing subsequent darker greens in the same areas to deepen color
- Load brighter pinks and oranges before applying controlled strokes to define flower petals and outlines
- Use clean water to soften edges and disperse colors if they begin bleeding too much
- Allow to dry fully before evaluating if additional controlled layers are needed to further develop forms
Repeat controlled layering until vibrant colors depict details clearly with fuller depth and dimension.
Balancing Effects with Cold-Pressed Paper
Cold-pressed watercolor paper provides more tooth than hot-pressed but less than rough, creating a nice middle ground. Its slight natural grain adds atmosphere to washes while still allowing fine brushwork.
This versatile surface suits most watercolor techniques from wet-on-wet blending to lifting color. Diffused soft edges can create movement and depth while leaving some areas crisp.
Cold-pressed paper also takes mixed media embellishments like ink splatters, pencil texturing and light collage material without excessive buckling.
Example Techniques for Cold-Pressed Paper
These tutorials demonstrate leveraging its characteristic medium tooth for varied effects:
Wet-Into-Wet Mystical Landscape
- Apply very wet, diluted blues, purples and blacks across the sky area
- While still wet, drop in clean water to disperse and run colors into each other
- Allow the natural grain to create atmospheric cloud effects
Salted Textural Abstract
- Mix granulating earthy colors like ocher, umber and olive green
- Sprinkle coarse salt onto wet-painted areas
- Colors will flow away from salt grains creating starbursts
Ink Blended Architecture Sketch
- Paint watery grayscale architectural outlines tilting paper
- Allow drips to bleed softened edges with diffused character
- Blot-wearing felt tip pen filled with black ink
- Drag ink across areas to tint and integrate with the painting beneath
Cold-pressed paper embraces both control and happy accidents for mixed media creations full of life.
Embracing Rough Paper Qualities
While smooth paper focuses on precision and cold pressed allows both, rough cold-pressed sheets fully unleash organic, textural potential.
The deep valleys and grooves sculpt dynamic visual depth as pigments settle into nooks, separating and diffusing. This adds an authentic atmosphere ideal for loose landscapes and abstracts.
Rough texture facilitates blending vibrant colors quickly through uncontrolled wet-into-wet diffusion. As excess moisture pools in indentations, striking effects emerge reminiscent of marbling.
Demonstration of Wet-Into-Wet Rough Paper Style
Follow along painting your own lively waterscape celebrating rough paper’s organic potential:
Materials
- Rough cold press watercolor pad or sheet
- 1″ flat brush, round detail brush
- Blues, greens, purples, white liquid watercolor
Steps
- Generously wet entire paper surface with clean water
- Load a vibrant phthalo blue and loosely stroke vertically to suggest reflection
- While wet, drop in cerulean blue, phthalo green and quinacridone magenta allowing to mingle
- Soften edges by tilting the paper side to side to let colors trail organically
- Sprinkle rock salt crystals to resist diffusing pigments
- Allow to fully dry before removing salt to reveal starburst bursts
- Glaze patches of white to add frothy foam and dreamy mists
- Define sharper focal points like waves and far shore foliage loosely
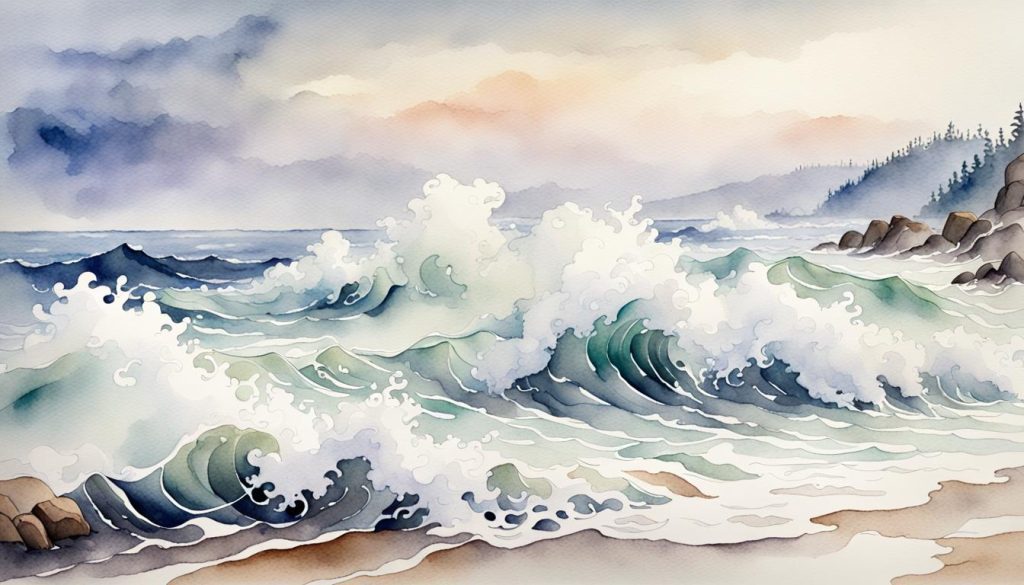
Rough paper transforms washes into engaging landscapes bursting with expressive energy you could never plan outright. Why not give it a try?
Choosing Paper to Suit Your Style
Hopefully, the above breakdown offers helpful context on how watercolor paper surfaces range from smooth to rough. Below summarizes associations between texture, recommended techniques and effects:
| Paper Texture | Best Suited Techniques | Characteristic Effects |
|---|---|---|
| Smooth | Glazing layers, controlled wet-into-wet transitions, fine detail work | Vibrant colors, hard edges, precision detailing, dimensional form |
| Medium Cold Press | Versatile for combined control and wet diffusion, lifting, mixed media | Atmospheric washes, soft blended edges, modulated color mixes, textural accents |
| Rough | Uncontrolled wet-into-wet blending, pouring, splattering | Organic textures, diffused character, pooled pigments, happy accidents |
The wide spectrum of cold to hot pressed papers means you can always find surfaces well-suited for every subject matter and artistic style.
Many watercolorists also enjoy applying different sheets together in single pieces. For example, focus detailed florals on smooth hot-pressed areas while enclosing in loose, diffused background washes on rough surrounds for added interest.
Leverage paper’s inherent qualities to create captivating light effects, dynamic color blends and striking character. The natural textures will heighten your distinct artistic voice!
Conclusion
Watercolor paper comes in array of surfaces from ultra-smooth hot pressed to very rugged cold-pressed options. Understanding the interactions between paper tooth and applied pigment allows creating exquisite controlled effects or free, atmospheric expressions.
Hot-pressed facilitates precision detailing popular for botanical illustrations and vivid still-life subjects by limiting diffusion. Rough paper sends colors bleeding with organic dynamism perfect for loose landscapes granting a natural atmospheric look. Cold-pressed balances these offering enough texture for dynamic blends while maintaining some control.
Take surfaces for a spin by intentionally tailoring your artistic objectives to the paper itself. Allow its unique texture to enhance the overall impact and better convey your inner artistic vision or mood. With the right synergy between paper and practice, extraordinary visual depth emerges.
