Imagine yourself standing before a blank canvas, a collection of vibrant watercolor paints at your fingertips, and an endless world of possibilities stretching before you. Watercolor painting, with its fluid strokes and ethereal washes, is a medium that invites creativity and experimentation. Yet, mastering this art form requires a deep understanding of its unique techniques. In this comprehensive guide, we’ll embark on a journey to explore the essential watercolor techniques that will elevate your artistic expression.
20 Essential Watercolor Painting Techniques
1. Wet-on-Wet Technique
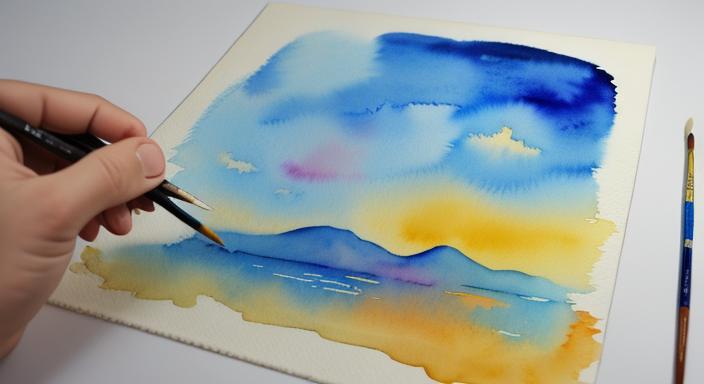
The wet-on-wet technique involves applying wet paint onto a wet surface, allowing the colors to blend and create beautiful soft transitions. Start by wetting your watercolor paper with a brush and clean water, then apply watercolor pigment using broad brushstrokes. Watch as the colors interact and merge, producing a harmonious and ethereal effect.
2. Dry Brush Technique
Contrasting the wet-on-wet technique, the dry brush technique involves using a dry brush with minimal water and concentrated pigment. This technique creates textured and more defined brushstrokes, perfect for capturing fine details or adding texture to your watercolor paintings.
3. Glazing
Glazing is a layering technique where transparent washes of color are applied over dried layers of paint. By building up multiple glazes, you can create depth and luminosity in your artwork. Each glaze adds richness and complexity to the overall composition, resulting in a vibrant and captivating piece.
4. Graded Wash
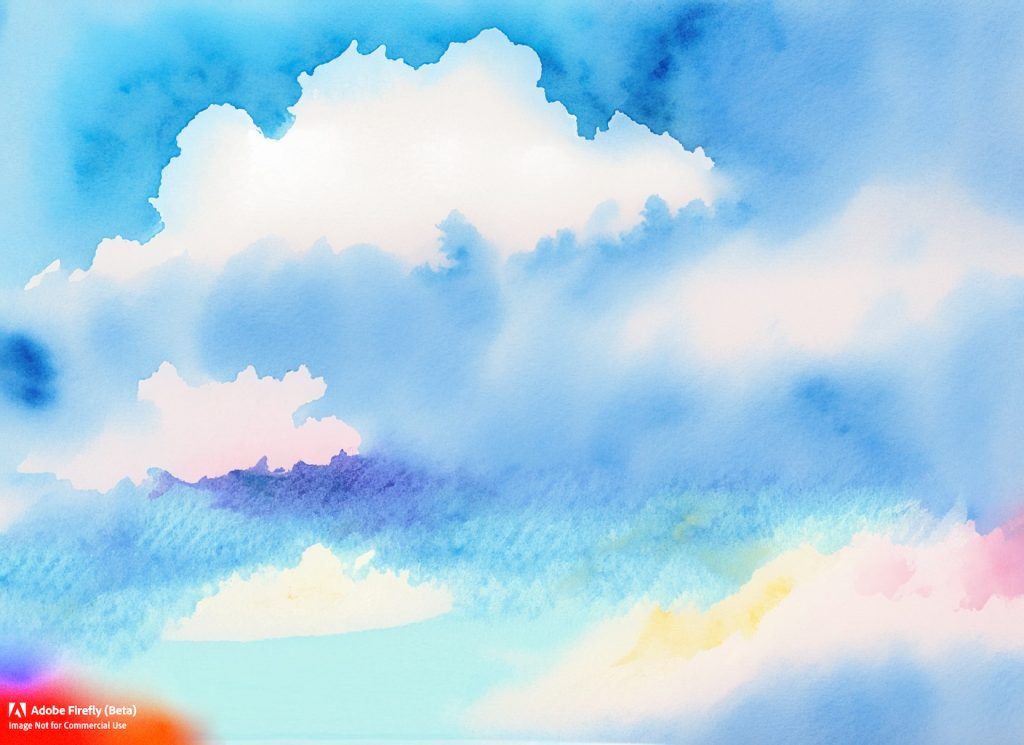
The graded wash technique is used to create smooth transitions of color from light to dark or vice versa. Start by wetting the paper with a clean brush, then apply a concentrated color at one end. Gradually dilute the pigment as you move across the paper, producing a gradual shift in color intensity. This technique is excellent for creating skies, backgrounds, or large areas with a gradual color change.
5. Wet-in-Wet Technique
Similar to the wet-on-wet technique, wet-in-wet involves applying wet paint onto a wet surface. However, unlike wet-on-wet, the wet-in-wet technique focuses on creating specific shapes or forms within the wet area. By manipulating the pigments with brushes or other tools, you can achieve various effects such as soft edges, diffused shapes, or spontaneous blending.
6. Lifting Off
Lifting off refers to the process of removing wet or dried watercolor paint from the paper surface. This technique allows you to correct mistakes, lighten areas, or add highlights to your painting. Simply use a clean, damp brush or a paper towel to gently lift off the desired amount of pigment, revealing the lighter paper underneath.
7. Salt Texture
Salt texture is a fascinating technique that adds unique patterns and textures to your watercolor paintings. While the paint is still wet, sprinkle a pinch of salt onto the surface. As the salt absorbs the moisture, it creates captivating textures and granulations, enhancing the overall visual interest of your artwork.
8. Sgraffito
Sgraffito is a technique where you scratch or scrape away layers of dried paint to reveal the underlying colors or white paper. This method allows you to create intricate details, textures, or highlight specific areas of your painting. Use a palette knife, brush handle, or any other tool with a sharp edge to gently scrape away the paint.
9. Dry-on-Dry
Dry-on-dry technique involves applying dry paint onto a dry paper surface. This technique enables you to create precise lines, fine details, or add textural effects to your artwork. By using a drier brush and more concentrated pigments, you can achieve crisp edges and enhance the overall precision of your watercolor painting.
10. Masking Fluid
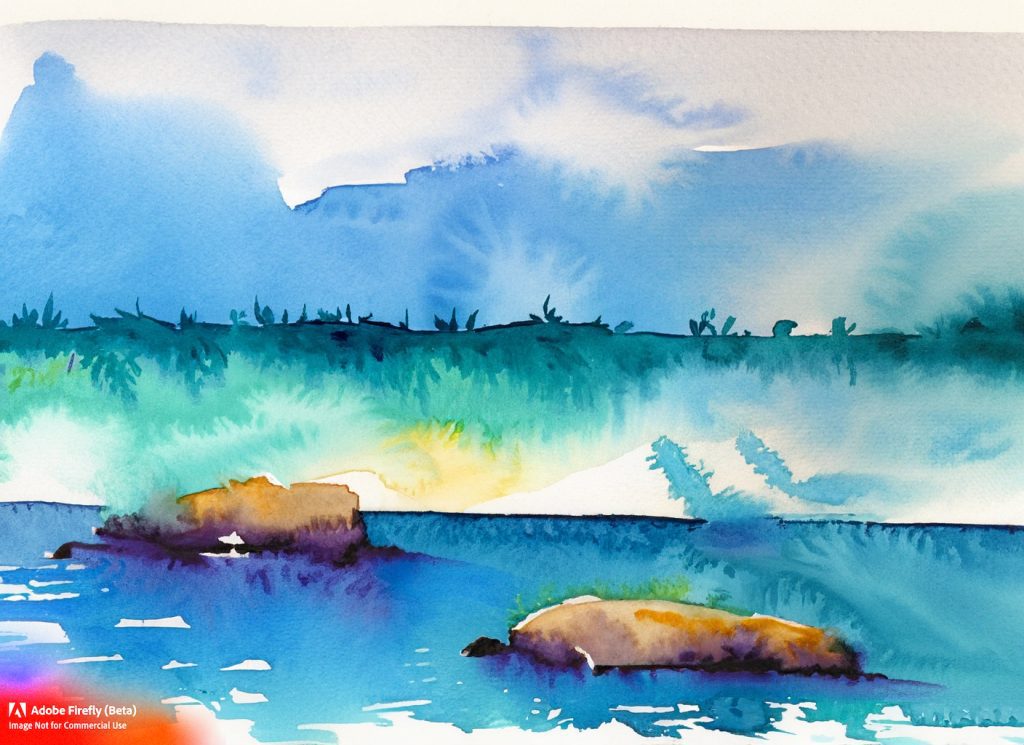
Masking fluid is a useful tool in watercolor painting that allows you to preserve areas of white paper or previous layers of paint. Apply the masking fluid using a brush or any other suitable applicator to the areas you wish to protect. Once the masking fluid is dry, you can paint over it without worrying about affecting the masked areas. Once the painting is complete, gently remove the masking fluid to reveal the untouched areas.
11. Splattering
Splattering is a fun and spontaneous technique that adds dynamic and energetic effects to your watercolor paintings. Dip a brush or toothbrush into the paint and run your finger or a brush handle across the bristles, creating a splattering effect. Experiment with different colors, distances, and brush sizes to achieve varying levels of texture and intensity.
12. Gradients with a Flat Wash
A flat wash is a solid, even layer of color applied to the paper. Creating gradients with a flat wash involves blending colors smoothly from one side to the other. Start by wetting the paper with clean water, then apply a band of the first color. Rinse your brush and pick up the second color, blending it into the wet area of the first color. Continue this process until you achieve a seamless gradient.
13. Stippling
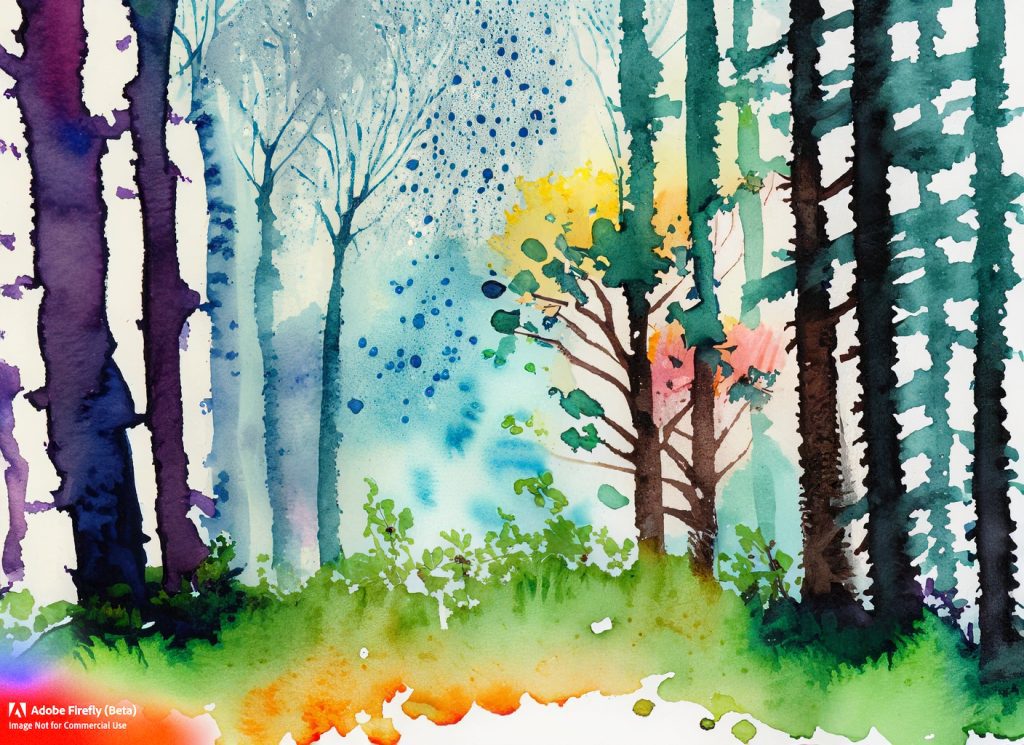
Stippling is a technique that uses a series of small dots or dots of varying sizes to create textures, shading, or patterns in your watercolor paintings. Apply the dots using a brush or a stippling pen, varying the density and spacing to achieve different effects. Stippling can add depth, and detail, or even simulate the appearance of textures such as foliage or rough surfaces.
14. Negative Painting
Negative painting involves painting around the subject to create a silhouette or emphasize the shape by using the surrounding negative space. This technique allows you to define your subject by highlighting its contours or incorporating intricate details. By layering multiple washes and shapes, you can create intricate and visually captivating compositions.
15. Gradients with Masking Tape
Masking tape can be used to create crisp and precise gradients in watercolor painting. Apply the tape diagonally or horizontally across the paper, leaving the desired area exposed. Wet the exposed area and apply the desired colors, blending them together to create a smooth gradient. Once the paint is dry, carefully remove the masking tape to reveal clean, straight edges.
16. Blooming or Blossoming
Blooming or blossoming occurs when additional water is applied to an area of partially dried watercolor paint. The water reactivates the pigments, causing them to spread and create fascinating blossoming patterns. This technique can be used to add organic and unexpected textures to your artwork or to create visual interest in specific areas.
17. Variegated Wash
A variegated wash involves blending multiple colors in a single brushstroke. Load your brush with two or more colors, ensuring they blend on the brush but remain somewhat separate. Apply the brushstroke to the paper, allowing the colors to mingle and create a harmonious transition. Variegated washes are excellent for creating foliage, textured surfaces, or multicolored backgrounds.
18. Dry-Brush Lifting
Dry-brush lifting is a technique that involves lifting off wet paint using a dry brush. This method allows you to create texture, highlights, or refine specific details by selectively removing paint from the surface. Use a dry brush with stiff bristles and gently scrub the desired areas, lifting off the paint to achieve the desired effect.
19. Gradients with a Spray Bottle
Using a spray bottle is an effective technique for creating atmospheric gradients or adding
texture to your watercolor paintings. Wet the paper with a brush and clean water, then lightly mist the surface using a spray bottle. Apply your desired colors to the wet area, allowing them to blend and disperse organically, resulting in a soft and atmospheric gradient.
20. Dry-on-Wet Technique
The dry-on-wet technique involves applying dry paint or pigment onto a wet surface. This technique allows you to create crisp and defined lines or add texture to your artwork. By applying the dry pigment to a wet wash, you can achieve controlled blending and layering effects, adding depth and dimension to your watercolor paintings.
Practicing Watercolor Painting Techniques
Mastering watercolor painting techniques requires consistent practice and experimentation. Here are some tips for practising effectively:
1. Copy Artwork:
Copying existing artwork is a great way to learn from experienced artists and develop your technique. Choose images that challenge you and practice replicating their use of color, brushstrokes, and composition.
2. Draw Simple Shapes:
Practice drawing simple shapes like circles, squares, and triangles. This will help you develop control over your brushstrokes and improve your ability to create accurate proportions.
3. Experiment with Color Combinations:
Don’t be afraid to experiment with different color combinations. Try mixing colors to create new hues and explore color harmonies and contrasts.
4. Join Online or Local Watercolor Communities:
Connecting with other watercolor enthusiasts can provide valuable insights and motivation. Join online forums or attend local watercolor workshops to share ideas and learn from others.
With these 20 Watercolor Painting Techniques to Create Stunning Art at your disposal, you can explore the endless possibilities of this captivating medium. Experiment with different combinations, variations, and applications to develop your unique artistic style. Remember to embrace the unpredictability and spontaneity of watercolors while honing your skills through practice and exploration.
Happy painting!
