Introduction
Creating stunning watercolor skies can bring depth and vibrancy to your artwork. Whether you’re a beginner or an experienced artist, this step-by-step guide will walk you through the process of creating breathtaking watercolor skies. With a few simple techniques and some practice, you’ll be able to capture the beauty of the sky and add a touch of magic to your paintings.
Materials You’ll Need
Before we dive into the steps, let’s gather the materials you’ll need to create your watercolor skies:
- Watercolor paper
- Watercolor paints (blue, white, yellow, and orange)
- Round watercolor brushes (sizes 8 and 12)
- Palette or mixing tray
- Water container
- Paper towels or a rag
Having these materials ready will ensure a smooth and enjoyable painting experience.
Step 1: Preparing Your Workspace
Before you start painting, it’s essential to set up a clean and organized workspace. Clear any clutter and make sure you have enough room to comfortably work on your watercolor skies. Lay out your materials within reach, and make sure you have good lighting to see the subtle details of your painting.
Step 2: Choosing the Right Colors
Selecting the right colors for your watercolor skies is crucial in capturing the desired effect. For a realistic sky, you’ll need shades of blue, white, yellow, and orange. These colors will allow you to create a range of atmospheric effects and stunning transitions from light to dark.
Step 3: Wetting the Paper
To achieve the soft and blended look of a watercolor sky, start by wetting your watercolor paper. Use a clean brush and apply water evenly to the entire paper surface. Be careful not to oversaturate the paper, as it may cause the colors to bleed excessively.
Step 4: Mixing the Colors
Now it’s time to mix your watercolor paints to create the desired hues for your sky. Use your palette or mixing tray to blend different shades of blue, white, and yellow. Experiment with different ratios to achieve the right balance of colors for your composition.
Step 5: Applying the Base Color
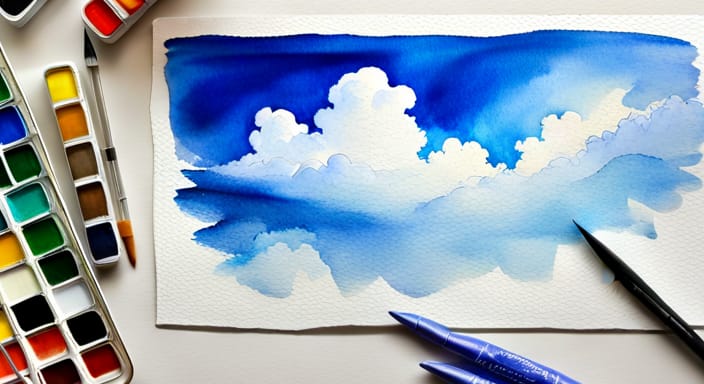
Using a large round brush (size 12), apply a thin layer of your base color to the wet paper. Start from the top of the paper and work your way down, using broad horizontal strokes. This base color will serve as the foundation for your watercolor sky. See more below about choosing sky colors.
Step 6: Adding Depth and Texture
To create depth and texture in your sky, introduce darker shades of blue or hints of orange to the base color. Apply these colors using the same horizontal strokes, gradually building up layers and blending the edges to create a smooth transition.
Step 7: Introducing Clouds
To add a realistic touch to your watercolor sky, it’s time to paint the clouds. Load your round brush (size 8) with white paint and use quick, gentle strokes to create fluffy cloud formations. Alternatively, lift some color with a paper towel/sponge to create cloud effects. Vary the shapes and sizes of the clouds to give your sky a natural and dynamic appearance.
Step 8: Blending and Softening
To achieve a soft and dreamy effect, use a clean, damp brush to blend and soften the edges of your clouds and sky. Work in gentle circular motions, smoothing out any harsh lines and creating a seamless transition between colors.
Step 9: Enhancing the Details
Now that your watercolor sky is taking shape, it’s time to enhance the details. Use a fine brush or a liner brush to add delicate touches of color, such as hints of pink or orange during a sunset, or subtle shades of blue during twilight. These details will bring your sky to life
and make it truly captivating.
Step 10: Let it Dry and Finishing Touches
Once you’re satisfied with your watercolor sky, set your painting aside to dry completely. Avoid touching the wet surface to prevent smudging. Once dry, you can make any final adjustments or add additional elements to complete your artwork.
What are the best Watercolor paints to use for Painting Skies?
When it comes to painting skies with watercolors, there are a variety of colors that can be used to create beautiful and realistic effects. Here are some of the best watercolor paints to use for painting skies:
- Ultramarine Blue: Ultramarine blue is a popular choice for painting skies because of its rich, deep color. It can be used alone or mixed with other colors to create a variety of effects.
- Cerulean Blue: Cerulean blue is a light, bright blue that is perfect for painting clear, sunny skies. It can also be used to create a variety of other effects, such as reflections on water.
- Cobalt Blue: Cobalt blue is a cool, light blue that is perfect for painting clear, bright skies. It can also be used to create a variety of other effects, such as reflections on water.
- Phthalo Blue: Phthalo blue is a bright, intense blue that is perfect for painting dramatic, stormy skies. It can also be used to create a variety of other effects, such as deep shadows.
- Prussian Blue: Prussian blue is a dark, rich blue that is perfect for painting moody, atmospheric skies. It can also be used to create a variety of other effects, such as deep shadows.
When choosing watercolor paints for painting skies, it’s important to consider the specific effect you want to create. Some colors are better suited for clear, sunny skies, while others are better suited for stormy, moody skies. Experimenting with different colors and techniques can help you find the perfect combination for your painting.
Here are some tips for creating a realistic gradient in a watercolor sky:
- Use plenty of water: To create a smooth gradient, it’s important to use plenty of water. This will help the colors blend together more easily and create a seamless transition.
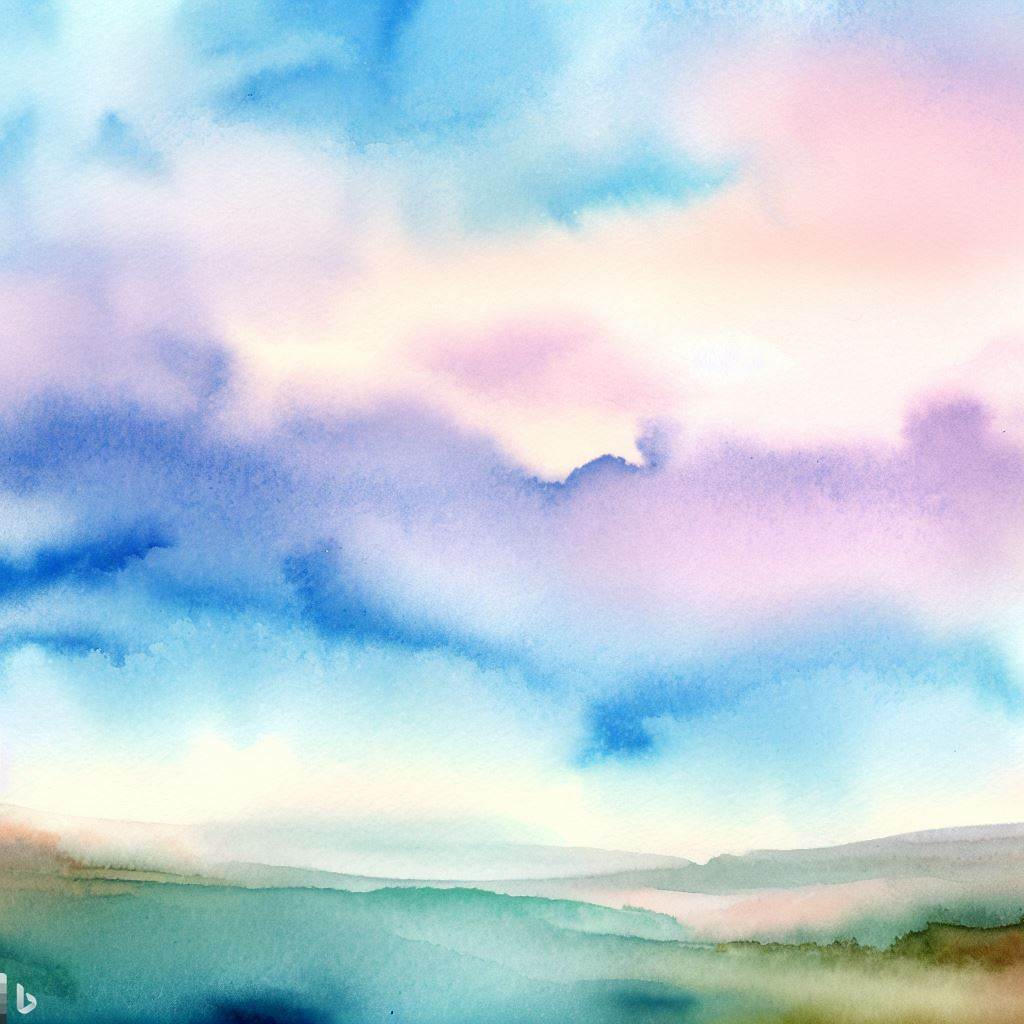
- Work wet-on-wet: Working wet-on-wet is a great technique for creating a gradient in a watercolor sky. Wet your paper evenly and apply the colors to create the gradient backdrop by dropping in the first color at the top and the second color at the bottom and blending them together while leaving some white of the paper for clouds.
- Start with a dry area of paper: When creating a gradient, it’s best to start with a dry area of paper. This will help prevent the colors from bleeding too much and will give you more control over the gradient.
- Use a large brush: Using a large brush will help you cover more area and create a smoother gradient. A smaller brush may leave streaks or lines in your gradient.
- Practice: Creating a realistic gradient takes practice. Experiment with different colors and techniques to find what works best for you.
By following these tips and practicing, you can create beautiful and realistic gradients in your watercolor skies.
Citations:
[1] https://susanchiang.com/blog/simple-gradient-watercolor-skies
[2] https://www.emilywassell.co.uk/watercolour-for-beginners/list-of-techniques/watercolour-gradients/
[3] https://johnmuirlaws.com/how-to-paint-skies-with-watercolor/
[4] https://www.artsy.net/article/artsy-editorial-5-simple-watercolor-techniques-beginners
[5] https://www.youtube.com/watch?v=iB-Bg7Gv1N8
Conclusion
Creating stunning watercolor skies is an art form that requires practice and experimentation. By following this step-by-step guide, you’ll be able to develop your own unique style and bring the beauty of the sky to life on paper. Remember to have fun, embrace mistakes, and let your imagination soar as you create breathtaking watercolor skies.
FAQs about Creating Stunning Watercolor Skies
Q1: Can I use different colors for my watercolor skies?
Yes, you can experiment with different color combinations to create unique and eye-catching watercolor skies. Just remember to consider the natural hues of the sky and the atmospheric effects you want to capture.
Q2: How can I make my clouds look realistic?
To make your clouds look realistic, pay attention to their shape, size, and the direction of the light source in your composition. Use soft, feather-like strokes with varying pressure to create the illusion of depth and volume.
Q3: Can I use masking fluid to preserve white areas for clouds?
Yes, using masking fluid can be a helpful technique to preserve white areas for clouds. Apply the masking fluid before you start painting, allow it to dry completely, and then paint over it. Once the painting is dry, you can gently remove the masking fluid to reveal the preserved areas.
Q4: How can I create a dramatic sunset sky?
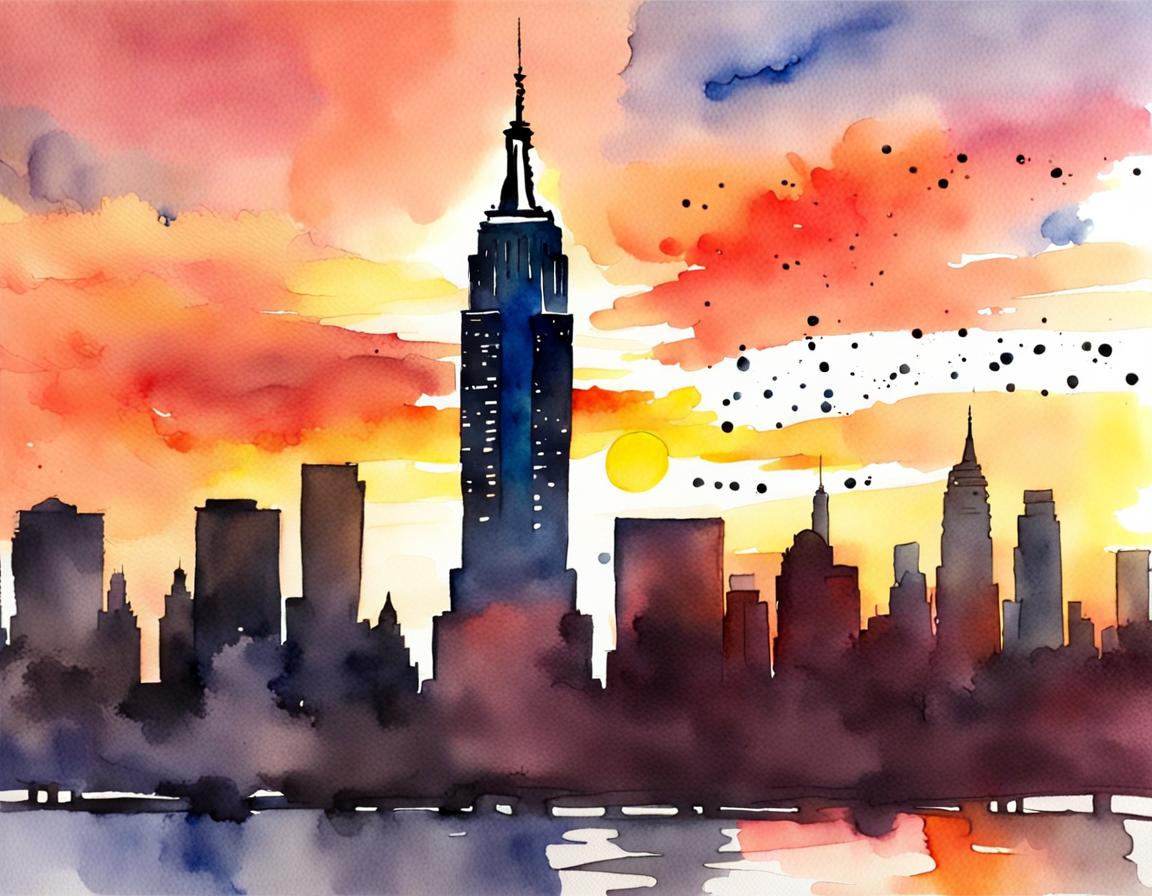
To create a dramatic sunset sky, experiment with warm colors such as oranges, pinks, and purples. Gradually blend these vibrant hues from the horizon upward, intensifying the colors as you go. Add dark silhouettes or contrasting elements for an even more impactful composition.
Q5: What if I make a mistake?
Mistakes are a natural part of the creative process. If you make a mistake, don’t panic! You can try lifting the paint using a clean, damp brush or gently scraping off the excess with a palette knife. Alternatively, you can embrace the mistake and turn it into an opportunity for creative improvisation.
Q6: How can I frame and display my watercolor sky artwork?
To frame and display your watercolor sky artwork, choose a high-quality mat and frame that complements the colors and style of your painting. Consider using UV-protective glass to prevent fading over time. Once framed, find a prominent place where your artwork can be admired and enjoyed.
