
Does your watercolor paper rip when you peel off masking fluid? You are definitely not alone. This guide explains how to remove masking fluid safely without ruining your hard work. You will learn the best tools to use, how long to let it dry, and why paper quality matters. Keep reading to save your paintings and protect those crisp white highlights.
Nothing feels worse than finishing a beautiful painting and then ripping the paper. Masking fluid is an amazing tool for preserving white space. However, learning how to remove masking fluid safely can quickly turn into a nightmare if done incorrectly. Many beginners avoid using it entirely because they fear destroying their artwork.
You do not have to be afraid of this helpful medium. Ripping paper is rarely about a lack of talent. Usually, it just means you missed a small step in the drying process or used the wrong paper surface. Painting should feel relaxing, not stressful. A Drexel University study found that making art lowers stress hormones, but ripping your favorite piece definitely brings that stress right back. Additionally, researchers on NPR report that creative hobbies reduce anxiety levels.
In this post, we will cover exactly how to handle liquid frisket (another name for masking fluid). We will explore the tools you need and the timing required for safe removal. If you are just getting started with watercolors, these tips will save you hours of frustration. Let us dive in and protect your masterpieces.
Why does masking fluid tear my watercolor paper?
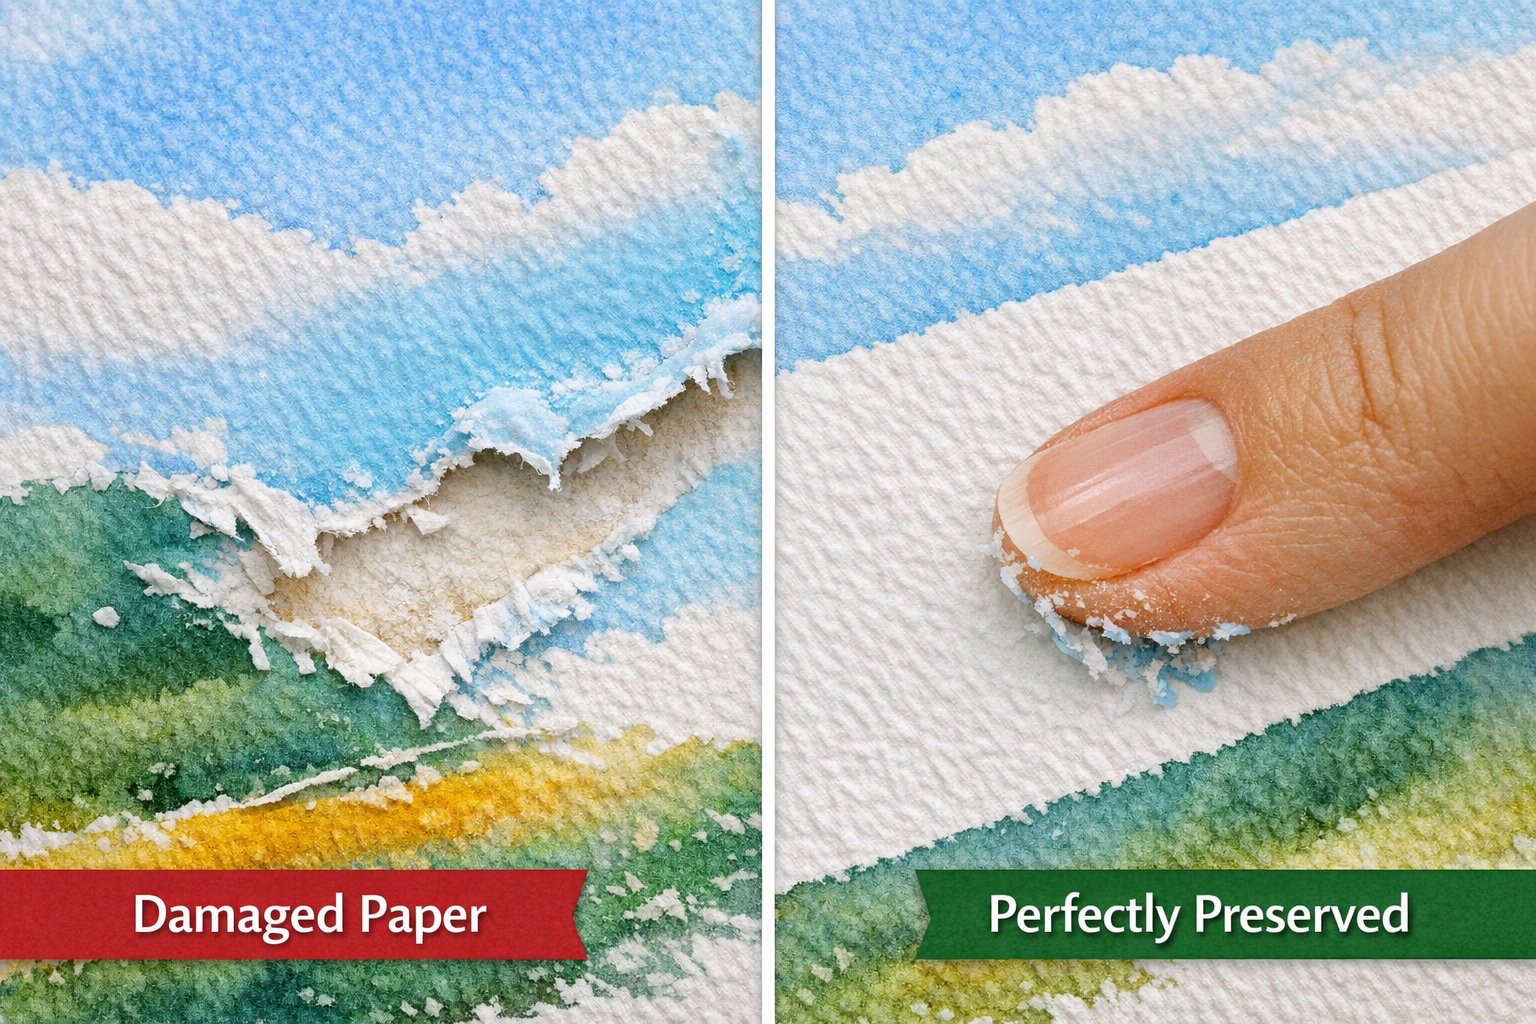
Masking fluid tears your watercolor paper because the fluid binds to the delicate paper fibers. If you leave the fluid on for too long, or if you apply it to soft, damp paper, it acts like a strong glue. Peeling it off pulls the top layer of paper with it.
This is one of the most common painting mistakes beginners make. Masking fluid is made of liquid latex. As it cures, it hardens and shrinks slightly. According to the Tate Museum’s definitions of watercolor mediums, these latex barriers are designed to repel water. If the paper underneath is even slightly wet, the latex bonds with the vulnerable fibers instead of resting on top.
The Importance of Paper Quality
The type of paper you use plays a massive role in how masking fluid behaves. 100% cotton paper is much stronger than cheap cellulose (wood pulp) paper. Cotton fibers are naturally long and weave together tightly. This tight weave creates a durable surface that resists tearing.
When you are choosing watercolor paper pads, look for cold-pressed or hot-pressed options that are externally sized. Sizing is a gelatin coating applied to the paper. Paper experts at Strathmore explain that sizing prevents water and paint from soaking completely through the sheet. This protective layer also stops masking fluid from penetrating too deeply.
How long should you leave masking fluid on paper?
You should only leave masking fluid on your paper for one to two days maximum. If you leave it on for weeks or months, the latex will bake into the paper fibers and become impossible to remove without severe tearing.
It is always best to remove the fluid as soon as your final paint layer is completely dry. Conservators at the National Gallery of Art warn that materials like rubber and latex degrade over time and become acidic. Furthermore, The Metropolitan Museum of Art’s paper conservation guidelines confirm that degrading latex turns yellow and permanently fuses to the paper. If you need to step away from a painting, do not leave the fluid sitting.
What is the best tool to remove dried masking fluid?

The best tool to remove dried masking fluid is a rubber cement pick-up tool or an adhesive eraser. These small rubber squares grip the dried latex perfectly and lift it away gently without scraping or scratching the delicate paper surface underneath.
Many people try to use their fingernails, but this often leads to dented paper or accidental scratches. Some artists also rub it away with their fingertips. However, the natural oils on your skin can transfer to the paper and cause future paint layers to resist the water. Adding a rubber pick-up square to your essential painting supplies will save you a lot of grief. Educators at Winsor & Newton highly recommend using these dedicated tools for the cleanest results.
Common Removal Tools Compared
| Tool | Safety Level | Pros | Cons |
| Rubber Cement Pick-up | Very High | Gentle on paper, removes fluid easily | Easy to lose in an art box |
| Fingertips | Medium | Free, always available | Transfers skin oils to the paper |
| Fingernails | Low | Very precise | Scratches and dents the paper |
| Standard Pencil Eraser | Low | Removes small spots | Smudges graphite, tears paper |
Can you speed up the drying time with a hair dryer?
No, you should never use a hair dryer or heat gun to dry masking fluid. Heat bakes the liquid latex directly into the paper sizing. Once the masking fluid is heated, it permanently bonds to the paper and will definitely tear it upon removal.
Patience is the key to successful masking. Let the fluid dry naturally at room temperature. The American Art Therapy Association emphasizes that the slow pace of art-making promotes mindfulness. Use that waiting time to mix your colors or sketch a new idea. It usually only takes ten to fifteen minutes for a thin layer of fluid to air dry completely.
Personal Experience: Learning to Fix Mistakes
Olly Farmer is an arts educator, watercolorist, and the Founder of ProminentPainting.com. Backed by over a decade of teaching experience (PGCE), he is dedicated to making painting accessible, mindful, and therapeutic for artists of all levels.
When I first started painting, I ruined a gorgeous landscape by peeling off a massive strip of masking fluid. It tore a hole right through the center of my sky. I was incredibly frustrated. When we implemented a simple drying rule for my students, we saw the problem disappear completely. I taught them to gently touch the fluid to ensure it was no longer tacky before painting over it. Knowing how to fix watercolor mistakes is great, but preventing them is even better. You just need to be patient with the drying process.
Final Words
Removing masking fluid does not have to be a scary guessing game. By using high-quality cotton paper and waiting for everything to dry completely, you can protect your beautiful artwork. Remember to avoid heat and never leave the fluid sitting on your painting for weeks. Using a rubber cement pick-up tool will give you clean, crisp edges every single time.
Now it is your turn to practice this technique. Grab a scrap piece of watercolor paper, apply a few dots of masking fluid, and let them dry naturally. Paint a bright wash over them and practice rubbing them away with a proper tool. If you want more step-by-step advice, join our free newsletter to get fresh painting tips delivered straight to your inbox!
Frequently Asked Questions
Can I thin out thick masking fluid?
Yes, you can thin masking fluid with a tiny drop of water. However, if you add too much water, the fluid loses its strength and the paint will bleed right through it.
Why did my masking fluid turn blue or yellow?
Some brands tint their masking fluid so you can easily see it on white paper. The tint will not stain your artwork as long as you remove it within a day or two.
Can I use masking tape instead of masking fluid?
Masking tape is great for creating straight, geometric borders around your painting. Masking fluid is much better for protecting tiny, organic shapes like highlights in eyes or small flower petals.
How do I clean masking fluid out of my brush?
You should never use your good brushes for masking fluid. Use a cheap, synthetic brush and dip it in dish soap before applying the fluid. This helps the latex wash out easier.
What happens if I paint over wet masking fluid?
If the fluid is still wet, your watercolor paint will mix with the liquid latex. This creates a messy, sticky puddle that will smear across your paper and ruin your hard work.

