
Summary: Neurographic art is a drawing method designed to relieve stress and rewire your brain. Whether you are an experienced artist or haven’t picked up a pen since kindergarten, this guide covers everything you need to know. You’ll learn the science behind the scribble, a quick 5-step exercise for immediate calm, and the formal 8-step therapeutic algorithm.
Have you ever felt so overwhelmed that your brain feels like a tangled ball of yarn? We have all been there. Finding a way to untangle that mental knot is crucial, and that is exactly where Neurographic art comes in.
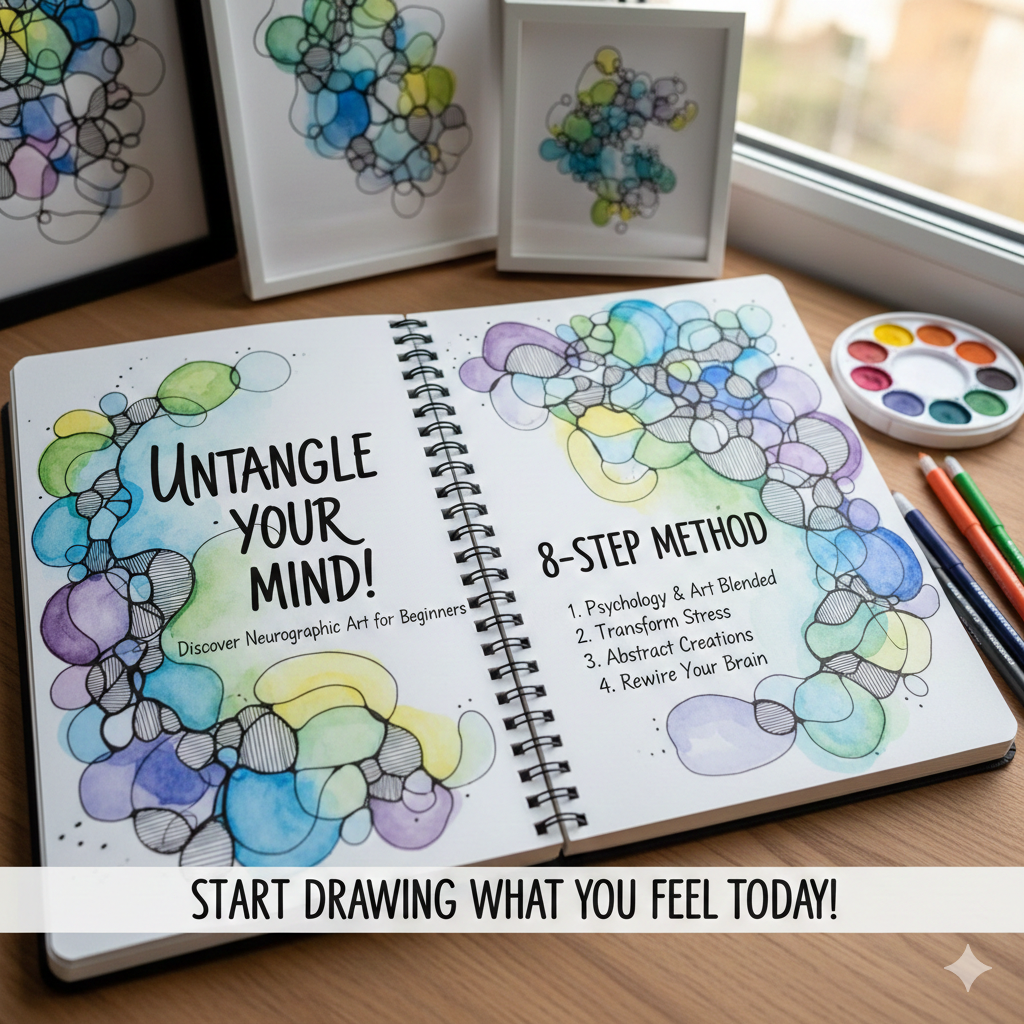
Unlike traditional sketching where you might worry about perspective or shading, this method removes the pressure of the blank page entirely. It is not about drawing what you see; it is about drawing what you feel. It requires zero artistic skill—just a pen, paper, and a willingness to let your hand move freely.
The Science Behind the Scribble

To truly appreciate this technique, it helps to separate the “pretty picture” from the “psychological tool.”
The Origin Story: The concept was born in 2014 when Russian psychologist and architect Pavel Piskarev sketched a spontaneous, intuitive line during a flight. He realized he had stumbled upon a graphical alphabet that could communicate with the subconscious, eventually formalizing it into a teachable method.
Neuroplasticity at Work: The secret to this method lies in neuroplasticity—your brain’s ability to reorganize itself by forming new neural connections. When you draw a “Neurographic Line” (an organic, wandering line that doesn’t repeat itself), you force your brain to break habitual loops of worry. By mindfully smoothing out the sharp corners where lines intersect, you send a signal of safety to your amygdala, visually resolving conflict on the page and calming your stress response: clinical reviews hosted by the National Institutes of Health (NIH)
An Important Distinction: * Neurographica®: The trademarked, strict psychological coaching tool taught by certified instructors.
- NeuroArt: The aesthetic, abstract art style derived from the method, used for creative expression and general mindfulness.
More: Psychology of Creativity Institute
Essential Supplies
You don’t need an expensive studio setup to start. Limiting your tools can actually help focus your mind.
- Paper: Heavyweight mixed-media or watercolor paper is ideal, as it handles heavy ink saturation and wet mediums without buckling.
- Thick Permanent Markers (1.0mm – 3.0mm): Used for bold “Field Lines” and the initial emotional discharge.
- Waterproof Fine Liners (0.4mm – 0.5mm): Essential for drawing your initial paths, rounding corners, and adding details without smudging.
- Colors: Watercolors, highlighters (great for beginners due to easy blending), or colored pencils to add emotion and depth.
The Quick-Start Guide (Practical Application)
If you want to experience immediate physical relaxation and loosen up your creative muscles, start with this accessible 5-step exercise:
- Set Your Intention: Think about an emotion or problem. Condense it into one or two words and write it on the back of your paper.
- Draw Spontaneous Lines: Take your fine liner and let your hand wander for exactly three seconds. Let the lines cross over each other. If it looks like a chaotic mess, you are doing it perfectly.
- Soften and Round Intersections: Find every place where two lines cross. Draw small, soft curves inside these sharp corners and fill them with ink.
- Add Shapes and Field Lines: Add simple shapes like circles over your intersections. Draw thicker, bolder lines across the whole page to give the artwork a sense of flow.
- Bring It to Life with Color: Choose hues intuitively and group adjacent sections together.

The Formal 8-Step Algorithm (Advanced Theory)
For those ready to dive into the deeper psychological tool, this specific sequence is known as the “Algorithm for Removing Limitations” (ARL).
Step 1: Topic 1.0 (Setting the Intention)
Set a timer for 2 minutes. Write down words related to a topic stressing you out to activate those specific neural networks.
Step 2: Catharsis (The Discharge)
Focus on the stress. Take a deep breath, transfer that feeling to your hand, and release it onto the paper in a rapid, chaotic scribble for 3-4 seconds.
Step 3: Rounding (Conjoining)
Use your marker to smooth out every single intersection. In psychology, sharp corners represent conflict. Transforming them into smooth curves tells your brain, “Everything is safe.” Do not stop your drawing session until this step is finished.
Step 4: Integration (Figure & Background)
Extend the loose ends of your scribble to the edges of the paper. This symbolizes that you are not isolated; your problem is connected to the wider universe.
Step 5: Archetyping (Coloring)
Group small details into larger shapes by coloring across the lines. One color should flow through at least 2-3 adjacent sections to help your brain see the “big picture.”
Step 6: Field Lines (The Power Lines)
Take a thick marker and draw 2 to 4 heavy, bold lines across the entire drawing. These represent the flow of the universe or a greater power, bringing dynamic energy to the piece.
Step 7: Fixation (The Solution Shape)
Look for a strong shape emerging (like a circle or oval) and outline it with a thick marker. This fixes the energy of the drawing and represents the subconscious solution to your problem.
Step 8: Topic 2.0 (Reflection)
Turn your paper over. Write down how you feel now. Did a new idea pop up? This reflection solidifies the neural changes.

Technique Focus: Common Mistakes to Avoid
Even with the steps laid out, it is easy to fall into old habits. Watch out for these common beginner traps:
- The “Sine Wave” Trap: A true neuro line is unpredictable. Beginners often draw repetitive “sine waves” (like a snake). If your hand wants to go up, gently force it to wander down. Repetitive lines put the brain to sleep; unpredictable lines wake it up.
- The “Mosaic” Mistake: When coloring, do not color every tiny cell a different color. This creates a fragmented mosaic effect, which visually increases anxiety. Always group sections together.
- Floating Figures: Never leave your initial scribble floating in the center of the page. Always extend lines to the edge to ground your artwork.
- Stopping Too Early: Don’t stop at the coloring phase just because it looks pretty. The deep psychological power comes from adding your bold Field Lines (Step 6).
FAQs: Neurographic Art for Beginners
Do I need to be good at drawing?
Absolutely not. The process relies entirely on organic lines and filling in corners. In fact, trained artists sometimes struggle more because they try to make it “look good” rather than “feel right.”
How long does a drawing take?
A simple exercise can take 15 minutes. A full 8-step Algorithm will usually take 45 to 90 minutes.
Can kids do neurographic art?
Yes! It’s a wonderful way for children to practice mindfulness. The simple act of rounding corners helps them focus and calm their minds.
Moving Forward: Education & Certification
If you find this method deeply transformative, you might want to explore it further. While free tutorials are great for learning the basics of mindful drawing, true Neurographica is a structured, trademarked discipline.
- Level 0 (Beginner): Learning from free online resources for personal use.
- Level 1 (Basic User): Taking an official course to learn the algorithms for personal use.
- Level 2 (Specialist): Certified to use the method with coaching clients.
- Level 3 (Instructor): Certified to teach the method and certify others.
There are no “bad” drawings here. Every line you draw is a step toward a more integrated, peaceful self. Grab a marker, set your intention, and let the line lead the way.

