
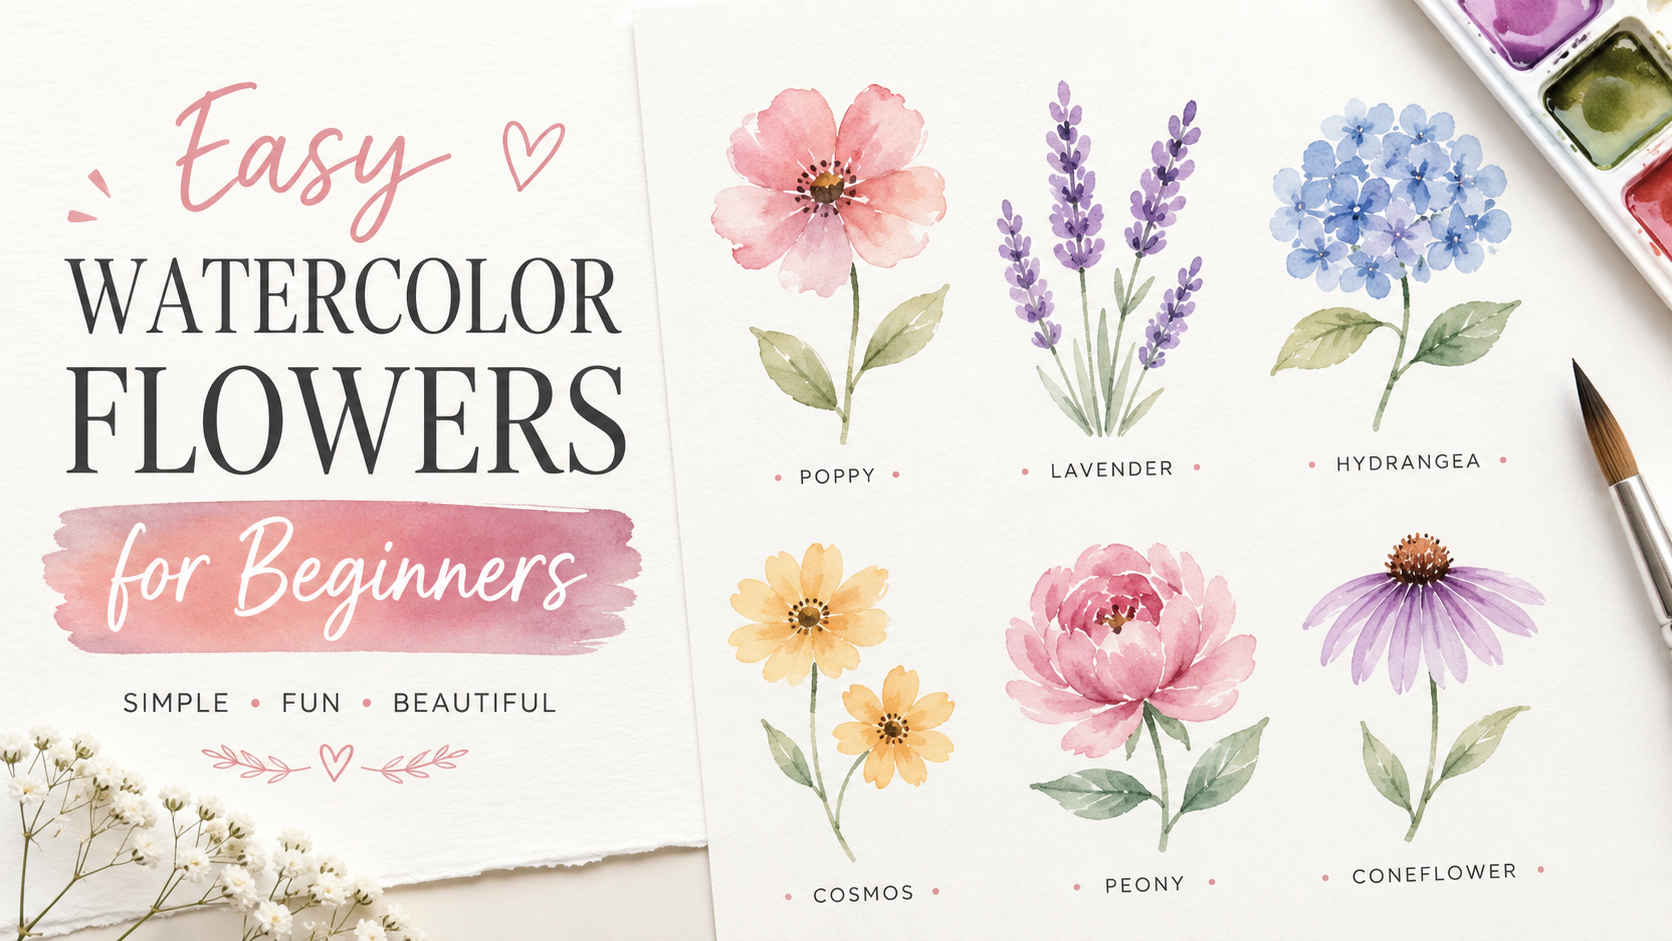
Learning to paint easy watercolor flowers for beginners shouldn’t feel intimidating. With over 25 years of experience in watercolor painting and fine art education, we at Prominent Painting have guided countless students from their very first brushstroke to creating gallery-worthy floral compositions.
The secret isn’t innate talent; it lies in understanding fundamental technical methods—specifically watercolor water control, foundational color theory, and proper surface preparation. Whether you are stepping into an art studio for the first time or returning to the canvas, watercolor botanicals offer a beautifully forgiving entry point into the world of fine art.
Key Takeaways
- Master Water Control: Learn how the ratio of water to pigment dictates the luminosity and transparency of your petals.
- Strategic Color Mixing: Discover how to create realistic, organic floral tones using just three primary colors.
- Step-by-Step Techniques: Follow our structured breakdowns for daisies, loose roses, and sunflowers using foundational wet-on-wet and wet-on-dry methods.
- Fixing Mistakes: Gain confidence with professional rescue techniques for overworked or muddy paintings.
Why Watercolor Flowers Are Perfect for Aspiring Artists
In our collective experience teaching both in classrooms and online, we’ve found that watercolor flowers are the ideal subject for mastering the medium. Unlike architectural drafting or hyper-realistic portraiture, botanical forms are inherently organic. If a petal bleeds unexpectedly or a leaf takes on a slightly asymmetrical shape, it simply adds to the natural realism of the piece.
Watercolor’s transparent nature mimics the cellular structure of real flower petals. When light hits the white of your paper and reflects back through the transparent layers of pigment, it creates a luminous, glowing quality that opaque mediums struggle to replicate.
Essential Supplies and Surface Preparation
You don’t need an expansive studio to create beautiful art, but selecting the right foundational tools is critical. As we frequently emphasize to our students, watercolor relies heavily on the quality of your surface.

1. Professional vs. Student-Grade Paper
The most common beginner mistake is using thin, non-absorbent paper. Watercolor requires paper that can withstand heavy water saturation without buckling or pilling.
- The Best Choice: We highly recommend cold-pressed, 140 lb (300 gsm) cotton watercolor paper. Brands like Strathmore provide excellent options that hold up to rigorous water control exercises.
- Preparation: Always tape down your paper’s edges to a rigid board to prevent warping during heavy washes.
- Dive deeper into selecting your canvas in our comprehensive guide on choosing watercolor paper pads.
2. The Right Brushes for Petals and Leaves
You only need two specific brushes to execute the techniques in this guide:
- Round Brush (Size 6 or 8): The belly of the brush holds water, while the fine tip allows for delicate petal edges and stamen details.
- Flat Brush (1/4 inch): Ideal for broad background washes and creating sharp, structural leaves.
- For a detailed breakdown of brush anatomy and care, read our guide on the best paint brushes for beginners.
3. Essential Pigments for Color Mixing
Forget the 48-color palettes. Mastering color theory requires limiting your options to understand how pigments interact. Start with these transparent primaries:
- Lemon Yellow: A cool, bright yellow.
- Quinacridone Rose: A highly transparent, vibrant pink-red.
- Phthalo Blue: An intense, staining cool blue.
- Learn how watercolor compares to oils and acrylics in our complete guide to art mediums.
Mastering Color Theory for Realistic Blooms
Real flowers rarely feature neon, primary colors directly from the tube. To paint professional-looking florals, you must learn to mix organic, nuanced tones.
The Secret to Organic Colors
If your green leaves look artificial or your pink petals look like bubblegum, you need to utilize complementary colors. By adding a microscopic amount of a color’s opposite on the color wheel, you “desaturate” or neutralize the mix. For example, dropping a tiny speck of Quinacridone Rose into your mixed green (Yellow + Blue) will yield a rich, natural olive tone perfectly suited for stems and foliage.
Step-by-Step: Three Easy Watercolor Flowers for Beginners
Here, we break down three fundamental techniques. Remember: keep your brush loaded, trust the water, and avoid the urge to overwork the paper.
1. The Simple Daisy (Wet-on-Dry Technique)
This exercise teaches precision and the “wet-on-dry” method, where wet paint is applied to dry paper for crisp, defined edges.
- The Center: Using your round brush, paint a small oval with a mix of Lemon Yellow and a hint of Phthalo Blue.
- The Petals: Rinse your brush. Pick up diluted Lemon Yellow. Paint simple, radiating oval strokes outward from the center. Allow the dry paper to dictate the sharp edges of the petals.
- Shadows: While the petal base is still damp, lightly tap a darker yellow-orange into the area closest to the center. Watch the pigment naturally diffuse.
- Details: Once completely dry, add stippled dots to the center for texture.

2. The Loose Watercolor Rose (Wet-on-Wet Technique)

The loose rose is an industry standard for teaching “wet-on-wet” control, allowing colors to blend seamlessly directly on the paper.
- The Core: Paint a tight, concentrated “C” shape or spiral using thick Quinacridone Rose pigment.
- Building Volume: Dip your brush in clean water to dilute the pigment currently on your bristles. Paint larger, curving petal strokes wrapping around the core. The water will pull the concentrated pigment outward, creating a natural gradient.
- Adding Depth: While the outer petals are still glistening wet, drop pure, concentrated Quinacridone Rose into the inner crevices of the petals.
- Curation Tip: When framing loose watercolor pieces, pair them with generous white matting to give the expansive bleeds room to breathe.
3. The Cheerful Sunflower (Layering/Glazing)
This teaches how to build opacity and texture.
- The Center Disk: Create a rich, dark brown by mixing Quinacridone Rose and Phthalo Blue. Paint a large textured circle.
- The Base Petals: Wait for the center to dry. Paint long, sweeping petals with pure Lemon Yellow, leaving small slivers of white paper between them for highlights.
- Glazing: Once the first layer of yellow is completely dry, mix a warmer yellow (Lemon Yellow + a tiny dot of Rose). Paint overlapping petals. Because watercolor is transparent, the bottom layer will shine through, creating complex optical depth.

Troubleshooting Common Beginner Mistakes
Even seasoned gallery artists face challenges in the studio. Watercolor requires a balance of control and surrender.
Problem: Muddy, Overworked Petals
- The Cause: Mixing too many opaque colors or scrubbing the paper with your brush.
- The Fix: If the paint is still wet, use a clean, thirsty brush to “lift” the mistake off the paper. If it’s dry, leave it alone. To learn more advanced rescue techniques, consult our guide on fixing painting mistakes.
Problem: Paint Dries with Hard “Cauliflower” Edges
- The Cause: Introducing overly watery paint into a section that is already half-dry.
- The Fix: Maintain consistent water control. If an edge forms, wait for it to dry completely, then gently glaze over it with a damp brush to soften the harsh line.
Continuing Your Artistic Journey
Mastering easy watercolor flowers for beginners is about building a relationship with the medium. Celebrate the unpredictable blooms and transparent layers. The more you practice these foundational techniques, the more authoritative your brushstrokes will become.
For further authoritative reading on watercolor techniques, we recommend exploring resources from the Artists Network and reviewing Strathmore’s official paper guidelines.
FAQs: Easy Watercolor Flowers for Beginners
Q: Do I need to sketch my flowers with a pencil first? A: We recommend trying to paint loosely without a sketch to develop brush confidence. If you must sketch, use a very hard pencil (like a 2H) and draw extremely lightly, as graphite cannot be erased once painted over.
Q: Why do my watercolors look dull when they dry? A: Watercolor naturally dries about 20% lighter and less vibrant than it appears when wet. To combat this, mix your paints with slightly less water and more pigment than you think you need.
Q: Can I mix watercolor with other mediums? A: Absolutely! In professional illustration and fine art, watercolor is frequently combined with waterproof archival ink, gouache for opaque highlights, or colored pencil for fine details.
(PU)

