
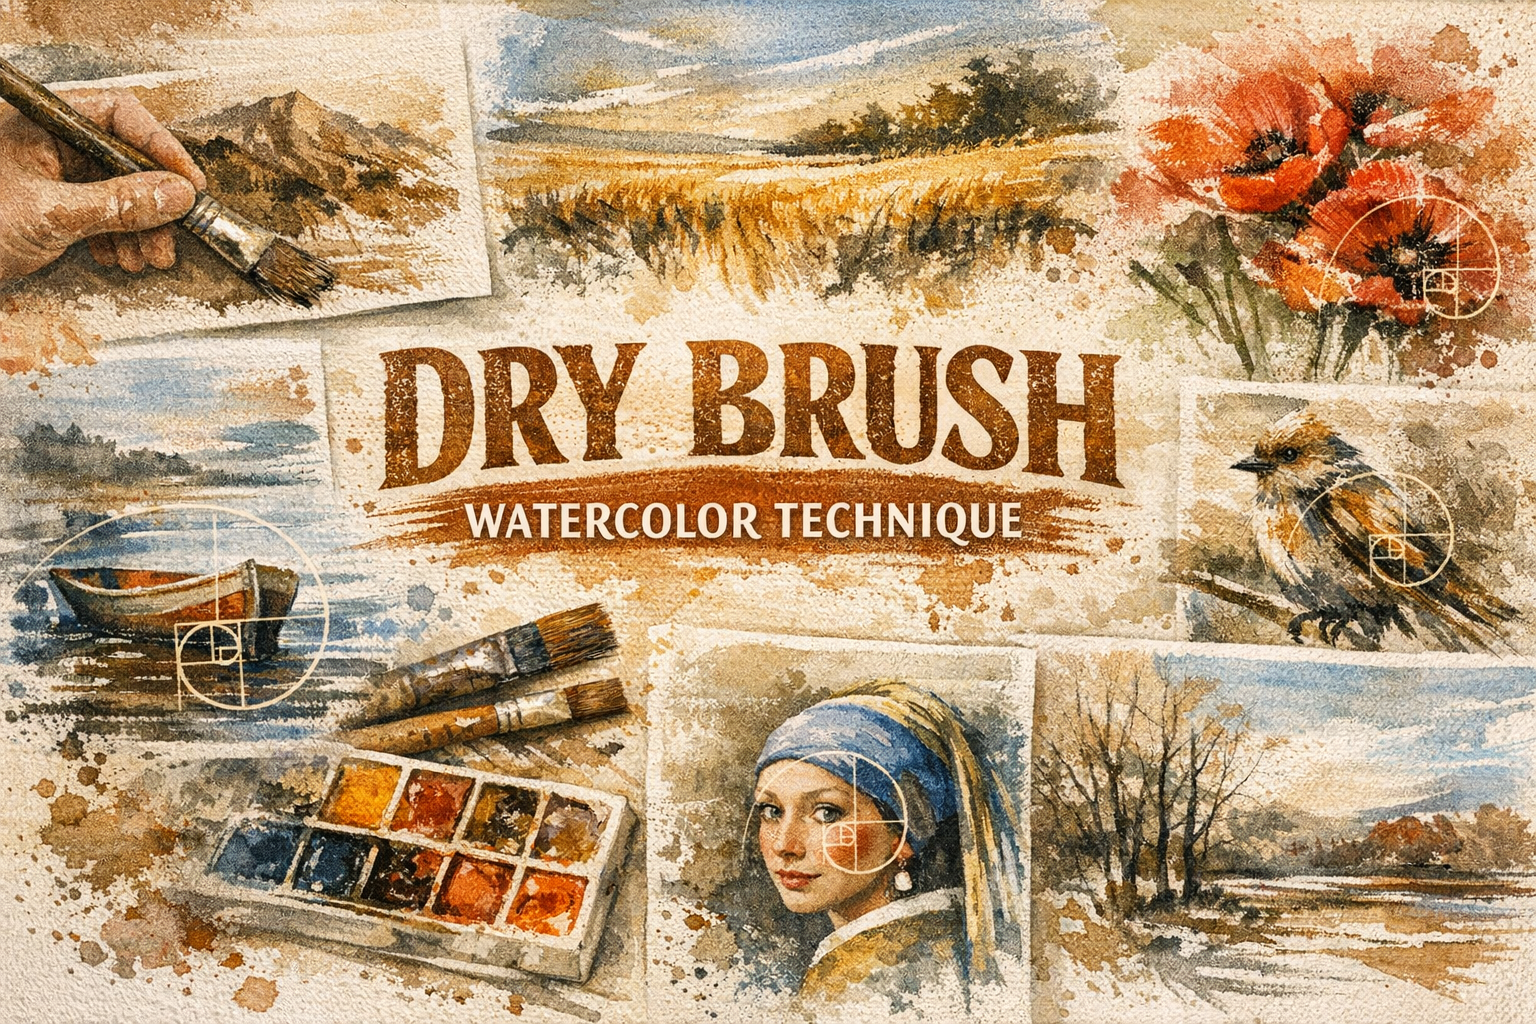
Dry brushing is a striking watercolor technique that relies on minimal water and rough paper to create textured broken strokes. This guide breaks down exactly how to control your water-to-paint ratio, choose the right brushes, and avoid common beginner mistakes. Master this method to easily add realistic depth to landscapes and botanical art.
Flat washes have their place. But when you need to paint the rough bark of a pine tree or the sparkling reflection of sun on water, a flat wash looks lifeless. You need texture. Dry brushing is the fastest way to get it. You are intentionally starving your brush of water so the paint breaks apart across the paper. It feels wrong when you first try it. You are taught to keep watercolors wet and flowing. This technique breaks that rule entirely. By mastering watercolor painting basics, you learn the rules. Dry brushing is where you learn how to break them.
What Is the Dry Brush Watercolor Technique?
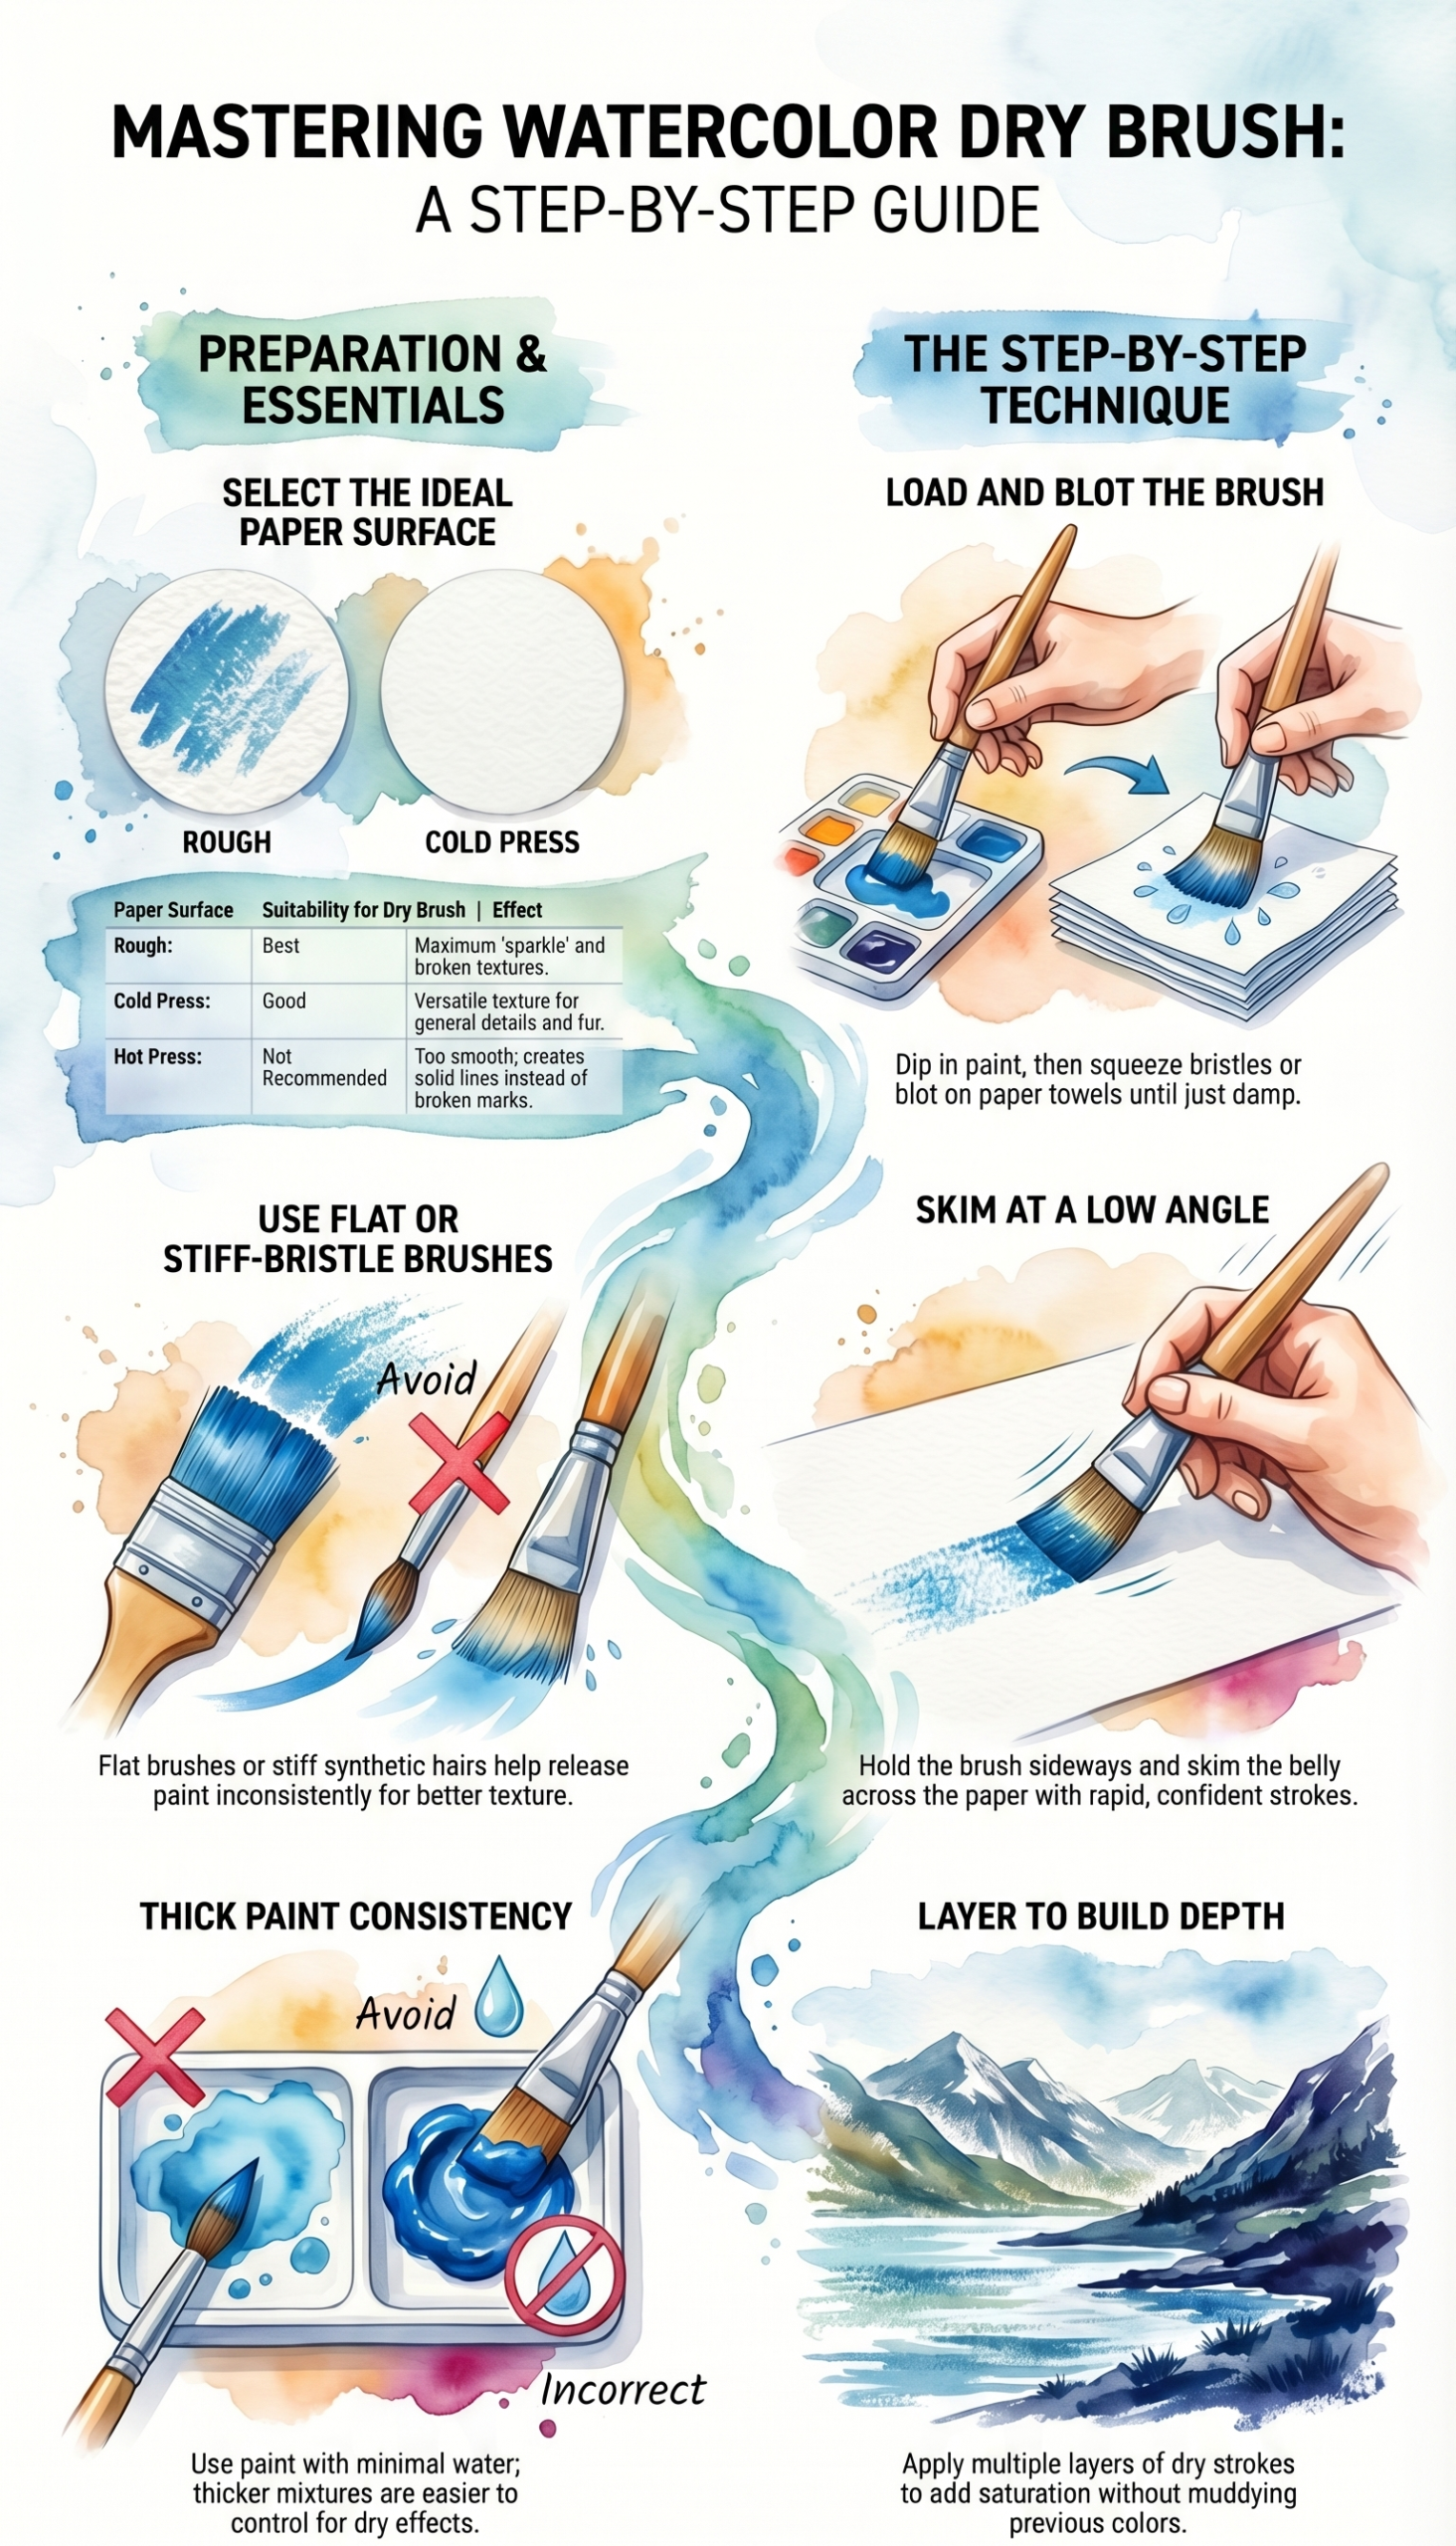
The dry brush watercolor technique involves dragging a damp, pigment-rich brush across rough watercolor paper. Because the brush holds minimal water, the paint catches only on the raised bumps of the paper, leaving the underlying valleys untouched and creating a broken, scratchy brushstroke.
This method mimics natural textures like sand, grass, and rock. It is the exact opposite of a smooth wet-on-wet wash. Instead of letting water do the work, you are using friction.
Why Paper Texture Is Your Secret Weapon
Rough and cold-pressed watercolor papers are essential for the dry brush technique because their bumpy surfaces grab the pigment. Smooth hot-pressed paper will not work, as it lacks the “tooth” necessary to create those signature broken marks.
Textured watercolor paper does half the heavy lifting for you. Hot press paper has a smooth finish that makes paint glide. You cannot get a broken stroke if there are no bumps to break it up. If you are struggling with this technique on hot press paper, stop trying. The paper is actively fighting you.
How to Choose the Right Brush for Dry Brushing
Flat brushes, fan brushes, and stiff bristle hake brushes are best for dry brushing watercolor because they easily skip across the paper’s texture. You can also use the side or belly of a large round brush to achieve broad, scratchy strokes.
Soft synthetic brushes hold too much water. Stiff bristles refuse to bend into the paper’s crevices, meaning they only deposit paint on the highest points of the texture. This is one of the few times you should reach for brushes meant for acrylic or oil paints. Treat your expensive sable brushes with respect and leave them out of this. You need something that can take a beating. Check out the best watercolor brushes for durable options.
Mastering the Water-to-Paint Ratio
Water control dictates everything in this medium. You want a mixture that feels almost sticky.
Dip your brush into the paint. Before the brush touches your painting, blot it firmly on a paper towel. You have to squeeze out the excess moisture. The brush should feel damp at most. Test it on a scrap piece of paper. If the stroke looks solid, you have too much water. If nothing comes off the brush, you lack paint. You are looking for that perfect middle ground where the stroke stutters and breaks.

Complete Example: Painting a Weathered Tree Trunk
You can read about the theory all day. Here is how you actually do it. We are going to paint the rough bark of an old oak tree.
Start by painting a light brown base layer for the trunk and let it dry completely. You must wait for bone dry paper. Mix a very dark, thick brown paint. Load a stiff flat brush with this mixture and blot it on a paper towel until it is almost dry. Hold the brush at a low angle so the side of the bristles rests on the paper. Drag the brush vertically down the trunk using light pressure.
The dark paint will catch on the bumps of the paper. The light brown base layer will show through the gaps. You just painted decades of weathered bark in a single stroke.
Dry brushing goes far beyond basic texture exercises. History’s best watercolorists built their entire aesthetic around starving a brush of water. The technique demands absolute patience and control. These five artists proved exactly what it can do.
| Artist | How They Used It | Era |
| Andrew Wyeth | Wyeth completely owned this method. He viewed drybrush as a distinctly different medium than standard watercolor. He squeezed the moisture out of his brush and wove tiny layers of color to build deep emotional resonance in his work. | 20th Century |
| Albrecht Dürer | Dürer defined the Northern Renaissance. He used dry brush techniques in his early watercolor and body color pieces to capture ultra-realistic textures. You can see the exact scratchy effects in the fur of his famous “Young Hare” painting. | 15th to 16th Century |
| Ludek Pesek | Pesek painted the cosmos. He worked as an illustrator for National Geographic and relied on the dry brush technique to depict space exploration and surreal planetary landscapes. | 20th Century |
| Fan Kuan | Ancient Chinese brush painting requires brutal water control. During the Song Dynasty, Fan Kuan incorporated dry brush techniques with ink to create soft, blurred atmospheric effects in his towering mountain landscapes. | 11th Century |
| William Haskell | A working contemporary artist based in New Mexico. Haskell relies heavily on dry brush watercolor to capture the rough, weathered textures of western landscapes. | Contemporary |
Common Dry Brushing Mistakes and How to Fix Them
The most common dry brushing mistake is using too much water, which causes the paint to bleed into the paper’s valleys and ruins the textured effect. Other frequent errors include pressing too hard with the brush or overworking a damp area.
Keep a light touch. High pressure forces the bristles into the paper’s tooth and fills in the white space you are trying to preserve. If your strokes look like solid blocks of color, blot your brush again and ease up on your hand.
Try layering your strokes in different directions to build up organic contrast. Stop fiddling. Drop the stroke and leave it alone.
Dry brushing comes down to controlling your water and trusting your paper’s texture. Grab a sheet of rough cold-pressed paper right now. Mix a thick puddle of dark paint and practice dragging a stiff brush across the surface. Find the exact point where the paint starts to break. Once you master this, explore other watercolor techniques to keep expanding your skills.
Frequently Asked Questions
- Can you use hot-pressed paper for dry brushing? You can try, but hot-pressed paper lacks the rough bumps needed to catch the paint. It usually results in solid streaks rather than textured, broken marks. Stick to cold-pressed or rough paper for the best results.
- Do I need special watercolor paint for this technique? No special paint is required. You just need to mix your standard tube or pan watercolors with far less water than usual to create a highly concentrated, sticky pigment.
- How do I stop my brush from ruining the paper? Use a light touch and hold the brush at an angle. Pressing down too hard forces the bristles into the paper’s grain and can damage the surface of delicate papers.
- What is scumbling in watercolor? Scumbling is a specific dry brush technique where a thin layer of paint is applied over an already dried layer. It creates a soft, textured effect that allows the underlying color to show through.
- Can I use a dry brush over an already painted area? Yes. You can drag a dry brush over a completely dry base layer to add texture like tree bark or rust. Just make sure the bottom layer is 100% dry, or the new paint will bleed.

Olly
Olly Farmer M.Sc, B.Sc, PGCE 25 years experience of Watercolor Painting and AI Art; teacher for 13 years; Creator of Art Tools; Art Gallery Contributor of Art Articles to Medium.com, LinkedIn and Facebook
Continue exploring
PROMINENT PAINTING
Keep your creative momentum
Get new painting guides, practical techniques and artist stories delivered without the noise.
Occasional emails. Unsubscribe whenever you like.