
Learning how to paint mountains in watercolor is easier than you might think. This guide breaks down the process into simple layers, starting with a light sky and finishing with bold foreground peaks. You will learn essential techniques like atmospheric perspective and color blending to create realistic depth. Grab your brushes and discover how to bring majestic mountainscapes to life with confidence.
Have you ever looked at a stunning watercolor landscape and thought you could never create something so complex? Learning how to paint mountains in watercolor can feel incredibly intimidating for beginners. You might wonder if capturing that realistic sense of depth requires years of formal training. Good news (it does not require years of practice at all).
The magic of watercolor lies in how water and pigment work together. When I first started painting, my mountains always looked flat and lifeless. I felt so frustrated. Then, I discovered the simple rule of working from light to dark. That completely changed my approach to art.
By breaking the scenery down into manageable layers, anyone can paint beautiful peaks on their very first try. We will explore how to use atmospheric perspective to make distant mountains look far away. We will also cover the best ways to add texture to your foreground. Let us get your paints ready and dive into the soothing process of building a mountainscape.
What Supplies Do You Need for Watercolor Mountains?
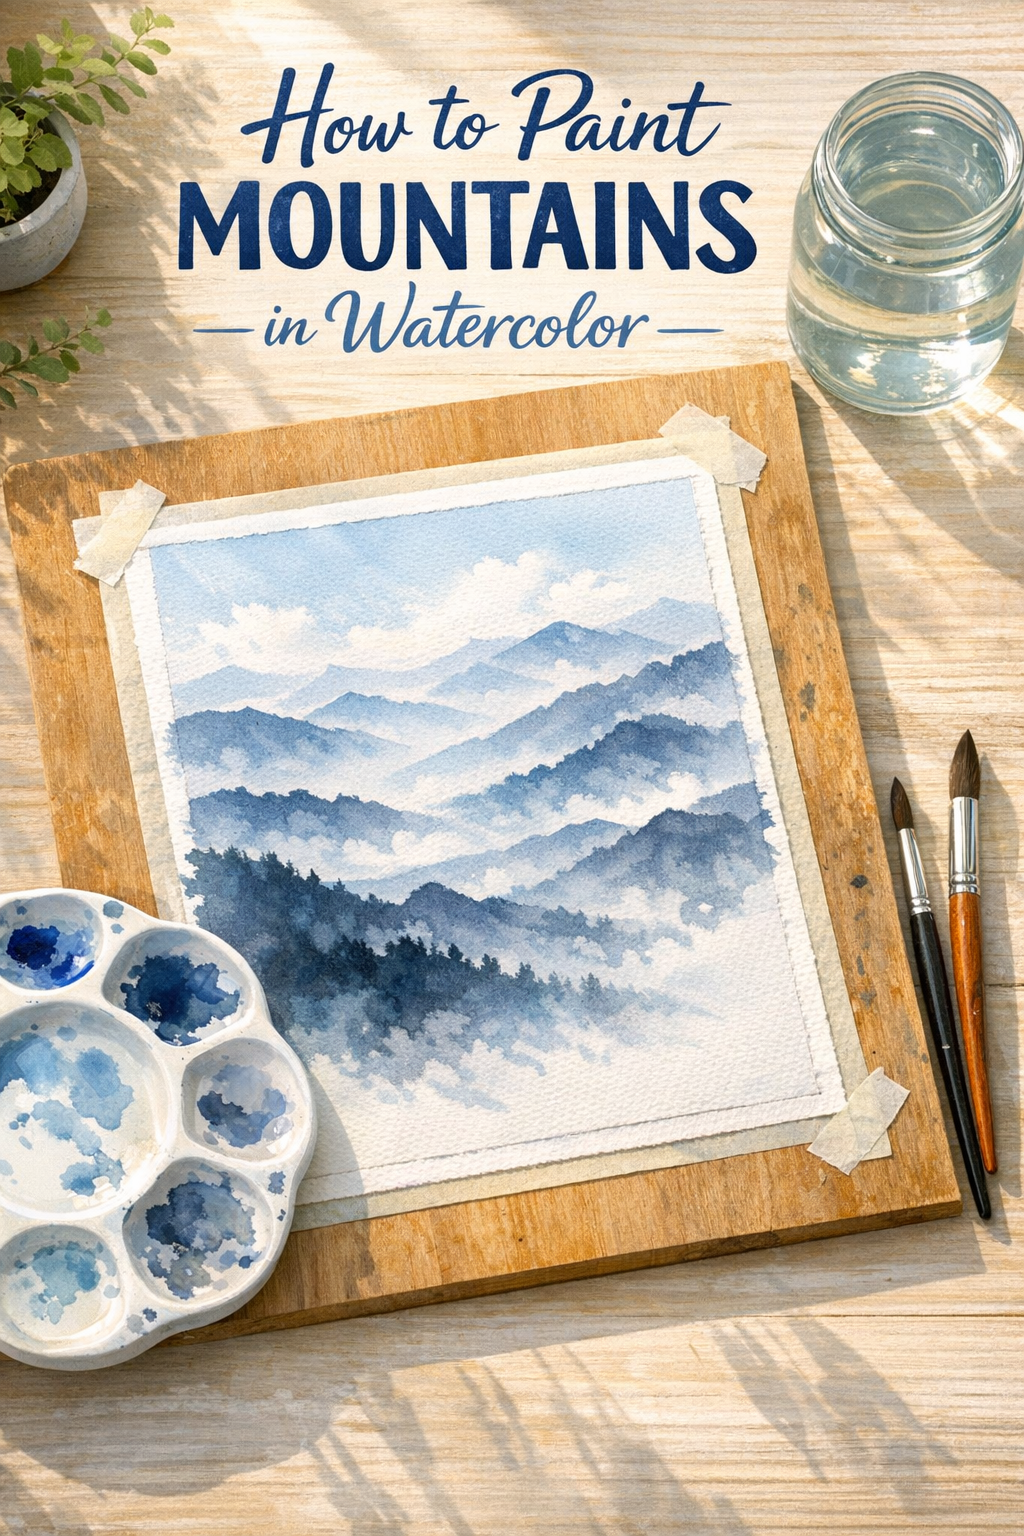
To paint watercolor mountains, you need 140lb cold-pressed watercolor paper, a medium round brush, masking tape, and basic watercolor paints. Using 100% cotton paper is especially important because it absorbs water evenly and makes blending your mountain layers much easier.
The right tools make a huge difference when you are getting started with watercolors. I highly recommend using 100% cotton cold-pressed paper. Using 100% cotton cold-pressed paper is crucial for the best watercolor results, as it stays wet longer. This allows you time to create smooth skies and soft distant peaks.
You do not need expensive paints to start. Student-grade paints work perfectly fine. Just make sure you are choosing watercolor paper pads that can handle lots of water without buckling.
How Do You Create Depth in a Mountain Painting?
You create depth in a mountain painting by using atmospheric perspective. This means distant mountains should be painted with lighter, cooler colors like pale blue. As mountains get closer to the foreground, you paint them using darker, warmer, and more detailed colors.
Atmospheric perspective is the secret to a realistic landscape. When you look at mountains in real life, the ones furthest away look misty and faded. Distant mountains appear lighter and bluer, while closer objects are darker and more saturated. This happens because there is more air and dust between you and the distant peaks.
To recreate this, simply add more water to your paint mix for the background. As you move forward in your painting, use less water and more pigment. Understanding watercolor light and shadows will help you make the closest mountains pop right off the page.
Step 1: Paint a Soft Sky Background

Before you paint any mountains, you need a sky. Start by taping your paper down to a board. This keeps the paper flat while it is wet. Next, brush a layer of clean water over the top third of your paper.
Drop a little bit of blue paint into the wet area and let it spread. This creates a soft, cloudy look. Always paint the sky first and let it dry to contextualize the background mountains. If you try to paint mountains while the sky is still wet, the colors will bleed into a messy blob. Be patient and wait for the paper to dry completely.
Step 2: Layer Your Distant and Midground Peaks
Now it is time to paint your first mountain range. Mix a very watery, pale blue-gray. Paint a jagged silhouette across the page, overlapping the bottom of your dry sky. The glazing technique creates a sense of misty atmosphere in the valleys below.
Once that first pale layer is dry, mix a slightly darker color. Paint a second range of mountains slightly lower on the page. Let the peaks of this new layer overlap the previous one. The 3-step layering process involves lightest values first, finding connections, and finishing with dark details. There are many watercolor painting techniques to explore, but simple layering is the best place to start.
What Are the Best Colors for Painting Mountains?
The best colors for painting mountains are Ultramarine Blue, Burnt Sienna, and Payne’s Gray. Mixing these three colors allows you to create everything from pale, misty background blues to deep, rich shadows for the rocky foreground peaks.
You do not need a massive palette to create a beautiful landscape. Keeping your colors limited actually makes the painting look more cohesive. You can paint a full mountain scene using just a few primary colors and Payne’s Gray.
Try mixing Ultramarine Blue with a touch of Burnt Sienna. This creates a gorgeous, natural gray that is perfect for mountain shadows. Blending blues, grays, and browns creates a realistic effect for shadows and rocky surfaces. Add more water to the mix for distant peaks, and use it thicker for the details up front.
How Do You Paint Foreground Mountain Details?
You paint foreground details by using your darkest paint mixture with very little water. Applying thick paint with a dry brush technique creates the illusion of rough, rocky textures on the closest mountain peaks.
The final step is to anchor your painting with strong foreground details. This is where you use your darkest paint mixture. Paint the closest mountain peaks with sharp, confident strokes.
You can easily use a dry brush technique here. Simply wipe excess water off your brush on a paper towel before picking up thick paint. Skim it lightly over the paper to create the texture of rough rocks. Finally, add a few simple pine trees at the base to give the scenery a sense of scale.
Conclusion
Painting mountains does not have to be a stressful or overly technical process. By starting with a light sky, building depth through layers, and using atmospheric perspective, you can create stunning landscapes with just a few colors. Remember to let each layer dry completely before moving on to the next.
The best way to improve is simply to pick up your brush and start mixing colors. Give this step-by-step process a try today. If you want to learn more about selecting the right tools, check out our guide to the best paint brushes for beginners. Happy painting!

Frequently Asked Questions
Should background mountains be lighter or darker? Background mountains should always be lighter and cooler in color. This mimics how particles in the air scatter light over long distances. Using pale blues or grays makes them look far away.

How do I stop my watercolor mountains from bleeding together? You must let each layer of paint dry completely before adding the next one. Ensure the paper is completely dry before laying on a glaze to avoid making a mess. If the paper is even slightly damp, the wet colors will run into each other.
What is the best brush for painting mountain peaks? A medium-sized round brush is the most versatile tool for this job. It holds enough water for large washes but comes to a fine point for tiny details.
How do I fix a watercolor mistake if my mountains get too dark? If your paint is still wet, quickly dab it with a clean paper towel to lift the color. If it has dried, gently scrub the area with a clean, damp brush and blot it away.
Can I use watercolor pencils for mountain landscapes? Yes, watercolor pencils are excellent for adding precise details to rocky ridges or foreground trees. Simply draw your details and gently blend them with a wet brush.

