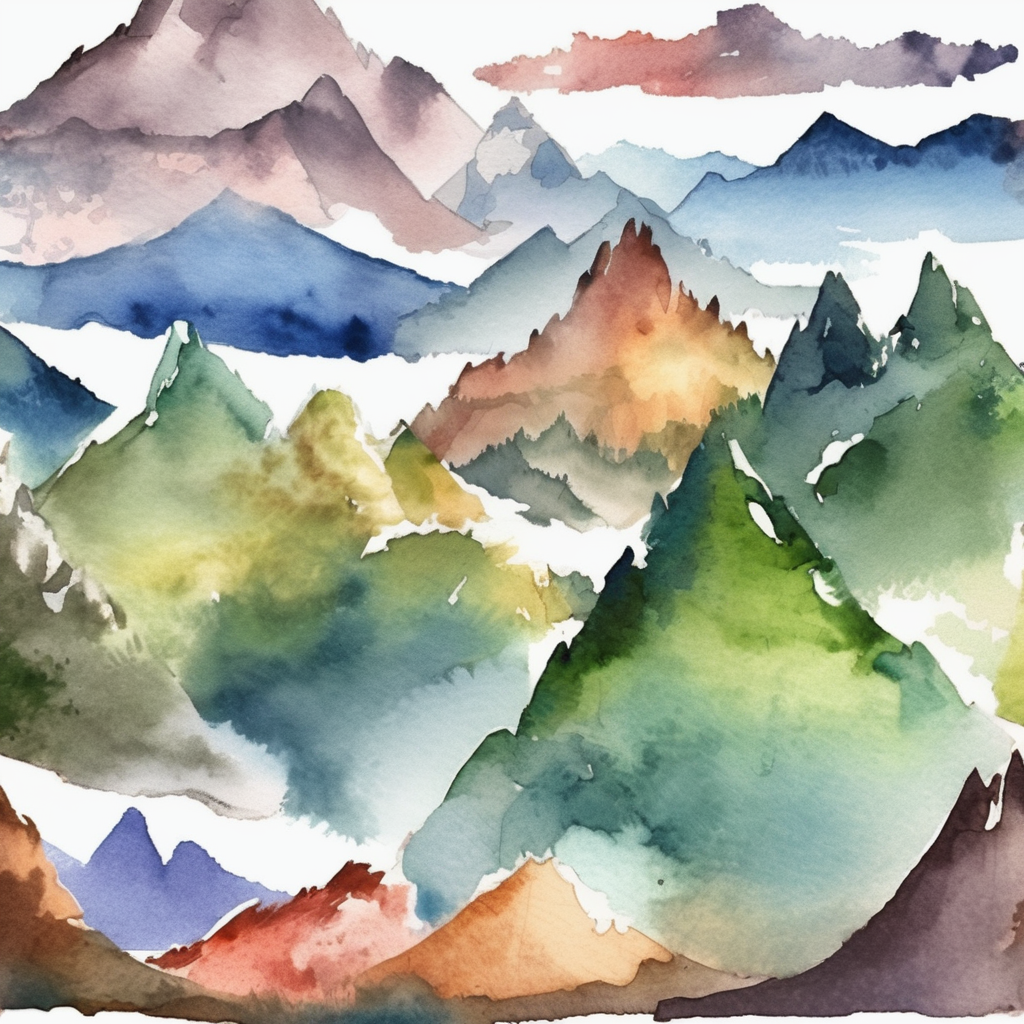
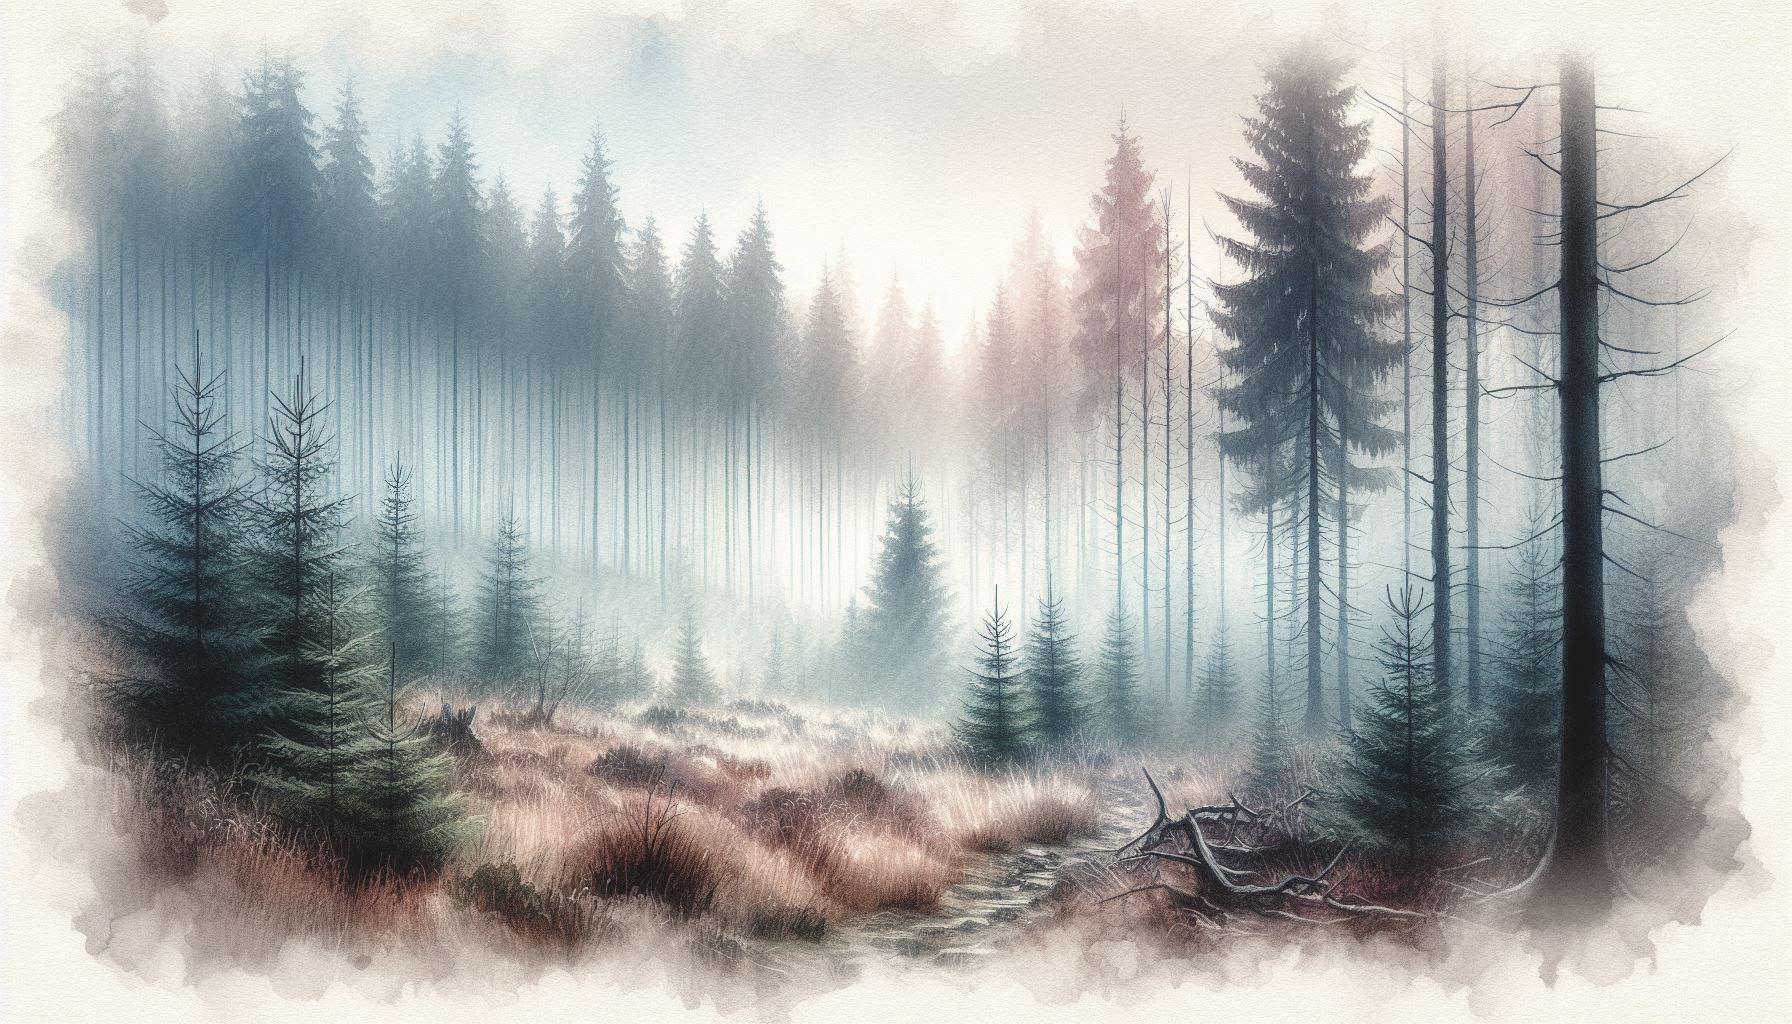
Watercolor backgrounds can elevate your artwork, transforming simple subjects into captivating compositions. Whether you’re a seasoned artist or a beginner, mastering the art of painting watercolor backgrounds will add depth, atmosphere, and visual interest to your pieces. In this comprehensive guide, we’ll explore various techniques and step-by-step instructions to help you create stunning watercolor backgrounds that complement and enhance your subjects.

Wet-on-Wet Technique
One of the most popular and versatile methods for painting watercolor backgrounds is the wet-on-wet technique. This approach involves applying wet paint onto a pre-moistened paper surface, allowing the colors to blend seamlessly and create soft, diffused effects.
- Prepare your workspace: Gather your watercolor paper, paints, brushes, and a clean water container.
- Wet the paper: Using a large, flat brush, evenly wet the area where you want to paint your background. Ensure the paper is thoroughly saturated but not pooling with water.
- Mix your colors: On your palette, combine your desired watercolor pigments with clean water to create a fluid consistency.
- Apply the paint: With a clean brush, pick up some of the diluted paint and gently touch it onto the wet paper surface. Allow the colors to bloom and blend naturally, creating soft transitions and organic patterns.
- Add depth and texture: While the paper is still damp, you can experiment with various techniques to add depth and texture to your background. Try using a straw to blow the paint, creating interesting splatters and patterns, or use a dry brush to lift out color, creating textured effects.
Wet-on-Dry Technique
If you prefer a more controlled and detailed approach, the wet-on-dry technique might be the perfect choice for your watercolor backgrounds. This method involves applying paint onto a dry paper surface, allowing for greater precision and sharper edges.
- Prepare your surface: Ensure your watercolor paper is completely dry and free from any moisture.
- Sketch your background: If desired, lightly sketch the basic shapes and elements you want to include in your background using a pencil.
- Mix your colors: On your palette, combine your desired watercolor pigments with clean water, adjusting the consistency as needed.
- Apply the paint: Using a clean brush, carefully apply the paint onto the dry paper surface, following your sketched guidelines or creating freehand shapes and patterns.
- Layer and blend: Allow each layer of paint to dry completely before adding additional layers or details. You can blend colors while the paint is still damp or use a dry brush to soften edges and create smooth transitions.
Watercolor Painting Backgrounds: Masking and Negative Painting
Masking and negative painting techniques can add depth and interest to your watercolor backgrounds, allowing you to create crisp edges and preserve white spaces.
- Prepare your surface: Ensure your watercolor paper is dry and free from any moisture.
- Apply masking fluid: Using a brush or a masking pen, carefully apply masking fluid to the areas you want to remain white or unpainted.
- Paint your background: Once the masking fluid is completely dry, paint your background using your desired techniques and color combinations.
- Remove the masking fluid: After the background is dry, carefully remove the masking fluid, revealing the preserved white spaces or shapes.
- Add details: If desired, you can now add additional details or elements to your background, such as splatters, textures, or fine lines, using the preserved white spaces as a guide.
Layering and Glazing
Layering and glazing techniques can add depth and luminosity to your watercolor backgrounds, creating rich and vibrant compositions.
- Start with a base layer: Begin by painting a light, transparent wash over the entire background area, allowing it to dry completely.
- Add subsequent layers: Once the base layer is dry, apply additional layers of color, gradually building up the intensity and depth of your background.
- Glaze with transparent colors: To create luminous and vibrant effects, use transparent watercolor pigments to glaze over the previous layers, allowing the underlying colors to show through.
- Vary the opacity: Experiment with varying the opacity of your glazes, creating areas of greater transparency or opacity to add visual interest and depth.
- Soften edges: Use a clean, damp brush to soften edges and blend colors, creating smooth transitions and harmonious color shifts.
Remember, watercolor backgrounds are not limited to these techniques alone. Feel free to experiment, combine different approaches, and develop your own unique style. The beauty of watercolor lies in its unpredictability and the organic nature of the medium, so embrace the happy accidents and let your creativity flow.
By mastering the art of painting stunning watercolor backgrounds, you’ll elevate your artwork, creating compositions that captivate and inspire. So, grab your brushes, embrace the fluidity of watercolors, and embark on a journey of exploration and self-expression.


