Watercolor color theory
When it comes to watercolor painting, understanding color theory is essential. Color theory is the foundation of creating harmonious and visually pleasing artwork. Whether you are a beginner or an experienced artist, having a solid grasp of color theory will greatly enhance your ability to mix colors effectively and create captivating watercolor paintings.
In watercolor painting, there are three primary colors: red, blue, and yellow. These colors cannot be created by mixing other colors. Secondary colors are created by mixing equal parts of two primary colors, resulting in orange, green, and purple. Tertiary colors, on the other hand, are created by mixing unequal amounts of primary and secondary colors.
Understanding the color wheel is crucial for working with watercolors. The color wheel is a visual representation of how colors relate to each other. It consists of twelve colors arranged in a circle, with primary, secondary, and tertiary colors evenly spaced.
Complementary colors are located opposite each other on the color wheel and create a strong contrast when placed together. Analogous colors, on the other hand, are adjacent to each other on the color wheel and create a harmonious and calming effect when used together. By familiarizing yourself with the color wheel and its relationships, you can effectively create mood and atmosphere in your watercolor paintings.
Watercolor painting techniques
Watercolor painting offers a wide range of techniques that can be used to achieve different effects. As an artist working with watercolors, it’s important to experiment with these techniques to expand your artistic repertoire and discover new possibilities. Here are some popular watercolor painting techniques that you can explore:
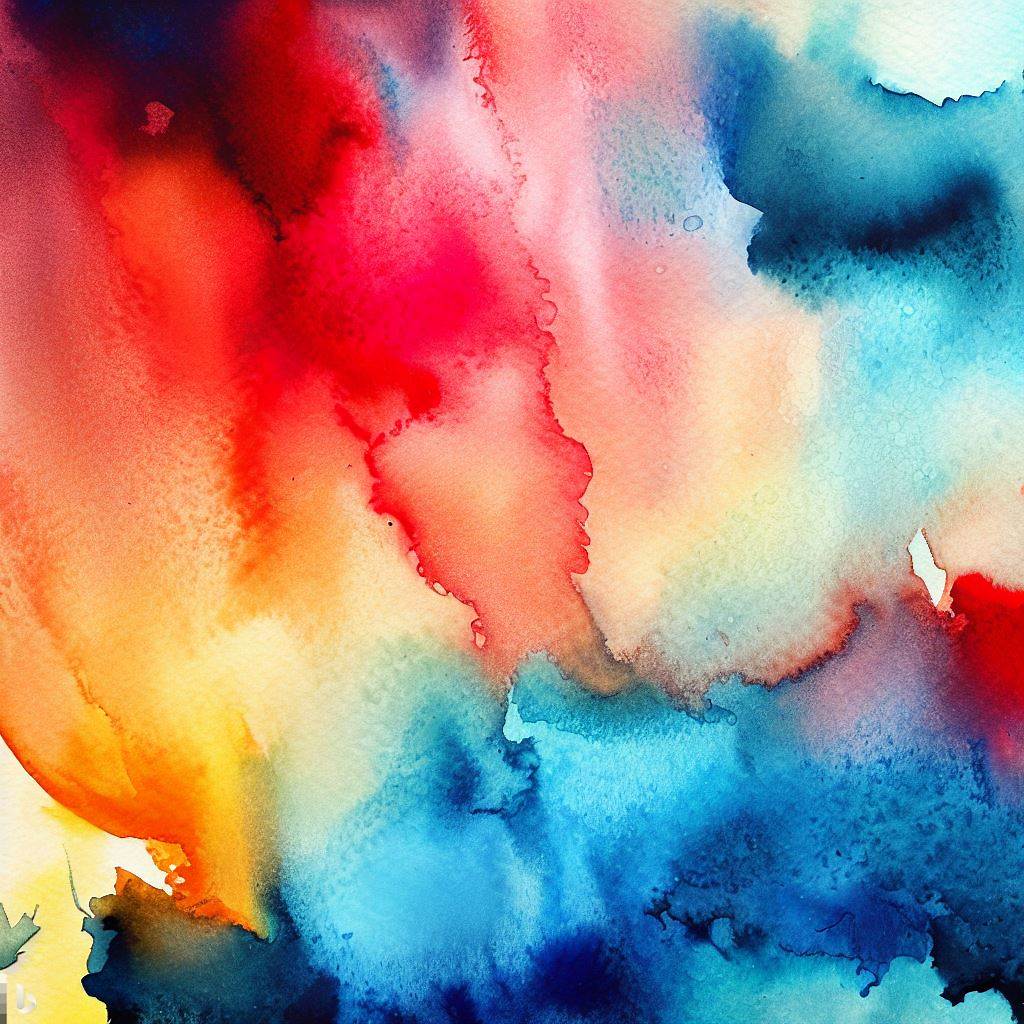
- Wet-on-wet technique: This technique involves wetting the paper with clean water before applying the paint. By doing so, the colors spread and blend more easily, creating soft and diffused edges. This technique is often used to create atmospheric and ethereal effects in watercolor paintings.
- Dry brush technique: With the dry brush technique, minimal water is used, resulting in a drier brush and more textured brushstrokes. This technique is great for adding fine details or creating rough textures in your watercolor paintings.
- Glazing technique: Glazing involves layering transparent washes of color on top of each other. By building up layers, artists can create depth and richness in their paintings. This technique is particularly useful for achieving vibrant and luminous effects.
- Salt technique: Sprinkling salt on wet watercolor paint creates a unique texture and pattern as the salt absorbs the paint. This technique is often used to depict various textures, such as the crystalline structure of snow or the roughness of a rocky surface.
- Lifting technique: Watercolor paint can be lifted from the paper while it is still wet. This allows artists to correct mistakes or create highlights by removing pigment. Lifting can be done using a clean brush, sponge, or even a tissue.
These are just a few examples of the many techniques that can be used in watercolor painting. As an artist, don’t be afraid to experiment and explore different techniques to find your unique style and create captivating watercolor paintings.
Color blending tips
One of the most challenging aspects of watercolor painting is achieving beautiful and smooth color blends. Blending colors seamlessly can add depth and dimension to your watercolor paintings. Here are some helpful tips for achieving successful color blends in watercolor:
- Use a clean watercolor palette or mixing tray: It’s important to have a clean surface to mix your colors. Any residual pigment from previous mixes can contaminate your desired colors and affect the blending outcome.
- Start with light colors and gradually add darker shades: When attempting to blend colors, it’s best to start with lighter hues and gradually introduce darker shades. This allows for better control and avoids overpowering the lighter color.
- Experiment with different brush sizes: Different brush sizes can produce different blending effects. Larger brushes can create smoother transitions, while smaller brushes allow for more precise detailing.
- Practice working with a wet-on-wet technique: The wet-on-wet technique mentioned earlier is particularly useful for achieving smooth color blends. By wetting the paper before applying the paint, the colors naturally blend and fuse.
- Be patient and take your time: Achieving seamless color blends requires patience and practice. Take your time to layer the colors, allowing each layer to dry before adding the next. Rushing the process may result in muddy and undefined blends.
- Don’t be afraid to mix colors directly on the paper: While mixing colors on a palette is common practice, experimenting with mixing colors directly on the paper can yield interesting and unique color blends. This technique can create unexpected variations and add visual interest to your watercolor paintings.
examples of color blending by the Masters in watercolors
Color blending in watercolors is a fundamental skill that many master artists have used to create stunning effects in their works. Here are some examples of color blending techniques used by the masters:
- J.M.W. Turner: Known for his atmospheric landscapes, Turner often used a technique called “wet-on-wet” where he applied wet paint onto a wet surface, allowing the colors to blend naturally. This technique creates soft edges and smooth transitions between colors, contributing to the ethereal quality of his works.
- John Singer Sargent: Sargent was known for his ability to capture complex lighting and color effects in his watercolor paintings. He often used a technique called “graded wash” where he gradually changed the concentration of pigment in a wash to create a smooth transition from one color or tone to another.
- Winslow Homer: Homer’s watercolors often feature vibrant, bold colors. He achieved this by using a technique called “glazing”, where he applied thin, transparent layers of paint one on top of another. Each layer modifies the appearance of the color beneath it, allowing for subtle color blending and a rich depth of color
- Paul Cézanne: Cézanne often used a technique called “color blocking”, where he applied patches of pure color side by side. When viewed from a distance, these patches blend visually to create a vibrant, shimmering effect.
- Georgia O’Keeffe: O’Keeffe was known for her large-scale, close-up flower paintings. She often used a technique called “wet-on-dry”, where she applied wet paint onto a dry surface. This allowed her to create sharp edges and precise color transitions, contributing to the bold, graphic quality of her works.
By applying these color blending tips and experimenting with various techniques, you will progressively improve your ability to blend and mix colors effectively in your watercolor paintings. Remember that practice is key, and with time and dedication, you will develop your own techniques and style.

