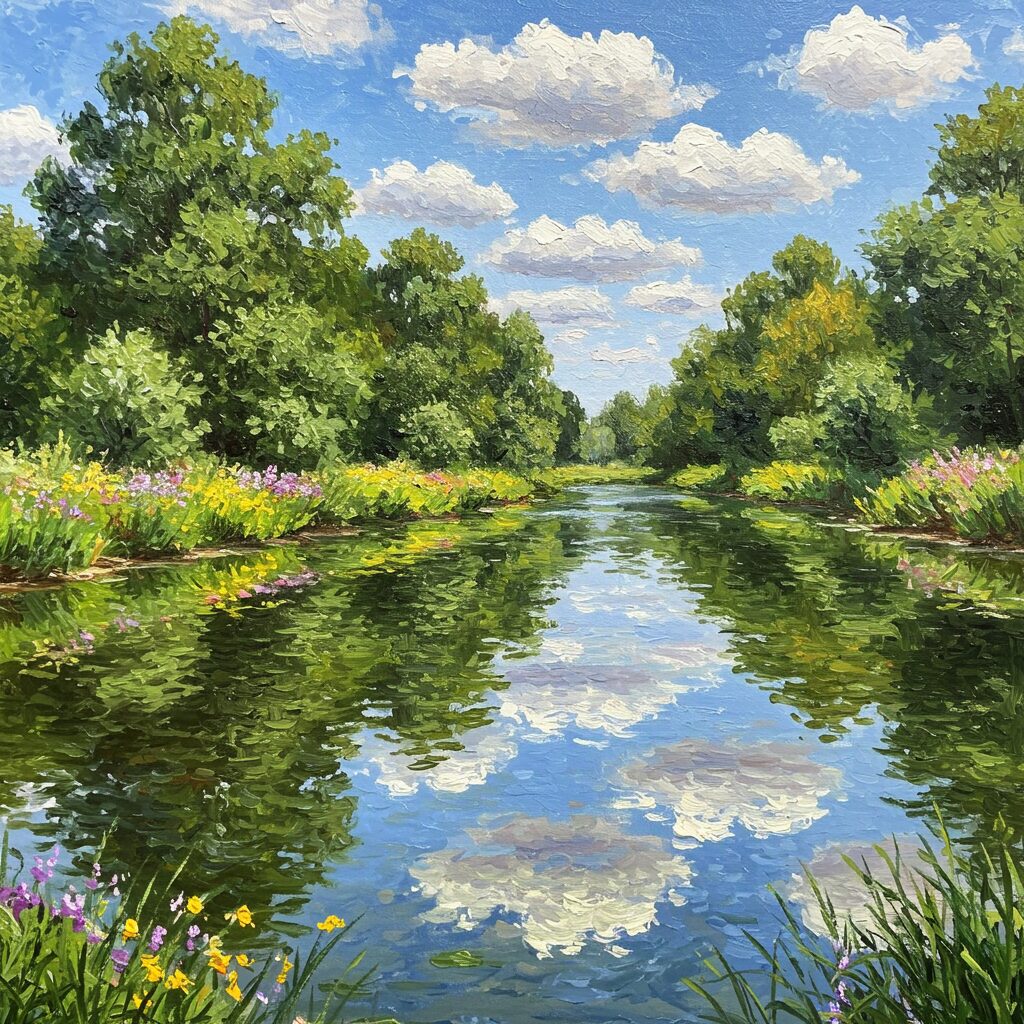
Are you struggling to capture the essence of nature on your canvas? Does the thought of painting a sprawling vista leave you feeling overwhelmed? Many aspiring artists grapple with these challenges when attempting landscape painting. But fear not – with the right techniques and a bit of practice, you can transform your blank canvas into a breathtaking scene that rivals the beauty of the natural world itself.
The Art of Landscape Painting: Where to Begin?
Landscape painting has captivated artists for centuries, offering a unique blend of creative expression and technical skill. But for many, the process can seem daunting. Where do you start? How do you choose the right colours? And how on earth do you make those trees look realistic?
These are common concerns, but with a methodical approach and some insider tips, you’ll be well on your way to creating stunning landscape paintings. Let’s dive into the essential techniques that will elevate your art.
Mastering the Fundamentals of Landscape Painting
Before you pick up your brush, it’s crucial to understand the building blocks of a great landscape painting. These fundamental elements will form the foundation of your work:
- Composition: The arrangement of elements in your painting
- Perspective: Creating depth and distance in your scene
- Colour theory: Understanding how colours interact and affect mood
- Value: The range of light and dark tones in your painting
- Texture: Replicating the feel of different surfaces in nature
Each of these elements plays a vital role in creating a realistic and engaging landscape painting. Let’s explore them in more detail.
Composition: The Backbone of Your Landscape Painting
A strong composition is the secret ingredient that turns a good painting into a great one. It’s all about how you arrange the elements within your frame to create a visually pleasing and balanced image.
Here are some key composition techniques to consider:
- Rule of Thirds: Divide your canvas into a 3×3 grid and place key elements along these lines or at their intersections.
- Leading Lines: Use natural elements like rivers, roads, or tree lines to guide the viewer’s eye through the painting.
- Focal Point: Establish a main point of interest in your landscape to draw the viewer’s attention.
Remember, these rules are meant to be guidelines, not strict laws. Once you’ve mastered them, feel free to break them creatively to add interest to your landscape painting.
Perspective: Adding Depth to Your Canvas
Perspective is what gives your landscape painting a sense of depth and distance. It’s the difference between a flat, unconvincing scene and one that seems to stretch for miles.
Here are some perspective techniques to incorporate into your landscape painting:
- Linear Perspective: Use converging lines to create the illusion of distance.
- Atmospheric Perspective: Make distant objects appear lighter and less detailed.
- Overlapping: Place objects in front of each other to create a sense of space.

This table illustrates how detail, tone, and size change as objects recede into the distance in your landscape painting.
Colour Theory: Bringing Your Landscape to Life
Colour can make or break your landscape painting. It’s not just about replicating what you see – it’s about understanding how colours interact and using them to create mood and atmosphere.
Key colour concepts for landscape painting:
- Complementary colours: Opposite on the colour wheel, these create vibrant contrast (e.g., blue sky and orange sunset).
- Analogous colours: Adjacent on the colour wheel, these create harmony (e.g., green grass, yellow-green leaves, blue-green water).
- Warm vs. Cool colours: Use warm colours (reds, oranges, yellows) to bring elements forward and cool colours (blues, greens, purples) to push them back.
“Colour is the keyboard, the eyes are the harmonies, the soul is the piano with many strings. The artist is the hand that plays, touching one key or another, to cause vibrations in the soul.” – Wassily Kandinsky
Value: The Key to Realistic Landscape Painting
Value refers to the lightness or darkness of a colour. It’s perhaps the most crucial element in creating a realistic landscape painting. Even if your colours aren’t exact, correct values will make your painting believable.
Tips for mastering value in landscape painting:
- Squint at your scene to simplify values into large shapes.
- Use a value scale to check the relative lightness or darkness of different areas.
- Start with a limited palette (e.g., white, black, and one colour) to focus on value before introducing more colours.
Texture: Bringing Your Landscape to Life
Texture adds depth and interest to your landscape painting. It’s what makes your trees look leafy, your water sparkle, and your mountains rugged.
Techniques for creating texture in landscape painting:
- Dry brush: Use a relatively dry brush to create rough textures like tree bark or rocky surfaces.
- Palette knife: Apply paint thickly for bold textures in foreground elements.
- Glazing: Build up thin layers of transparent paint for smooth textures like water or sky.
Essential Art Techniques for Landscape Painting
Now that we’ve covered the fundamentals, let’s delve into some specific art techniques that will take your landscape painting to the next level.
1. Underpainting: Laying the Groundwork
An underpainting is a monochrome version of your landscape that establishes the basic composition and value structure. It’s like a roadmap for your painting, guiding you as you add colour and detail.
Steps for creating an underpainting:
- Sketch your composition lightly on the canvas.
- Choose a single colour (often burnt umber or grey).
- Paint in the basic shapes and values, focusing on light and shadow.
- Let it dry before adding layers of colour on top.
2. Wet-on-Wet Technique: Blending Seamlessly
The wet-on-wet technique involves applying wet paint onto wet paint. It’s perfect for creating soft, blended effects in skies, water, and distant landscapes.
Tips for wet-on-wet painting:
- Work quickly before the paint dries.
- Use a soft brush to blend colours together.
- Experiment with different consistencies of paint for varied effects.
3. Glazing: Adding Depth and Luminosity
Glazing involves applying thin, transparent layers of paint over dry layers beneath. It’s excellent for creating luminous effects and subtle colour variations in your landscape painting.
How to glaze effectively:
- Start with a fully dry underpainting.
- Mix your glaze colour with a glazing medium.
- Apply thin, even layers, allowing each to dry before adding the next.
- Build up layers gradually for a rich, luminous effect.
4. Scumbling: Creating Atmospheric Effects
Scumbling is the technique of applying a thin layer of opaque paint over a darker layer, allowing some of the underlying colour to show through. It’s perfect for creating misty or hazy effects in landscapes.
Steps for scumbling:
- Apply a base layer of darker paint and let it dry.
- Use a dry brush with a small amount of lighter paint.
- Lightly drag the brush over the surface, allowing the underlying colour to peek through.
Bringing It All Together: A Step-by-Step Landscape Painting Process
Now that we’ve covered the fundamental elements and essential techniques of landscape painting, let’s put it all together into a step-by-step process:
- Choose your scene and gather reference materials (photos, sketches).
- Plan your composition with thumbnail sketches.
- Prepare your canvas with a toned ground.
- Create an underpainting to establish values and composition.
- Block in large areas of colour, working from background to foreground.
- Refine shapes and add details, using various techniques as needed.
- Add final touches, highlights, and glazes for depth and atmosphere.
- Step back, evaluate, and make any necessary adjustments.
Remember, this process is flexible. As you gain experience, you’ll develop your own preferred method for landscape painting.
Common Pitfalls in Landscape Painting (and How to Avoid Them)
Even experienced artists can fall into these traps. Here’s how to steer clear:
- Overworking details: Focus on the big picture first, add details strategically.
- Inconsistent lighting: Decide on your light source early and stick to it.
- Flat paintings: Use a full range of values to create depth.
- Muddy colours: Mix colours carefully and clean your brush between colour changes.
- Lack of focal point: Establish a clear centre of interest in your composition.
Conclusion: Your Journey in Landscape Painting
Mastering landscape painting is a journey, not a destination. Each painting is an opportunity to learn and improve. Don’t be discouraged if your first attempts don’t match your vision – even the great masters started somewhere.
Remember, the key to improvement is practice. Set aside regular time for painting, experiment with different techniques, and most importantly, enjoy the process. There’s nothing quite like the satisfaction of capturing a beautiful landscape on canvas.
So grab your brushes, step outside (or work from a photo), and start your landscape painting adventure. Who knows? Your next masterpiece might be just a brushstroke away.


