
Are you itching to dive into the world of watercolors but feeling overwhelmed by the array of supplies and techniques? Perhaps you’ve tried your hand at painting before, only to end up with muddy colors and frustrating results. Fear not, aspiring artist! This comprehensive beginner’s guide to Watercolors will demystify the art of watercolor painting, equipping you with the knowledge and confidence to embark on your creative journey.
The Allure of Watercolors: Why They’re Worth Your Time
Watercolors offer a unique blend of spontaneity and control, allowing for both delicate washes and bold, expressive strokes. Their portability and relatively low cost make them an ideal medium for beginners. But make no mistake – mastering watercolors requires patience and practice. The good news? The learning process can be as rewarding as the finished paintings themselves. In this guide we have provided links to other articles and video tutorials. For example, if you want to learn about Watercolor Painting Techniques
Essential Tools of the Trade
Before you can paint your masterpiece, you’ll need to stock up on supplies. Here’s what belongs in every watercolorist’s toolkit:

Paints: Your Liquid Rainbows
- Types: Artist-grade (professional) and student-grade
- Forms: Tubes or pans (solid cakes)
- Must-have colors: Ultramarine Blue, Cadmium Yellow, Alizarin Crimson
Pro tip: Start with a limited palette of 6-8 colors. You can always expand later.
Brushes: Extensions of Your Artistic Vision
- Materials: Natural (sable) or synthetic fibers
- Shapes: Round, flat, filbert, and mop
- Sizes: A range from fine detail (#2) to large washes (#12)
Key point: Invest in quality brushes – they’ll last longer and perform better.
Paper: Your Canvas Awaits
- Weight: 140 lb (300 gsm) or higher
- Texture: Hot-pressed (smooth), cold-pressed (medium), or rough
- Composition: 100% cotton for best results
Remember: Proper paper makes a world of difference in how your paints behave.
Understanding Paper: The Foundation of Great Watercolors
Deep Dive into Watercolor Paper Selection
Paper choice dramatically affects your painting results. Understanding paper characteristics helps you make informed decisions for different projects.
Paper Sizing:
- Internal sizing: Mixed into the pulp, affects absorbency throughout
- Surface sizing: Applied to the surface, controls initial paint behavior
- Unsized papers create more textured, absorbent effects
Manufacturing Methods:
- Machine-made: Consistent texture, more affordable
- Mold-made: Slight texture variations, professional quality
- Handmade: Unique character, premium option for serious artists
Testing Your Paper: Always test new paper brands with small swatches. Notice how the paint spreads, how quickly it dries, and how easily you can lift color. This knowledge will inform your technique adjustments.
Additional Essentials:
- Water containers (at least two)
- Palette for mixing colors
- Masking tape and fluid
- Sponges and paper towels
Setting Up Your Watercolor Workspace
Creating an Ideal Environment for Watercolor Success
Your workspace setup can significantly impact your watercolor painting experience. Unlike oil or acrylic painting, watercolors require specific considerations due to their water-based nature and quick-drying properties.
Lighting Requirements:
- Natural north-facing light is ideal for color accuracy
- If using artificial light, choose daylight-balanced LED bulbs (5000K-6500K)
- Avoid direct sunlight, which can cause papers to warp and paints to dry too quickly
Workspace Organization:
- Keep your water containers to your non-dominant side to prevent accidental spills
- Position your palette within easy reach to maintain painting flow
- Use a tilted easel or board (15-30 degrees) to control paint flow
- Have paper towels and sponges readily accessible for quick corrections
Ventilation and Comfort:
- Ensure adequate airflow to help paintings dry properly
- Use a comfortable chair with good back support for longer painting sessions
- Consider a tabletop easel for better ergonomics

Mastering the Basics: Techniques to Build Your Skills Examples
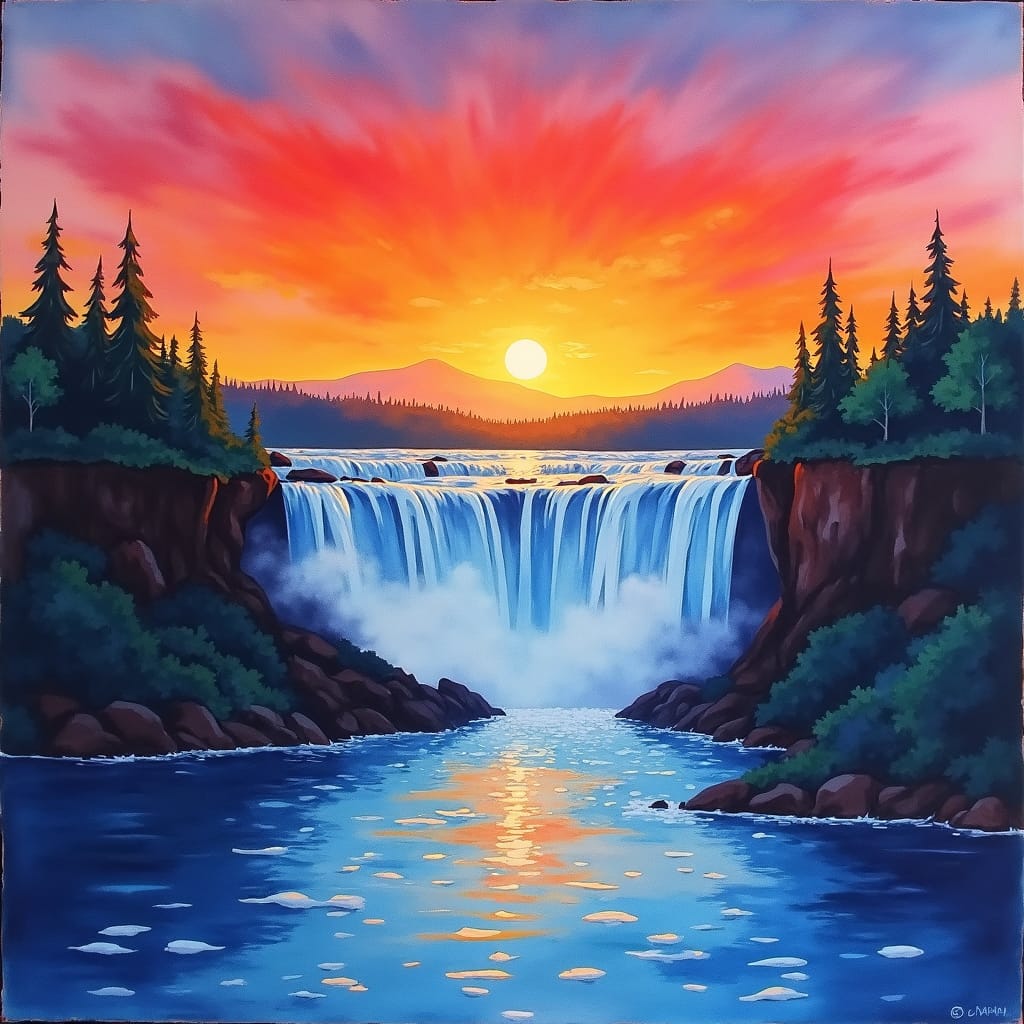
🎨 AI Watercolor Painting Generator
Enter your text and set the mood to create a unique watercolor image.
Your masterpiece will appear here.
Done! Now you can:
Now that you’re equipped, it’s time to get your hands wet (literally). Let’s explore some fundamental watercolor techniques:
Check out our Video Tutorials for further explanations and clarification of the techniques described below
1. Washes: The Building Blocks of Watercolor

- Flat wash: An even layer of color
- Graded wash: A gradual transition from dark to light
- Variegated wash: Multiple colors blending together
2. Wet-on-Wet vs. Wet-on-Dry
- Wet-on-wet: Apply paint to damp paper for soft, blended effects
- Wet-on-dry: Paint on dry paper for crisp edges and more control
3. Glazing: Building Depth and Luminosity
Layer transparent washes of color, allowing each to dry before applying the next.
4. Lifting: Your Eraser Equivalent
Use a damp brush or sponge to lift away mistakes or create highlights.
Color Theory: Your Secret Weapon
Understanding how colors interact is crucial for creating harmonious paintings:
- Primary colors: Red, yellow, blue
- Secondary colors: Orange, green, purple (created by mixing primaries)
- Complementary colors: Opposite on the color wheel (e.g., blue and orange)
Exercise: Create a color wheel to practice mixing and understand relationships.
Composition: Bringing Your Vision to Life
A strong composition is the backbone of any successful painting:
- Rule of thirds: Divide your paper into a 3×3 grid and place key elements along the lines or intersections
- Leading lines: Use elements to guide the viewer’s eye through the painting
- Focal point: Create a clear center of interest
Your First 30 Days: A Structured Practice Plan
Building Skills Through Daily Practice
Consistent practice accelerates your watercolor learning. This 30-day plan provides structured exercises that build upon each other.
Week 1: Foundation Building
- Days 1-3: Color mixing exercises (primary to secondary colors)
- Days 4-5: Flat wash practice on different paper textures
- Days 6-7: Wet-on-wet exploration with simple shapes

Week 2: Control Development
- Days 8-10: Wet-on-dry technique with geometric shapes
- Days 11-12: Graded wash practice (light to dark transitions)
- Days 13-14: Lifting and texture experiments
Week 3: Combining Techniques
- Days 15-17: Simple landscape elements (skies, water, hills)
- Days 18-19: Basic floral forms using wet-on-wet and wet-on-dry
- Days 20-21: Negative space painting exercises
Week 4: Creative Application
- Days 22-24: Complete a simple landscape using all learned techniques
- Days 25-26: Paint a simple still life focusing on shape and shadow
- Days 27-30: Free exploration – paint subjects that interest you
Daily Practice Tips:
- Spend 20-30 minutes daily rather than long weekend sessions
- Keep a practice journal noting what worked and what didn’t
- Don’t aim for perfect paintings – focus on technique development
Common Pitfalls (And How to Avoid Them)
- Muddy colors: Work from light to dark and let layers dry between applications
- Overworking: Know when to stop and let the watercolors do their magic
- Lack of contrast: Include a full range of values from light to dark

Taking Your Art to the Next Level
As you gain confidence, explore these advanced techniques:
- Texture effects: Use salt, plastic wrap, or alcohol for interesting textures
- Negative painting: Define shapes by painting around them
- Mixed media: Combine watercolors with ink, colored pencils, or collage
The Journey Continues: Resources for Growth
- Books: “Watercolor Painting: A Comprehensive Approach to Mastering the Medium” by Tom Hoffmann
- Online tutorials: Skillshare and YouTube offer a wealth of free and paid courses
- Art communities: Join local watercolor societies or online forums for support and inspiration
Remember, every master was once a beginner. Embrace the learning process, celebrate your progress, and most importantly – enjoy the mesmerizing world of watercolors!
Inspirational Watercolor Masters with their Contributions and unique Styles
| Artist | Notable Works | Style/Contribution |
|---|---|---|
| Stephen Zhang | Together | Known for capturing human relationships and emotions in realistic compositions. |
| Alisa Shea | The Common Thread | Specializes in photorealistic detail, often focusing on intricate everyday objects. |
| Jian Wu | Tomorrow | Combines watercolor and acrylic to depict human life and emotions. |
| Thomas W Schaller | Various architectural scenes | Renowned for his atmospheric architectural watercolors. |
| Steve Hanks | Various figure paintings | Master of emotional realism, capturing light and shadow in human figures. |
| Mary Whyte | Various portraits | Celebrated for her poignant and detailed watercolor portraits. |
| Dean Mitchell | Various urban and rural scenes | Known for his powerful depictions of African American life and landscapes. |
| Laurin McCracken | Dutch and Flemish style still lifes | Creates highly realistic still lifes reminiscent of 16th-17th century Dutch art. |
| Liu Yi | Chinese landscapes and people | Award-winning artist known for his serene and emotive depictions of Chinese life. |
| Winslow Homer | Boys in a Dory, The Gulf Stream | Pioneer of American watercolor, known for his marine and landscape scenes. |
| John Singer Sargent | Muddy Alligators, Venetian Glass | Famous for his spontaneous yet precise watercolor technique and diverse subject matter. |
Watch Video for Beginners
External resources:
- American Watercolor Society: https://americanwatercolorsociety.org/
- Watercolor Artist Magazine: https://www.artistsnetwork.com/watercolor-artist-magazine/
- Winsor & Newton Watercolor Guide: https://www.winsornewton.com/na/articles/guides/watercolour-guide/

