
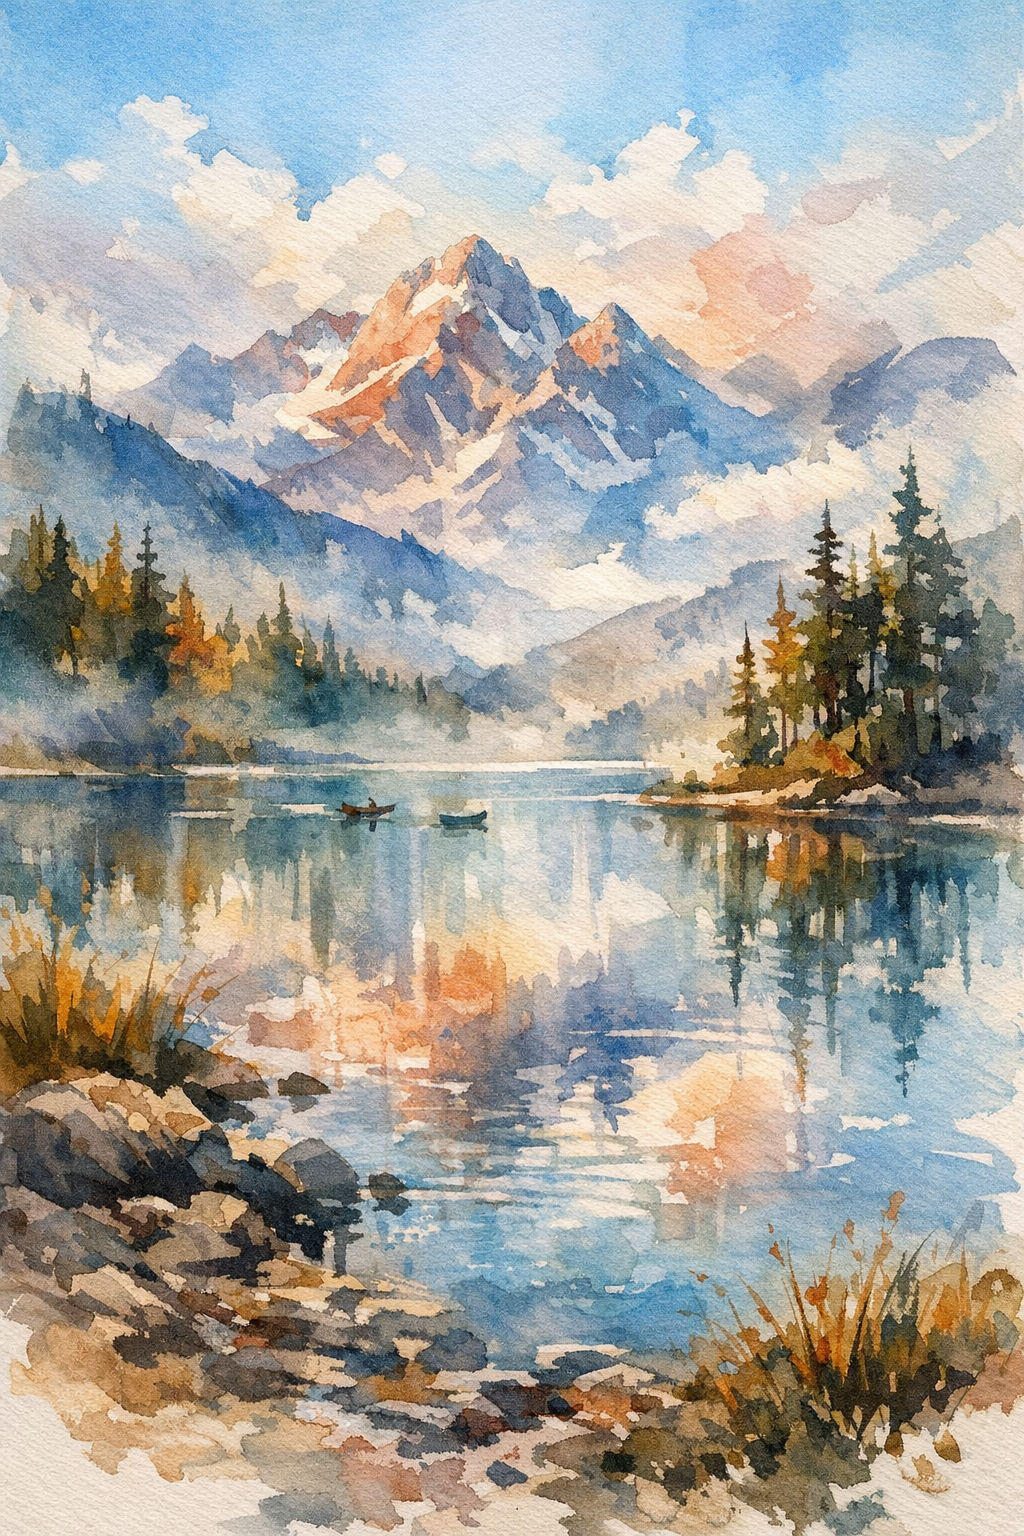
Have you ever stood captivated before a breathtaking painting, wondering how the artist captured the soul of a scene with just a handful of sweeping, confident brushstrokes? That elusive magic is exactly what you will master today.
Welcome to the ultimate guide on conquering loose landscape painting techniques. Whether you are painting en plein air in a sunlit meadow or working comfortably in your studio, learning to paint loosely frees you from the tyranny of microscopic details. You will learn to focus purely on the big picture.
By shattering the rules of tight, rigid realism, you allow your artwork to breathe. This bold approach injects your paintings with energy, emotion, and life. In this comprehensive guide, we break down exactly how to achieve that effortless, painterly look that commands attention—backing up the artistry with proven technical data.
What You Will Master Today:
- The “Loose” Mindset: Discover why suggesting details visually overpowers painting every single leaf.
- Commanding Your Tools: Learn why long-handled brushes and professional-grade paints instantly elevate your art.
- Conquering Proven Techniques: From alla prima (wet-on-wet) mastery to creating magnetic lost and found edges.
- Solving Common Nightmares: Eradicate muddy colors and stop overworking your skies forever.
- The Science of Paint: Leverage drying times, pigment loads, and medium manipulation to your advantage.
Why ‘Loose’ is the Ultimate Goal for Modern Landscapists

Many beginners start by trying to paint exactly what they see—acting like a human camera. However, as you dive deeper into different painting styles and movements, you quickly realize the human eye does not view the world in perfect, sharp focus. We see light, shadow, and color.
Painting “loosely” remains the ultimate goal for modern landscape artists because it actively invites the viewer to participate. You provide the beautiful framework; their brain fills in the missing pieces.
KEY TAKEAWAY: Loose painting isn’t about being sloppy. It is about deliberate simplification. You say more by painting less.
Defining the Bravura Style
The term bravura brushwork describes a bold, daring, and highly skilled application of paint. Think of the legendary artist John Singer Sargent. Look closely at a Sargent masterpiece. What appears as a perfectly rendered hand from a distance is actually just three or four masterfully placed, confident strokes up close.
This is the essence of bravura. It demands confidence, a rigorous grasp of color theory basics, and the courage to let paint act like paint.
Suggestion vs. Literal Representation
Literal representation forces you to paint every branch on a tree. Conversely, expressive painting relies on a rich visual vocabulary to suggest the tree. By simplifying shapes, you create a dramatically more powerful image. A single, dominant stroke of Yellow Ochre mixed with Burnt Sienna tells the viewer everything about a sunlit rock—without you agonizing over every crack and crevice.
The Psychology of Painting Loosely

Before mastering the physical techniques of the brush, you must first master your mind. The absolute biggest roadblock to expressive art? The paralyzing fear of making a mistake.
Overcoming the Fear of the Blank Canvas
The fear of ruining a pristine, white canvas causes artists to physically tighten up. To destroy this hesitation instantly, start with an underpainting. Cover your canvas with a thin, warm wash (usually a fast-drying medium mixed with an earth tone). This kills the intimidating white space, tones the canvas, and establishes a vital mid-value base for judging your lights and darks.
The ’10-Minute Sketch’ Rule for Rapid Warm-Ups
Need high-impact exercises to loosen up your painting style? Implement the 10-minute sketch rule. Set a strict timer. Force yourself to complete an entire small landscape painting before the alarm rings.
Because you lack the time to fuss over details, your brain intuitively grabs the largest brushes, mixes core colors rapidly, and slaps them down. You will be stunned by the raw energy these speed-paintings generate.
PRO TIP: How you hold your brush dictates your final result. Stop holding your brush like a pencil. Grip it near the end of the handle, step back from the easel, and paint from your shoulder—not your wrist.
Essential Tools for the Expressive Artist

You cannot construct a bold, energetic masterpiece using tiny watercolor brushes designed for miniatures. Your tools actively dictate your style.
The Power of Long-Handled Brushes
When searching for the best brushes for loose landscape painting, demand long handles and stiff bristles (hog bristle for oils; stiff synthetics for acrylics). Long handles force physical distance between you and the canvas. This distance is mandatory for evaluating your composition and maintaining a loose, sweeping grip. Stock up on large Flats and Filberts (sizes 8, 10, and 12).
Palette Knives: Injecting Sculptural Depth
A palette knife serves as far more than a mixing tool; it is a premium weapon for expressive painting. You physically cannot paint microscopic details with a large metal trowel. Palette knives deliver clean, vibrant broken color and build stunning impasto texture (thick, raised paint), adding a highly desirable 3D element to your canvas.
Market Data: Professional vs. Student Grade Paints
Why do cheap paints destroy loose brushwork? Pigment load. Student-grade paints rely on cheap fillers. When you attempt a bold, expressive stroke with student paint, it appears weak, chalky, and transparent. Professional paints carry a massive pigment payload—delivering an opaque, vibrant punch in a single stroke.
| Feature | Professional Grade | Student Grade | CRO / Painting Impact |
|---|---|---|---|
| Pigment Load | 40% – 75% | 10% – 30% | High pigment guarantees flawless “one-stroke” coverage. |
| Price (37ml Tube) | $15 – $50+ | $4 – $15 | Higher upfront cost, but you use significantly less paint. |
| Lightfastness | Category I (Excellent) | Category II (Very Good) | Secures your bold colors against long-term fading. |
| Binders/Fillers | Minimal | High Volume | Fillers ruin impasto strokes by making paint slippery. |
Core Loose Landscape Painting Techniques
With your mindset locked in and your tools upgraded, it is time to deploy the core painting techniques that separate amateurs from expressive masters.
The Alla Prima Advantage: Pure Vitality

Alla Prima (Italian for “at first attempt”) means painting wet-on-wet. Instead of waiting weeks for layers to dry, you conquer the painting in one sitting. This wet-on-wet technique forces looseness. If you overwork wet paint, it instantly turns into grey mush. You must mix the perfect color, lay it down confidently, and leave it alone.
Simplification: Transforming Chaos into ‘Color Blobs’
Master painter Edgar Payne revolutionized landscape art through massing shapes. Do not look at a forest and paint 1,000 individual trees. Squint your eyes. Notice the one massive, dark green shape (shadows) and the lighter, yellow-green shape (highlights).
Boil complex scenes down to three to five distinct “color blobs.” Once you block in these primary shapes, a few strategic details will convince the viewer’s brain they are looking at a dense forest.
Mastering Edges: The Secret to Professional Finish
A painting built entirely of hard, razor-sharp edges looks like a cheap paper collage. A painting of entirely soft edges looks out of focus. The ultimate secret to expressive painting is mastering lost and found edges.
- Found/Hard Edges: Sharp, crisp transitions. Reserve these exclusively for your focal point (e.g., sunlight striking a barn roof).
- Lost/Soft Edges: Areas where two colors blend seamlessly, or objects fade into shadow. Let these edges disappear. This builds incredible atmosphere and depth.
Medium-Specific Strategies

Your strategy for achieving bravura brushwork must adapt depending on whether you push oil painting, acrylics, or watercolors.
Keeping Oils Fluid: Liquin and Galkyd
Straight from the tube, oil paint can be too stiff for sweeping, energetic strokes. You need mediums. A drop of Linseed Oil increases flow but delays drying. For artists demanding buttery flow and rapid drying, Liquin Original or Galkyd Gel are undisputed game-changers. They allow your brush to glide friction-free while preserving the gorgeous texture of the stroke.
Conquering Acrylic Drying Times
When analyzing loose landscape painting in acrylics vs oils, drying time is the enemy. Acrylics dry so rapidly that wet-in-wet blends become a frustrating race against the clock. To paint loosely with acrylic painting, actively use a “Slow-Dri” blending medium. Keep a fine-mist spray bottle nearby to keep your canvas and palette workable.
Watercolor: Controlling the Chaos
For watercolor painting, looseness dictates that water does the heavy lifting. Pre-mix massive puddles of pigment. Drop bold color into wet paper and let it bloom organically. The less you agitate a watercolor painting, the fresher it appears.
Troubleshooting Common Pitfalls (Community Pain Points)
Beginners universally struggle with the same massive hurdles when loosening up. Here is how to obliterate them.
Escaping the ‘Mud’ Trap
The most desperate question online: how to avoid muddy colors in loose painting? “Mud” inevitably happens when you over-mix temperatures (warm/cool), or when you scrub wet paint over wet paint repeatedly.
The 3-Step Anti-Mud Protocol:
- Sanitize Your Brush: Clean it thoroughly between distinct color shifts.
- Respect the Primaries: Mixing all three primary colors creates brown/grey. Mixing Ultramarine Blue, Burnt Sienna (dark orange), and Titanium White yields a gorgeous warm grey. Adding a random fourth color ruins it.
- Mix, Place, Retreat: Pre-mix your exact pile on the palette. Pick it up. Place it on the canvas. Do not touch it again.
The Cloud Challenge: Stop Overworking Skyscapes
Beginners notoriously paint clouds like solid, heavy cotton balls. Clouds are translucent water vapor. Start with a solid, vibrant sky color. Next, mix a warm, greyish-purple for the cloud’s under-shadows. Finally, reserve thick, pure white only for the sunlit peaks. Soften the edges where the cloud meets the sky.
Structure vs. Chaos: The Backbone of Your Art
“Why do my loose paintings look like a messy disaster?” Looseness without underlying structure equals chaos. Master painters like Richard Schmid constantly emphasized that wild brushwork requires a rigorous, accurate compositional balance beneath it.
If your Value Studies (your map of lights and darks) are flawless, you can use the wildest brushstrokes imaginable, and the painting will still succeed. Fixing painting mistakes later is agonizing if your value structure is broken from step one.
Step-by-Step Workflow for a Loose Masterpiece
Wondering exactly how to paint loose landscapes for beginners? Strict, step-by-step discipline is paradoxically the fastest route to artistic freedom.
Phase 1: The Tonal Map
Begin by toning your canvas with a thin, energetic wash of burnt sienna. Once dry, use a dark, thin mix (ultramarine blue + umber) to sketch your massive shapes. Do not draw details. Simply map your darkest darks.
Phase 2: The Aggressive Block-In
Grab your largest flat brush. Block in the sky, distant mountains, mid-ground foliage, and foreground. Paint darks first, followed by mid-tones. Keep the paint relatively thin. By the end of this phase, your canvas should resemble an out-of-focus photograph of your final scene.
Phase 3: The ‘One-Stroke’ Highlight Rule
Load your brush with thick, premium color (e.g., pure Yellow Ochre for a glowing field). Apply highlights using aggressive impasto strokes. Rule: One stroke, one intent. Place the highlight and step away. Apply your hardest edges exclusively at your focal point to command the viewer’s eye.
Technical Specifications: The Science of Paint
To manipulate paint like a master, you must understand the chemistry driving it.
Drying Times for Oil Mediums
When executing wet-on-wet, misjudging drying times is fatal. If layers dry too fast, you lose your beautiful soft edges. If they dry too slowly, session two turns into mud.
Oil Medium Drying Times Reference Chart:
| Pigment / Medium Type | Touch-Dry Time | Optimal Use Case |
|---|---|---|
| Fast-Drying Pigments (Umbers, Prussian Blue) | 1 – 2 Days | Rapid underpainting and value block-ins. |
| Slow-Drying Pigments (Cadmiums, Titanium White) | 5 – 10+ Days | Thick, final impasto highlights. |
| Linseed Oil (Medium) | 3 – 5 Days | Maximizing flow for sweeping brushstrokes. |
| Liquin Original (Medium) | 1 – 2 Days | Accelerating drying for rapid glazing. |
| Alkyd Paints (e.g., Griffin) | 18 – 24 Hours | Plein air painting requiring fast transport. |
(Data based on standard studio temperatures of 70°F/21°C and medium-thickness application.)
Conclusion: Leave Your Mark

Mastering loose landscape painting techniques is the ultimate journey of unlearning. You must stop duplicating nature like a printer, and start interpreting it emotionally like an artist.
By upgrading your tools, attacking the canvas with the wet-on-wet alla prima method, and fiercely protecting your values, you will transform your oil painting for beginners experience into a breathtaking display of bravura brushwork.
The goal is never to paint exactly what is there. The goal is to paint how the scene makes you feel. Grab your longest brush, load it with premium color, and start leaving your undeniable mark on the canvas today.
Frequently Asked Questions (FAQ)
How do I stop my loose paintings from looking like a messy blur? Maintain unbreakable structural “bones.” Your value structure (the arrangement of lights and darks) must be entirely accurate. Lock in a clear focal point using hard edges, and allow the less important background elements to fade into soft, lost edges.
Can I achieve a loose style with acrylics, or do I require oils? You can easily paint loosely with acrylics, provided you neutralize their fast drying time. Liberally use slow-drying retarder mediums, mist your palette with water, and exclusively use heavy-body acrylics so your sweeping brushstrokes retain their physical texture.
What is the single best drill to practice loose painting? Impose a strict time limit. Force yourself to complete a small 6×8 inch painting in exactly 20 minutes. This entirely eliminates your ability to obsess over details, forces you to use massive brushes, and trains your eye on large, simplified shapes.
Why does my canvas turn muddy during wet-on-wet application? Mud is the direct result of over-mixing. Prevent it by “laying” thick paint onto the canvas with a light touch, rather than aggressively “scrubbing” it into the wet layer below. Always wipe your brush spotless on a paper towel between loading distinct colors.

