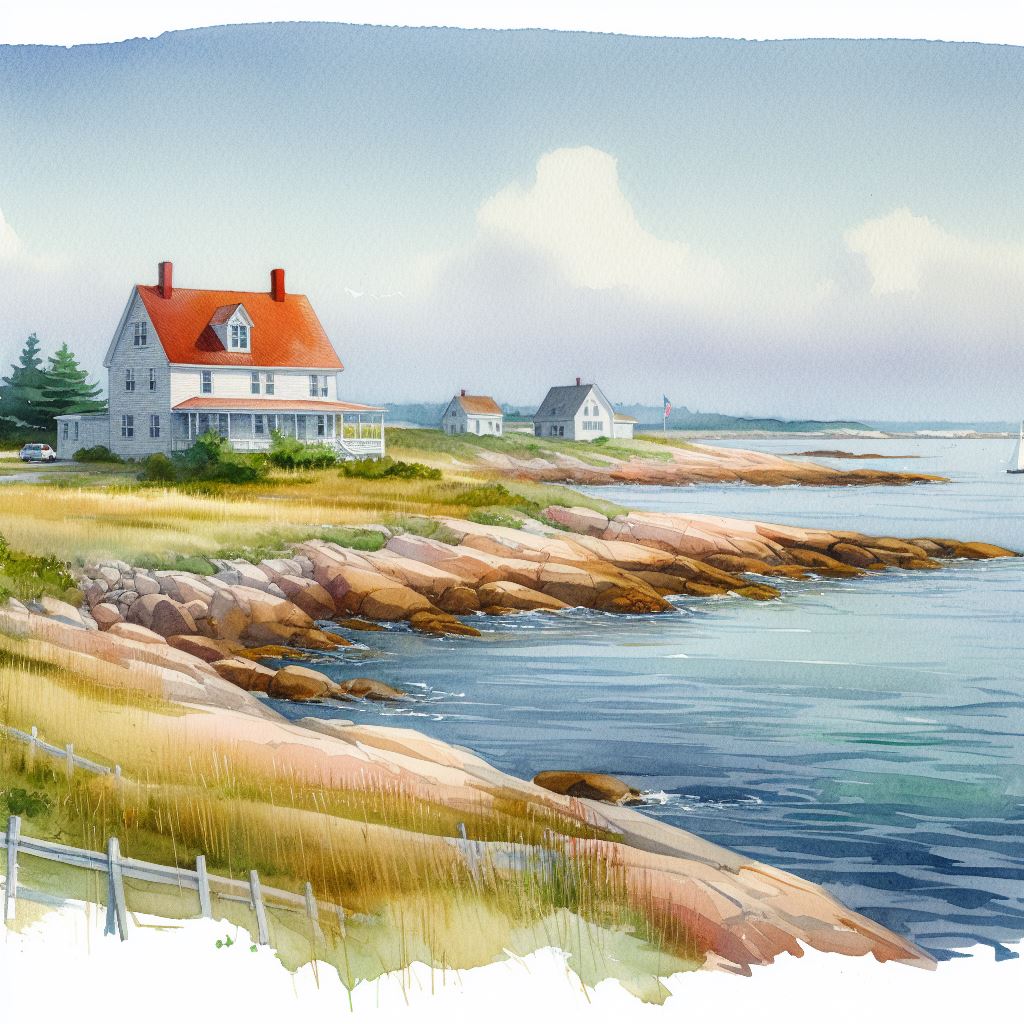
So what is Watercolor painting? Watercolor painting is a beautiful and accessible art form where pigments suspended in water create translucent, luminous effects on paper. Unlike thicker paints like oils or acrylics, watercolors have a delicate, flowing quality that makes each piece unique. The water-soluble paints blend, flow, and interact with the paper to create effects that range from soft, atmospheric washes to precise, detailed illustrations. As you begin your watercolor journey, you’ll discover a medium that’s portable, relatively affordable, and capable of incredible versatility in expressing your artistic vision.
Key Points: What is Watercolor Painting
- Watercolor painting uses pigments suspended in a water-soluble vehicle
- Creates transparent, luminous effects unlike other painting mediums
- Requires specific paper that can handle water application
- Offers techniques like wet-on-wet and wet-on-dry for different effects
- Accessible for beginners but offers depth for lifelong mastery
Understanding What Watercolor Painting Is
At its core, watercolor painting involves applying pigment suspended in water to a surface, typically specialized watercolor paper. What makes watercolor unique is its transparency—the white of the paper shines through the paint, creating a luminous quality that’s hard to achieve with other mediums. Unlike acrylic painting or oil painting, watercolor is not about building up thick layers of opaque paint, but rather about working with transparency and allowing colors to blend and flow naturally.
Watercolors come in two main forms: pans (solid cakes of dried paint) and tubes (moist paint). Beginners often start with pan sets because they’re convenient and long-lasting, while more experienced artists might prefer tubes for their intense color and ease of mixing large quantities.
Essential Supplies for Beginners

To start your watercolor journey, you’ll need just a few basic supplies:

- Watercolor paints – A basic set of 8-12 colors is plenty for beginners
- Watercolor paper – Look for paper labeled “watercolor” with at least 140lb (300gsm) weight
- Brushes – Start with 2-3 brushes of different sizes (small, medium, large)
- Water container – Any clean jar or cup will work
- Palette – For mixing colors (many pan sets include one)
- Paper towels or a clean cloth – For blotting excess water and cleaning brushes
- Pencil and eraser – For sketching before painting
When selecting materials, quality matters more than quantity. It’s better to have a small set of artist-grade paints than a large set of student-grade paints, as the colors will be more vibrant and easier to work with. Similarly, proper watercolor paper is essential—regular paper will warp and pill when wet.
“In watercolor, you cannot cover up the marks. There is the story of the construction of the picture in the picture itself.”
John Singer Sargent
Basic Watercolor Techniques
Understanding basic techniques will help you gain control and confidence with watercolors:
Flat Wash
A flat wash is an even layer of color applied to create a uniform area. To create one:

- Mix enough paint with water to cover your intended area
- Work from top to bottom, pulling the paint down in horizontal strokes
- Keep a wet edge as you work to prevent visible lines
Gradated Wash
A gradated wash transitions from dark to light (or vice versa):
- Start with more pigment at one end
- Gradually add more water as you move across the paper
- Work quickly while the paint is still wet
Wet-on-Wet
This technique involves applying wet paint to already wet paper, creating soft, diffused effects:
- Wet the paper with clean water first
- Drop or brush pigment onto the wet surface
- Watch as the colors bloom and spread naturally
Wet-on-Dry
For more control and defined shapes, apply wet paint to dry paper:
- Wait for paper to completely dry
- Apply paint for crisp edges and detailed work
Mastering these foundational techniques gives you the tools to create a wide variety of effects in your watercolor paintings. As you gain confidence, you can explore more advanced approaches like negative painting or watercolor layering and blending.
Understanding Watercolor Paper
The paper you choose dramatically affects your watercolor experience. There are three main types:
| Paper Type | Surface Texture | Best For | Characteristics |
|---|---|---|---|
| Hot-pressed | Smooth | Detailed work, illustrations | Less absorption, colors stay brighter |
| Cold-pressed | Medium texture | All-purpose, most versatile | Good balance of texture and control |
| Rough | Very textured | Loose, expressive work | Creates interesting effects as paint pools in texture |

For beginners, cold-pressed paper is recommended as it’s the most versatile. Paper weight is measured in pounds (lb) or grams per square meter (gsm). For practice, 140lb (300gsm) is sufficient, while 300lb (640gsm) is preferred for finished artwork as it warps less.
You can find more guidance on choosing watercolor paper pads to help make the best selection for your needs.
Color Mixing Essentials
Understanding color mixing is crucial for watercolor painting. With just a few primary colors, you can create a wide spectrum:
- Primary colors: Red, yellow, and blue
- Secondary colors: Orange (red + yellow), green (yellow + blue), purple (blue + red)
- Tertiary colors: Created by mixing primary and secondary colors
Watercolor mixing differs from other mediums because the transparency affects how colors blend. Here are some tips:
- Mix colors on your palette before applying to paper
- Start with more water than you think you need—you can always add more pigment
- Remember that watercolors dry lighter than they appear when wet
- Create a color chart to understand how your specific paints interact
For a deeper dive into this subject, check out color mixing primer and color theory basics.
The Painting Process Step-by-Step
Follow this basic process when creating your first watercolor paintings:

- Plan your composition – Decide what you’ll paint and how to arrange it
- Sketch lightly – Use a pencil to create a very light outline on your watercolor paper
- Test your colors – Try colors and techniques on a scrap piece of paper first
- Work light to dark – Start with the lightest colors and gradually add darker ones
- Allow drying time – Let layers dry completely before adding more detail
- Add final details – Use wet-on-dry technique for precise lines and accents
Remember that watercolor often involves working with, not against, unpredictable elements. Some of the most beautiful effects happen when you let the water and pigment interact naturally.
Common Beginner Mistakes and Solutions
Even experienced artists make mistakes. Here are some common watercolor challenges and how to address them:
- Muddy colors: Limit your palette and clean your brush between colors
- Paper buckling: Stretch your paper beforehand or use heavier paper
- Unwanted blooms: Work quickly on wet areas or embrace these “happy accidents”
- Hard edges where you want soft ones: Use the wet-on-wet technique
- Loss of white areas: Plan ahead and use masking fluid to preserve whites
Don’t get discouraged by mistakes—they’re part of the learning process. In fact, many watercolor artists find that fixing watercolor mistakes can lead to unexpected creative discoveries.

Your First Watercolor Project
Ready to try your first painting? Here’s a simple landscape project that incorporates basic techniques:
- Gather supplies – Watercolor paper, paints, brushes, water, paper towels
- Sketch horizon line – Lightly draw a horizontal line across your paper
- Wet the sky area – Apply clean water above your horizon
- Add sky colors – Drop in blue paint, letting it spread across the wet paper
- Let dry completely
- Add distant hills – Mix a blue-green color and paint simple hill shapes
- Create foreground – Use darker greens for closer elements
- Add details – Once dry, add small details with a fine brush
This project lets you practice wet-on-wet (sky), wet-on-dry (hills and foreground), and basic layering techniques. Keep it simple and focus on enjoying the process rather than achieving perfection.
Finding Inspiration and Continuing Your Journey
As you develop your skills, find inspiration from various sources:
- Nature (landscapes, flowers, skies)
- Still life arrangements
- Urban sketching
- Reference photos
- Works by watercolor artists on Instagram
Consider exploring structured learning through watercolor workbooks for beginners or online tutorials like those featured in watercolor mastery awaits.
Building a regular practice is key to improvement. Even 15 minutes of painting a few times a week will help you progress. Join online communities or local classes to connect with fellow watercolor enthusiasts who can offer support and feedback.
Discover More in our What is …. Series
What is Surrealism? Your Easy Guide to the Art Movement
What is Impressionism? A Beginner’s Guide to the Art Movement
What is Cubism? A Beginner’s Guide
Conclusion
Watercolor painting is a rewarding journey that combines technical skill with artistic expression. As you’ve learned, this accessible medium requires understanding what watercolor painting is, having the right supplies, mastering basic techniques, and practicing regularly. Remember that each painting is a learning experience—embrace the unpredictable nature of watercolors and enjoy the process. Whether you’re painting to relax, to express yourself, or to create beautiful art for your home, watercolor offers endless possibilities for creativity and growth. With these first steps, you’re well on your way to discovering your unique voice in this luminous medium.
FAQ: What People Also Search For
How long does it take to learn watercolor painting?
Learning the basics of watercolor can take just a few weeks, but mastering the medium is a lifelong journey. Most beginners can create satisfying paintings within 1-3 months of regular practice. Focus on enjoying the process rather than reaching a specific skill level.
Can you paint watercolor on canvas?
Traditional watercolor requires absorbent paper, not canvas. However, there are specially prepared watercolor canvases available. For best results as a beginner, stick with watercolor paper, which is designed to properly handle the water and pigment interaction.
What are the differences between watercolor and acrylic painting?
Watercolors are transparent, water-soluble even when dry, and typically applied to paper. Acrylics are opaque, water-resistant when dry, and can be applied to many surfaces. Watercolors allow the paper to show through, while acrylics can cover previous layers completely.
How do I blend watercolor paints?
Blend watercolors by applying colors while the paper is still wet (wet-on-wet) or by rewetting dry areas with a clean, damp brush. Work quickly before the paper dries to create smooth transitions between colors.
What are the best watercolor brands for beginners?
Quality student-grade brands like Winsor & Newton Cotman, Sakura Koi, and Van Gogh offer good value for beginners. Professional brands like Daniel Smith, Winsor & Newton Professional, and Schmincke provide superior pigmentation but at a higher price point.

