Introduction
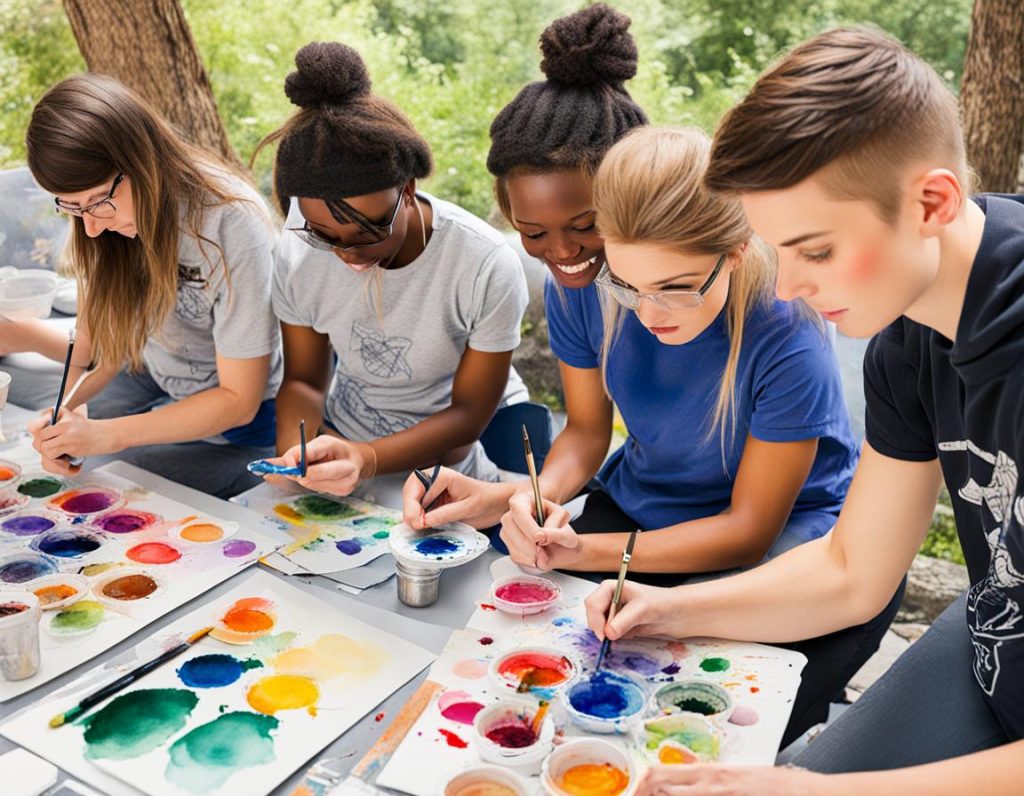
Watercolor painting is a wonderful medium for children to explore their creativity and express their artistic side. It’s not just about creating beautiful artwork, but also about the joy of the process itself. This guide will introduce kids aged 5-18 to the fun and easy world of watercolor painting, providing tips, techniques, and project ideas to get them started.
Understanding Watercolors
Watercolors are a unique medium that allows for a wide range of effects. They are easy to use, affordable, and safe for kids. The paints are essentially non-toxic and are not expected to cause symptoms when ingested in small amounts. However, it’s always a good idea to supervise younger children during painting sessions to ensure they don’t ingest the paints.
Getting Started with Watercolors
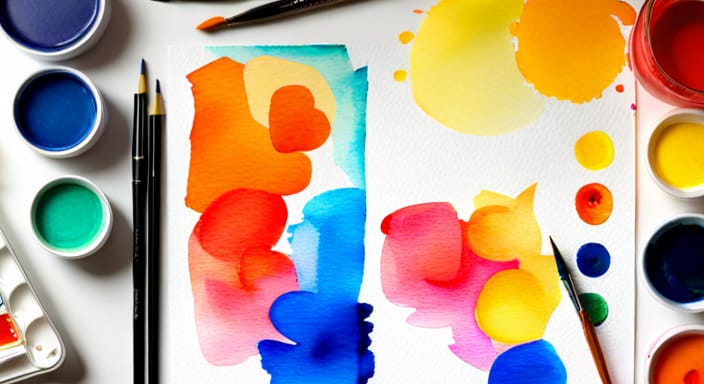
Before diving into specific techniques, kids need to familiarize themselves with the medium. Encourage them to play around with the paints, exploring how they mix and blend on the paper. This initial exploration can help kids understand the unique properties of watercolors and set the stage for more structured projects and techniques.
Basic Watercolor Techniques
There are several basic techniques that kids can learn to enhance their watercolor painting skills:
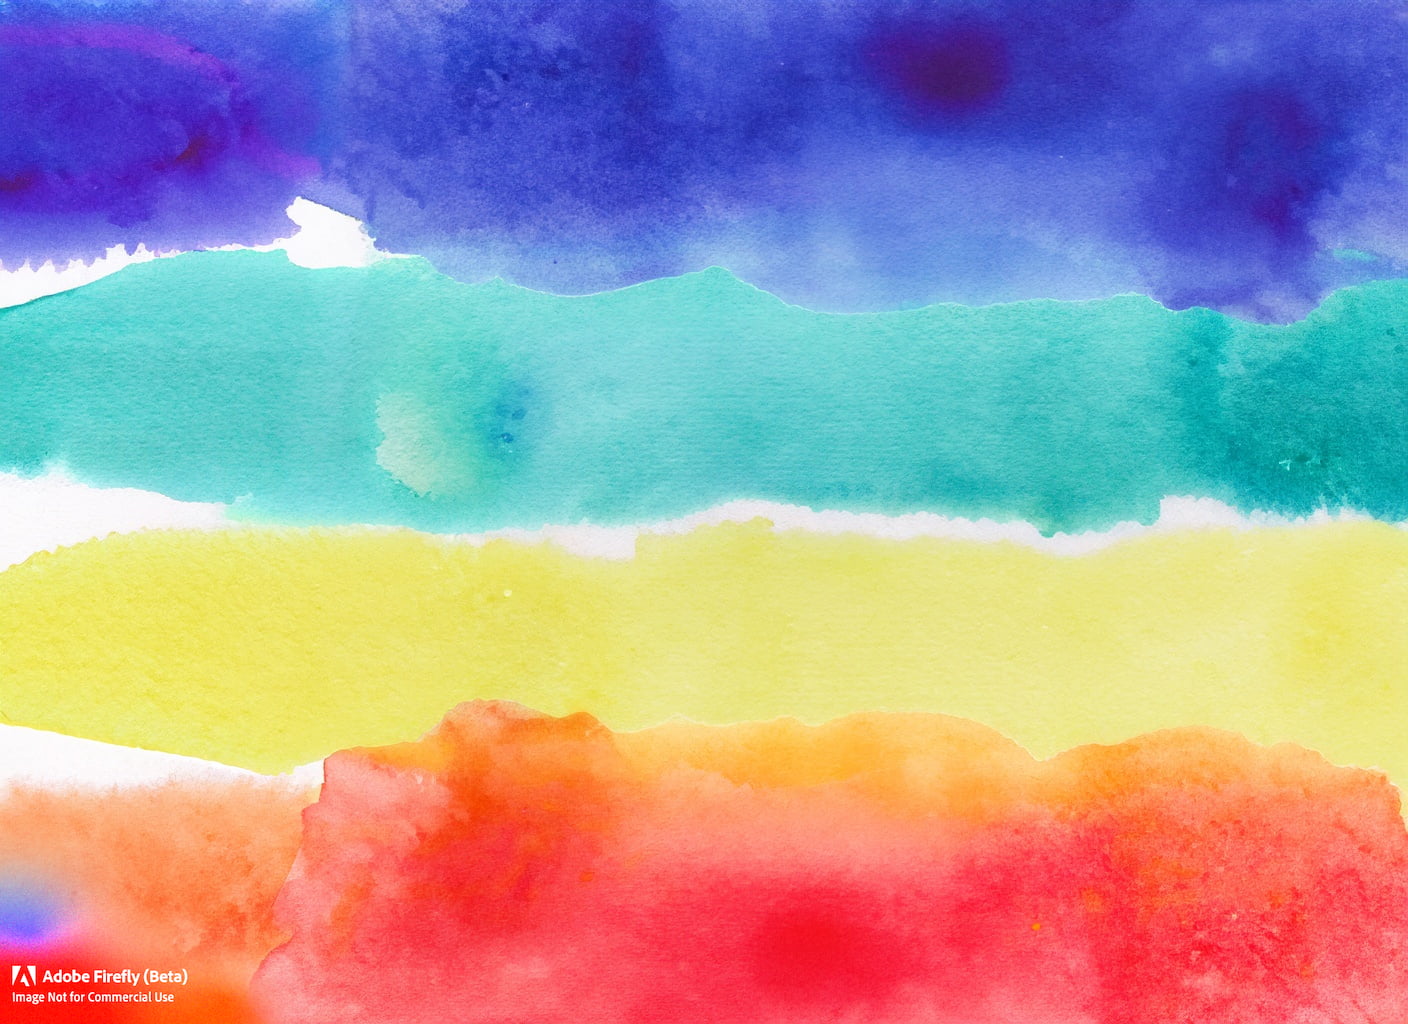
- Wet on Wet Technique: This is probably the easiest and most common watercolor technique for kids. It involves painting watercolors onto wet paper, allowing the colors to mix and create unique patterns as the paper dries.
- Spatter Painting: This fun technique can add interest to any art project. Kids can use one color or multiple colors to create a spatter effect on their painting.
- Watercolor Resist Technique: Using crayons or oil pastels to draw a picture, then painting over the drawing with watercolors, creates a simple but magical effect. The waxy crayons or oil pastels resist the water-based watercolors, revealing the original drawing beneath.
Fun Watercolor Projects for Kids
Once kids have a grasp of the basic techniques, they can start working on fun watercolor projects. Here are a few ideas:
- Friendly Monster Watercolor Blow Art: This project is a great way for little kids to start their watercolor adventure. It involves creating cute monster figures using watercolors.
- Watercolor Bookmarks: Once kids have some basic watercolor practice, they can step things up with a more sophisticated project like creating their own bookmarks.
- Raised Salt Painting: This technique involves creating a night sky scene, an underwater scene, or interesting textures using salt and watercolors.
- Watercolor Butterfly Symmetry Prints: Kids can create beautiful, symmetrical butterfly wings with translucent watercolor paint.
A Step-by-Step Guide
Introducing children to the world of watercolor painting can be a fun and rewarding experience. This step-by-step guide will help kids explore the medium, learn basic techniques, and create their own beautiful artwork.
Step 1: Gather Supplies
To get started, you’ll need the following supplies:
- Watercolor paints
- Watercolor paper
- Paintbrushes (a variety of sizes)
- A palette for mixing colors
- A cup of water
- Paper towels or a cloth for blotting
Step 2: Prepare the Workspace
Set up a comfortable workspace with all the supplies within easy reach. Make sure the area is well-lit and protected from spills with a tablecloth or newspapers.
Step 3: Learn Basic Techniques
Before starting a painting, it’s essential to learn some basic watercolor techniques. Here are a few to practice – see above for more details:
- Wet on Wet Technique: Paint watercolors onto wet paper, allowing the colors to mix and create unique patterns as the paper dries.
- Spatter Painting: Use one color or multiple colors to create a spatter effect on the painting.
- Watercolor Resist Technique: Draw a picture with crayons or oil pastels, then paint over the drawing with watercolors. The waxy crayons or oil pastels will resist the water-based watercolors, revealing the original drawing beneath.
Step 4: Choose a Subject
Decide on a subject for the painting, such as a landscape, an animal, or an abstract design. Encourage kids to use their imagination and creativity.
Step 5: Sketch the Design
Lightly sketch the design onto the watercolor paper using a pencil. This will serve as a guide for the painting process.
Step 6: Apply the Paint
Begin applying the watercolor paint to the paper, using the techniques learned in Step 3. Encourage kids to experiment with different colors and brushstrokes to create their unique artwork.
Step 7: Let the Painting Dry
Allow the painting to dry completely before handling or displaying it. This may take several hours, depending on the thickness of the paint and the humidity in the room.
Step 8: Display the Artwork
Once the painting is dry, display it proudly in a frame or on a wall. Encourage kids to share their artwork with friends and family, and celebrate their creativity.
Remember, the goal is to have fun and enjoy the process of creating art. So, let’s get those brushes wet and start painting!


