Do you love animals and watercolors? Do you want to learn how to paint amazing animal portraits with watercolors? If you answered yes, then you are in the right place.
In this guide, you will discover everything you need to know about watercolor painting animals, from the materials and tools you need, to the steps and techniques you need to follow, to the examples and inspiration you need to get started. Whether you are a beginner or an expert, this guide will help you master the art of watercolor painting animals. Read on to find out more!
What You Need to Paint Animals in Watercolor
Before you start painting animals in watercolor, you will need some essential materials and tools. Here is a list of what you will need:
- Watercolor paints: You can use either tubes or pans of watercolor paints, depending on your preference and budget. Tubes are more versatile and allow you to mix custom colors, while pans are more convenient and portable. You can also use liquid watercolors or watercolor pencils for different effects. The most important thing is to choose high-quality paints that have good pigmentation and lightfastness.
- Watercolor brushes: You will need a variety of brushes for painting animals in watercolor, from large flat brushes for washes to small round brushes for details. You can also use specialty brushes such as rigger brushes for thin lines, fan brushes for fur, or dagger brushes for feathers. The best brushes for watercolor are made of natural hair, such as sable or squirrel, as they hold more water and paint than synthetic brushes. However, synthetic brushes are cheaper and more durable, so you can also use them if you prefer.
- Watercolor paper: The quality of your paper will affect the outcome of your painting, so it is worth investing in good watercolor paper. Watercolor paper comes in different weights, textures, and formats. The weight refers to the thickness and durability of the paper, measured in grams per square meter (gsm). The higher the weight, the more water the paper can absorb without buckling or tearing. The texture refers to the surface of the paper, which can be rough, cold-pressed, or hot-pressed. Rough paper has a lot of texture and creates interesting effects with water and paint, while cold-pressed paper has a moderate texture and is suitable for most techniques. Hot-pressed paper has a smooth surface and is ideal for fine details and sharp edges. The format refers to the size and shape of the paper, which can be sheets, blocks, pads, or sketchbooks. Sheets are individual pieces of paper that you can cut to any size you want, while blocks are stacks of paper that are glued on all four sides and prevent warping. Pads are bound on one side and allow you to tear off sheets easily, while sketchbooks are convenient for practicing and sketching.
- Water container: You will need a container to hold clean water for rinsing your brushes and mixing colors. You can use any jar, cup, or bowl that is large enough to fit your brushes. Some artists like to use two containers: one for rinsing and one for mixing.
- Palette: You will need a palette to mix your colors and create different shades and tones. You can use any flat surface that is non-porous and easy to clean, such as a plastic or metal tray, a ceramic plate, or a wooden board. Some palettes have wells or compartments to separate your colors, while others are flat and open. You can also use the lid of your pan set as a palette.
- Pencil and eraser: You will need a pencil and an eraser to sketch your animal before painting it. You can use any pencil that is soft enough to erase easily, such as an HB or 2B pencil. You can also use a mechanical pencil or a colored pencil for more precision and contrast. You will need an eraser that is gentle on your paper and does not leave marks or residue, such as a kneaded eraser or a vinyl eraser.
- Masking tape: You will need masking tape to secure your paper to your painting surface and create clean edges. You can use any tape that is low-tack and easy to remove without damaging your paper or paint, such as painter’s tape or washi tape.
- Paper towels or tissues: You will need paper towels or tissues to blot excess water or paint from your brushes or paper. You can also use them to create textures or lift colors from your painting.
- Reference photos: You will need reference photos of the animals you want to paint in watercolor. You can use photos that you have taken yourself or found online. Reference photos will help you capture the shape, proportions, anatomy, colors, patterns, textures, and expressions of your animal subjects.
How to Paint Animals in Watercolor: Basic Steps
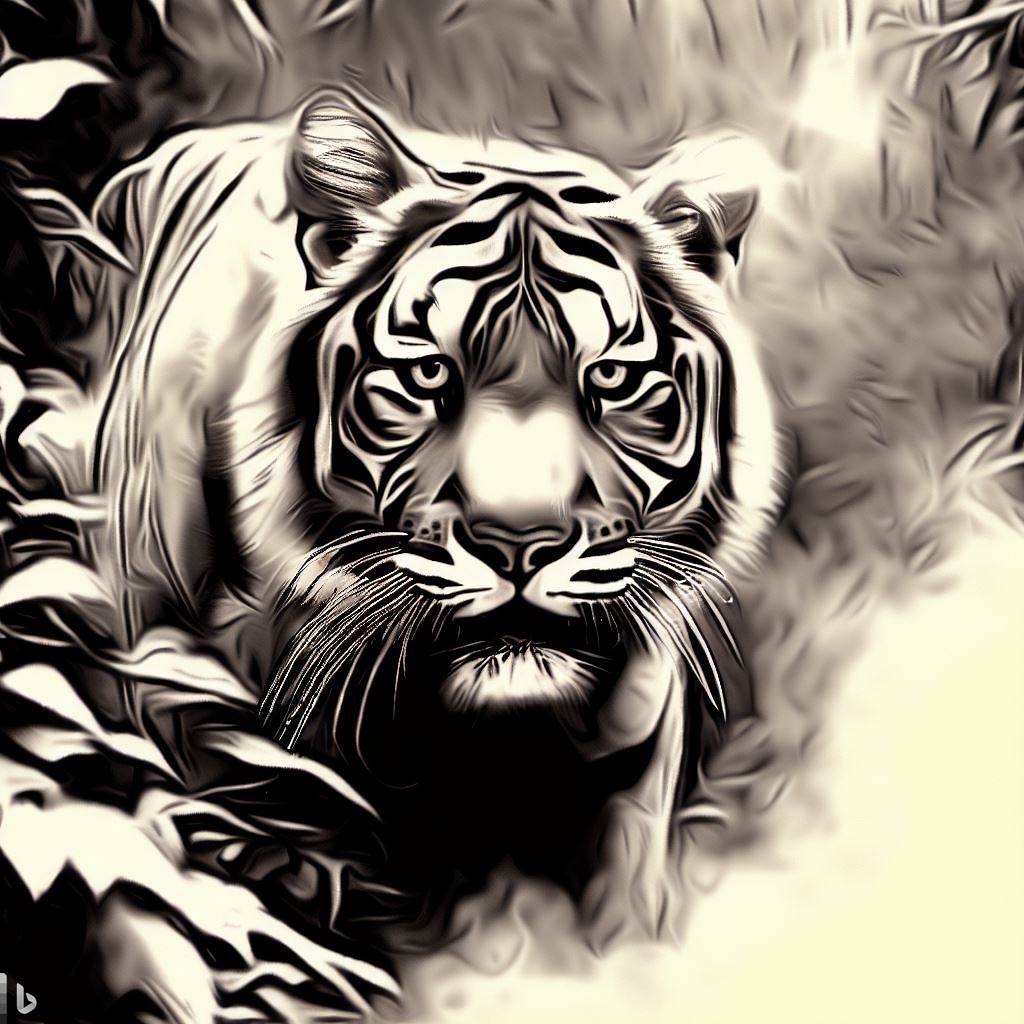
Now that you have gathered your materials and tools, you are ready to paint animals in watercolor. Here are the basic steps to follow:
- Sketch your animal: The first step is to sketch your animal on your watercolor paper using a pencil. You can use a grid method, a tracing method, or a freehand method to transfer your reference photo to your paper. You can also use a lightbox or a window to trace your photo onto your paper. Make sure your sketch is light and accurate, as you will paint over it later. You can erase any mistakes or unwanted lines with your eraser.
- Tape your paper: The next step is to tape your paper to your painting surface using masking tape. This will prevent your paper from curling or moving while you paint. It will also create a nice border around your painting. You can tape all four sides of your paper or leave some gaps for artistic effect.
- Paint the background: The third step is to paint the background of your animal painting using watercolor washes. A wash is a thin layer of water and paint that covers a large area of your paper. You can use different types of washes, such as flat washes, graded washes, or variegated washes, to create different effects and moods in your background. You can also use wet-on-wet or wet-on-dry techniques to blend or contrast colors in your background. Wet-on-wet means applying wet paint on wet paper, which creates soft and smooth transitions. Wet-on-dry means applying wet paint on dry paper, which creates hard and sharp edges. You can also use masking fluid or wax resist to preserve some areas of your paper from the background washes, such as the eyes or the highlights of your animal.
- Paint the animal: The fourth step is to paint the animal itself using watercolor glazes and details. A glaze is a thin layer of water and paint that is applied over a previous layer of paint to modify its color or value. A detail is a small and precise stroke of paint that adds definition and texture to your animal. You can use different techniques to paint the animal, such as dry brushing, lifting, splattering, scraping, or stippling, to create different effects and textures. You can also use different colors and values to create contrast and depth in your animal painting. You can start with the lightest colors and values and gradually build up to the darkest ones, or vice versa. You can also start with the largest shapes and areas and gradually move on to the smallest ones, or vice versa.
- Add the finishing touches: The final step is to add the finishing touches to your animal painting using watercolor highlights and shadows. Highlights are the lightest areas of your painting that reflect the light source, while shadows are the darkest areas of your painting that are away from the light source. You can use white paint, gouache, gel pen, or masking fluid to add highlights to your animal painting, such as the eyes, the nose, the whiskers, or the fur. You can use dark colors, such as black, brown, blue, or purple, to add shadows to your animal painting, such as under the chin, behind the ears, or between the legs.
Examples of Watercolor Animal Paintings
To give you some inspiration and ideas for painting animals in watercolor, here are some examples of watercolor animal paintings by different artists:
- A watercolor painting of a cute rabbit by BeFunky. This painting uses a saturated wet technique to create an expressive and colorful background for the rabbit. The rabbit is painted with soft edges and delicate details using a lifting technique.
- A watercolor painting of a realistic cheetah by Wildlife in Watercolour. This painting uses a dry brushing technique to create realistic fur textures for the cheetah. The cheetah is painted with sharp edges and fine details using a wet-on-dry technique.
- A watercolor painting of an abstract deer by Lioba Brückner. This painting uses a wet-on-wet technique to create an abstract and whimsical background for the deer. The deer is painted with bold colors and shapes using a glazing technique.
- A watercolor painting of an expressive horse by Sarah Stokes. This painting uses a variegated wash technique to create an atmospheric and dynamic background for the horse. The horse is painted with vibrant colors and strokes using a wet-on-wet technique.
We hope this guide has helped you learn how to paint animals in watercolor and inspired you to create your own watercolor animal paintings. Remember that watercolor painting is a fun and rewarding activity that allows you to explore your creativity and express yourself through art.
Happy painting! 😊.
