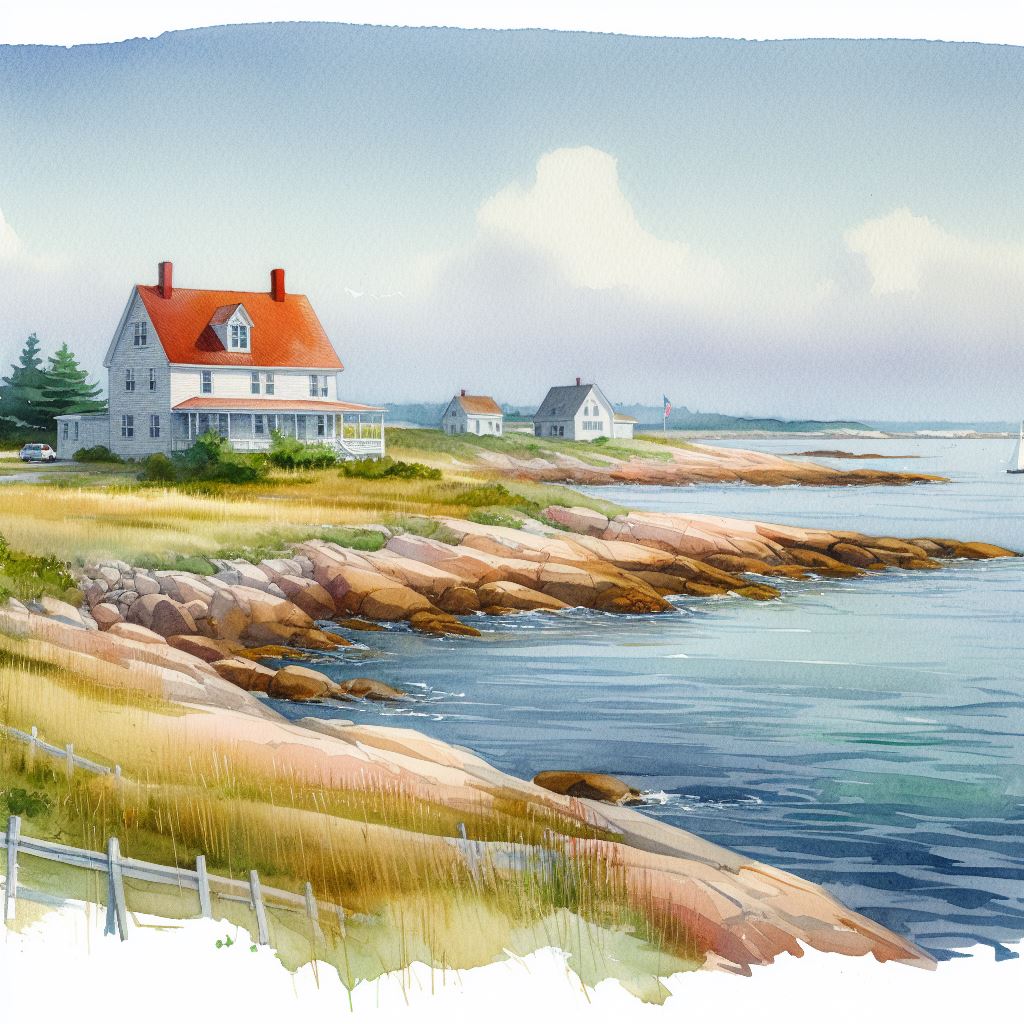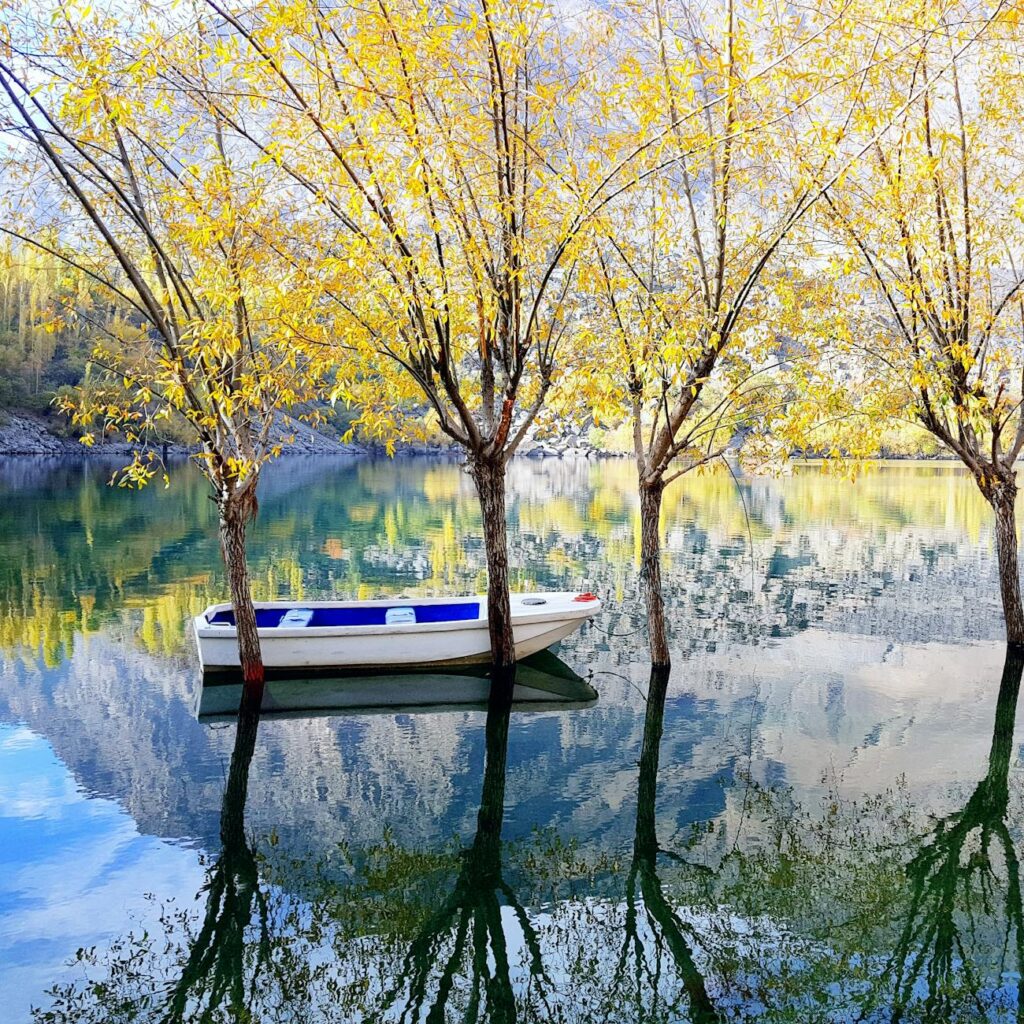
Watercolor painting can be both relaxing and rewarding, especially when you learn the wet-on-wet watercolor technique. This method involves applying paint to paper that’s already wet, creating soft, flowing effects that are perfect for beginners. Wet-on-wet watercolor techniques for beginners is all about embracing the unpredictable nature of water and pigment, allowing them to blend and flow naturally across your paper. It’s one of the most forgiving techniques to start with because it doesn’t require precise brushwork or detailed control – instead, it celebrates the beautiful accidents that happen when colors meet on a wet surface.
Key Points:
- Wet-on-wet watercolor technique involves applying paint to already wet paper
- Creates soft, blended effects perfect for beginners
- Requires minimal brushwork skills to achieve beautiful results
- Teaches water control, which is fundamental to watercolor painting
- Allows for expressive, loose painting styles
What is Wet-on-Wet Watercolor for Beginners?
Wet-on-wet watercolor (also called wet-into-wet) is exactly what it sounds like – you apply wet paint onto wet paper. When you do this, the colors blend softly together, creating smooth transitions and beautiful diffused effects. Unlike wet-on-dry techniques where paint stays exactly where you put it, wet-on-wet painting celebrates the natural flow of watercolor, making it perfect for beginners who haven’t yet developed precise brush control.
The beauty of this technique lies in how the water does much of the work for you. As paint spreads and blooms across the damp paper, it creates effects that would be difficult to achieve with careful brushwork alone. This makes wet-on-wet ideal for painting atmospheric skies, dreamy landscapes, soft florals, and abstract color studies.
Essential Supplies for Wet-on-Wet Watercolor

Before diving into techniques, let’s gather the right materials:
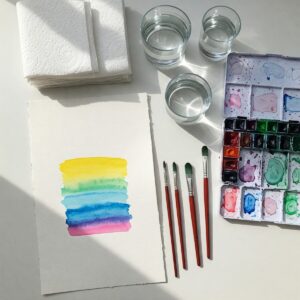
Watercolor Paper: Use 140lb (300gsm) paper or heavier, as lighter papers will buckle when wet. Cold-pressed paper offers a nice balance of texture and absorbency for beginners.
Brushes: Round brushes in various sizes work well for wet-on-wet. A large round brush (size 8-12) for wetting paper and applying washes, and smaller rounds (size 2-6) for adding details.
Watercolor Paints: Start with a basic set of artist-quality paints. Student-grade paints contain less pigment and more fillers, which can behave unpredictably in wet-on-wet applications.
Additional Supplies:
- Clean water containers (at least two – one for rinsing, one for clean water)
- Paper towels or a clean cloth for blotting
- Masking tape to secure paper
- Board or support for your paper
- Spray bottle for misting paper evenly
Quality materials make a significant difference in watercolor painting. While you don’t need the most expensive supplies, investing in proper watercolor paper will give you much better results than using regular sketch paper or low-quality alternatives. For more information on choosing the right materials, check out this guide to essential painting supplies.
Basic Wet-on-Wet Watercolor Techniques
1. Creating a Smooth Wash
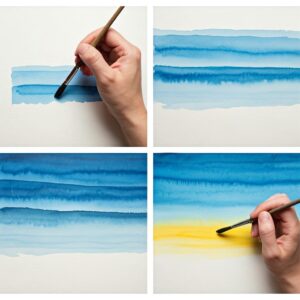
A wash is the foundation of many watercolor paintings, and the wet-on-wet technique creates beautifully smooth color transitions:
- Tape your paper to a board to prevent buckling
- Wet the entire paper evenly with clean water using a large brush or sponge
- While the paper is still shiny with moisture (but not pooling), load your brush with diluted paint
- Touch the brush to the wet paper and watch the color spread
- For a gradient effect, start with more pigment at one edge and gradually use less as you move across the paper
Pro tip: The timing is crucial here. If the paper is too wet, colors will spread uncontrollably; if it’s too dry, you won’t get the soft blending effect. Aim for a sheen on the paper without visible puddles.
2. Color Blending
One of the most magical aspects of wet-on-wet watercolor is how colors blend together:
- Wet your paper as described above
- Drop in one color on one area of the wet paper
- Without rinsing your brush, pick up a second color
- Apply this second color next to (slightly overlapping) the first
- Watch as the colors gently flow into each other where they meet
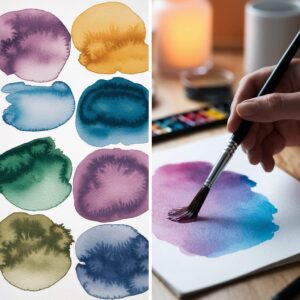
This technique is perfect for creating soft skies, water reflections, or abstract color studies. Try complementary colors like blue and orange for dramatic blends, or analogous colors like blue and purple for more subtle transitions.
3. Creating Soft Edges
Wet-on-wet is excellent for creating soft, diffused edges in your paintings:
- Wet only the area where you want the soft-edged shape
- Load your brush with more concentrated paint
- Touch the brush to the damp paper and allow the pigment to spread to the edges of the wet area
- The paint will naturally stop at the boundary between wet and dry paper, creating a soft edge
This technique works beautifully for clouds, distant mountains, or soft florals. The contrast between soft, diffused edges and sharp, defined edges (created using wet-on-dry technique) adds visual interest to your paintings.
Simple Wet-on-Wet Projects for Beginners
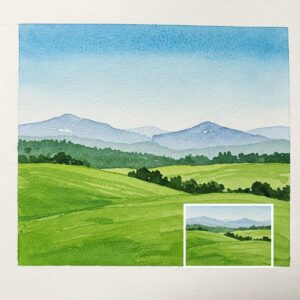
Watercolor Sky and Landscape
Landscapes are perfect for practicing wet-on-wet techniques:
- Wet the top portion of your paper (for the sky)
- Drop in blues at the top, gradually adding water as you move downward
- Add touches of purple or pink near the horizon for sunset effects
- Let this area dry slightly (still damp but not shiny)
- Wet the bottom portion for land
- Drop in greens and browns, allowing them to blend
- Once completely dry, add details like trees or structures using wet-on-dry technique
For more inspiration on landscape painting, check out this detailed guide on creating realistic landscape paintings.
Simple Wet-on-Wet Flowers
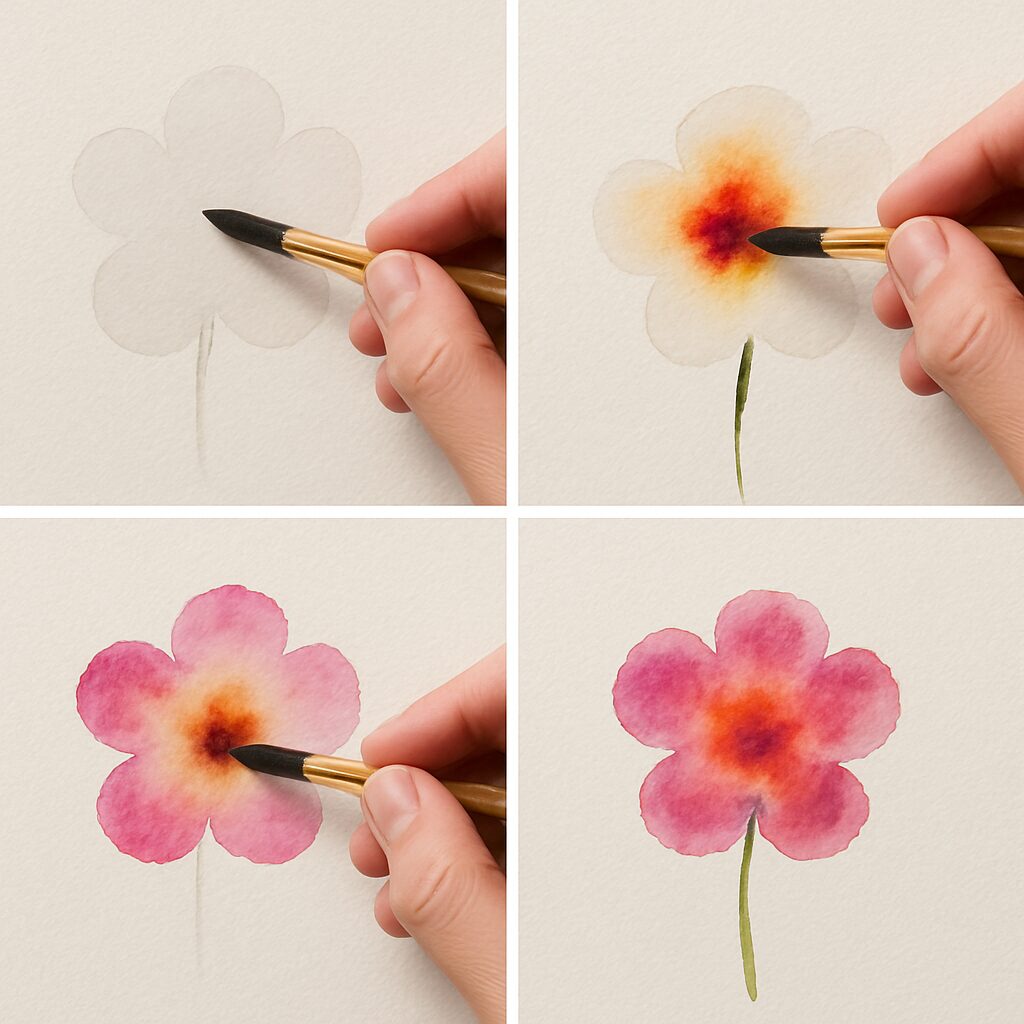
Flowers are another excellent subject for wet-on-wet beginners:
- Sketch a simple flower shape lightly with pencil
- Wet just the petal areas with clean water
- Touch your brush loaded with paint to the center of each petal
- Allow the color to spread toward the edges
- While still wet, add a second color to the base of each petal for dimension
- Once dry, add stems and leaves using a more controlled approach
For more watercolor floral inspiration, you might enjoy exploring animal watercolor paintings which use similar techniques.
Common Challenges and Solutions
| Challenge | Solution |
|---|---|
| Colors becoming muddy | Use fewer colors and let them mix naturally on the paper instead of mixing on the palette |
| Paper buckling | Use heavier paper (140lb/300gsm or higher) and tape down all edges before starting |
| Paint spreading too much | Wait until paper is less wet (damp but not shiny) or use less water in your paint mixture |
| Unwanted backruns | Work with the board at an angle so excess water flows downward |
| Losing white areas | Plan ahead and preserve whites with masking fluid or careful painting around them |
Remember that part of the charm of wet-on-wet watercolor is its unpredictability. As artist Frank Webb, known for his masterful watercolors, once said:
“Watercolor is like life. Better get it right the first time – you don’t get a second chance!”
Learning to embrace and work with the flow of water is part of the journey. For more watercolor insights, explore Frank Webb’s watercolor techniques.
Taking Your Wet-on-Wet Skills Further
As you become more comfortable with basic wet-on-wet techniques, you can explore:
- Variegated washes: Adding multiple colors to a single wash for more dynamic effects
- Charging in: Adding more concentrated color into an already colored wet area
- Lifting: Removing color while the paper is still damp using a clean, damp brush
- Combining techniques: Using wet-on-wet for backgrounds and wet-on-dry for details
For more advanced watercolor techniques, check out mastering watercolor layering and blending.
Tips for Successful Wet-on-Wet Watercolor
- Be patient: Allow layers to dry completely before adding more wet-on-wet effects
- Control water content: Learn to recognize different stages of wetness in your paper
- Work quickly: Once the paper is wet, you have a limited time window before it dries
- Start simple: Begin with just 2-3 colors until you’re comfortable with how they interact
- Embrace unpredictability: Some of the most beautiful effects happen by accident
The experts at Watercolor Mastery recommend practicing with simple color studies before attempting full paintings. This helps you understand how your specific paints behave on wet paper and builds confidence in the technique.
FAQ: Wet-on-Wet Watercolor for Beginners
What is the difference between wet-on-wet and wet-on-dry watercolor?
Wet-on-wet involves applying paint to paper that’s already wet, creating soft, blended effects with diffused edges. Wet-on-dry involves applying paint to dry paper, giving you more control and defined edges. Both techniques have their place in watercolor painting and are often used together in a single artwork.
What is the best watercolor paper for wet-on-wet technique?
Cold-pressed watercolor paper that’s at least 140lb (300gsm) works best for wet-on-wet techniques. Heavier papers like 300lb (640gsm) are even better as they buckle less when wet. Brands like Arches, Fabriano, and Saunders Waterford are excellent choices for beginners practicing wet-on-wet watercolor.
How much water should I use for wet-on-wet watercolor?
The paper should be evenly damp with a slight sheen but no puddles or pooling water. If water is collecting in areas, blot it gently with a paper towel. The amount of water in your paint mixture also matters – for soft, transparent effects, use more water; for more saturated colors, use less water but more pigment.
How do I prevent watercolors from becoming muddy?
Limit your palette to 2-3 colors at a time, especially colors that mix well together. Allow colors to blend on the paper rather than on your palette. Clean your brush thoroughly between colors, and be mindful of complementary colors (like blue and orange), which can create brown or gray when mixed.
What are simple watercolor projects for beginners using wet-on-wet technique?
Start with abstract color studies, simple skies and landscapes, basic floral shapes, or underwater scenes. These subjects benefit from the soft, flowing nature of wet-on-wet watercolor and don’t require precise details. As you gain confidence, you can add more complex elements to your paintings.
The beauty of wet-on-wet watercolor for beginners lies in its accessibility – you don’t need perfect brushwork or years of experience to create something beautiful. By embracing the natural flow of water and pigment, you’ll develop an intuitive understanding of this medium that will serve you well as you progress. Start with simple exercises, be patient with yourself, and enjoy watching the colors dance across your paper as you explore the magical world of wet-on-wet watercolor.

