
Oil painting for beginners might seem intimidating at first, but with the right guidance and supplies, anyone can learn this beautiful and rewarding art form. Whether you’ve always dreamed of creating stunning landscapes or expressive portraits, oil painting offers incredible versatility and depth that has captivated artists for centuries. This comprehensive guide will walk you through everything you need to know to start your oil painting journey with confidence.
Key Points Summary
- Essential supplies: You only need 5-7 basic items to start oil painting
- Budget-friendly start: Begin with student-grade materials and upgrade gradually
- Safety first: Proper ventilation and non-toxic alternatives are crucial
- Simple subjects: Start with basic shapes and gradually increase complexity
- Practice fundamentals: Master color mixing, brush techniques, and the “fat over lean” rule
- Common mistakes: Avoid rushing, using too much paint, and poor canvas preparation
- Patience pays: Oil paint’s slow drying time is actually an advantage for beginners
What Makes Oil Painting Special?

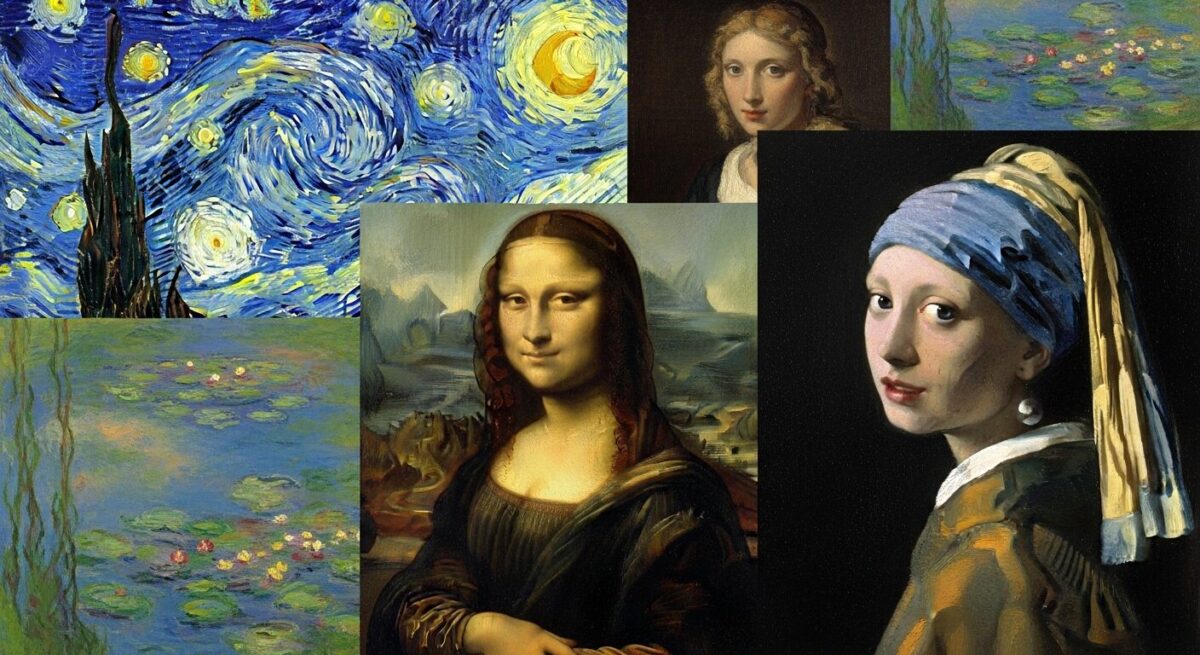
Oil painting has been the preferred medium of master artists like Leonardo da Vinci, Vincent van Gogh, and Claude Monet for good reason. Unlike other painting mediums, oil paints offer exceptional blending capabilities, rich color saturation, and extended working time. The slow drying process allows beginners to make corrections, blend colors seamlessly, and work on a painting over multiple sessions.
Essential Oil Painting Supplies for Beginners

The Must-Have List
Starting your oil painting journey doesn’t require breaking the bank. Here are the essential supplies every beginner needs:
| Supply | Purpose | Beginner Recommendation |
|---|---|---|
| Oil Paints | Primary medium | Student-grade set with 6-8 colors |
| Brushes | Application tool | 2-3 filbert brushes (sizes 6, 10, 14) |
| Canvas/Panels | Painting surface | Pre-primed canvas panels |
| Palette | Color mixing | Disposable palette pad or glass |
| Medium | Paint modifier | Linseed oil or walnut oil |
| Solvent | Cleaning/thinning | Odorless mineral spirits |
| Rags/Paper Towels | Cleanup | Lint-free cloth or paper towels |
Choosing Your First Oil Paints

For oil painting for beginners, start with these essential colors:
- Titanium White (you’ll use this most)
- Ivory Black
- Cadmium Yellow Medium
- Cadmium Red Medium
- Ultramarine Blue
- Burnt Umber
- Yellow Ochre
These six colors can mix virtually any color you need. As you progress, you can add more specialized pigments to your palette.
Brush Selection Made Simple
Beginner oil painting techniques work best with versatile brushes. Filbert brushes are ideal because they combine the precision of flat brushes with the softness of round brushes. Start with:
- Size 6 filbert: Detail work and small areas
- Size 10 filbert: Medium coverage and blending
- Size 14 filbert: Large areas and backgrounds
Pro tip: Buy two of each size – one for light colors and one for dark colors to avoid muddy mixes.
How to Start Oil Painting: Step-by-Step Guide
Step 1: Set Up Your Workspace
Proper ventilation is crucial for safe oil painting. Choose a well-ventilated area near a window or use a fan to circulate air. Lay out your supplies within easy reach:
- Position your easel or work surface at a comfortable height
- Place your palette to your dominant side
- Keep solvent containers and rags nearby
- Ensure good lighting (natural light is best)
Step 2: Prepare Your Canvas
Canvas preparation is often overlooked in beginner oil painting guides, but it’s essential for lasting results. If using pre-primed canvas panels, you can start painting immediately. For unprimed surfaces:
- Apply a thin coat of gesso primer
- Let dry completely (24 hours)
- Lightly sand if needed for smoothness
- Apply a second coat if desired

Step 3: Set Up Your Palette
Arrange your colors around the edge of your palette in a consistent order. A typical layout moves from light to dark:
- White (largest amount)
- Yellow
- Red
- Blue
- Earth tones (burnt umber, yellow ochre)
- Black (smallest amount)
Leave the center area for mixing colors.
Step 4: Your First Brushstrokes
Before diving into a painting, practice basic brush techniques:
Flat strokes: Hold the brush perpendicular to the canvas for even coverage
Dry brush: Use minimal paint for textured effects
Blending: Work wet paint into wet paint for smooth transitions
Scumbling: Light, broken strokes over dry paint
Fundamental Oil Painting Techniques for Beginners
The “Fat Over Lean” Rule
This is the most important technical rule in oil painting for beginners. “Fat” refers to paint with more oil content, while “lean” means paint with less oil (often thinned with solvent).
The rule: Always apply “fat” (oily) paint over “lean” (less oily) paint.
Why it matters: Following this rule prevents cracking as your painting dries. Start with thin, lean layers and gradually build up to thicker, more oily layers.
Color Mixing Basics

Successful color mixing is essential for beginner oil painting techniques:
Primary colors (red, blue, yellow) cannot be mixed from other colors
Secondary colors (orange, green, purple) come from mixing two primaries
Tertiary colors result from mixing primary and secondary colors
Mixing tips:
- Start with the lighter color and gradually add darker
- Mix more than you think you’ll need
- Keep a color journal to remember successful mixes
- Don’t overmix – some variation adds life to your colors
Basic Painting Approaches
Alla Prima (Wet-on-Wet): Complete the painting in one session while all paint remains wet. Perfect for oil painting for beginners because it’s immediate and forgiving.
Layered Approach: Build up the painting in multiple sessions, allowing each layer to dry. This traditional method offers more control but requires patience.
Underpainting: Start with a monochromatic (single color) version to establish values and composition before adding full color.
Common Beginner Mistakes and How to Avoid Them
Mistake 1: Using Too Much Paint
The problem: Beginners often squeeze out large amounts of paint, leading to waste and muddy colors.
The solution: Start with small amounts. You can always add more. A little oil paint goes a long way.
Mistake 2: Rushing Into Complex Subjects
The problem: Attempting detailed portraits or complex landscapes before mastering basics.
The solution: Begin with simple subjects like single fruits, basic geometric shapes, or simple landscapes. Focus on understanding how oil paint behaves.
Mistake 3: Poor Brush Care
The problem: Letting paint dry in brushes or using dirty brushes.
The solution: Clean brushes immediately after use. Rinse in solvent, then wash with soap and water. Reshape and lay flat to dry.
Mistake 4: Ignoring Drying Times
The problem: Working on wet paint when you intended to work on dry, or expecting oil paint to dry like acrylics.
The solution: Understand that oil paint can take days to weeks to fully dry. Plan your painting sessions accordingly.
“The secret to getting ahead is getting started. Don’t wait for perfect conditions or expensive supplies – begin with what you have and learn as you go.”
Art Instructor Sarah Chen
Safety Considerations for Indoor Oil Painting
Modern oil painting for beginners can be much safer than in the past, thanks to improved materials and techniques:
Ventilation
- Always work in a well-ventilated area
- Use fans to circulate air away from your workspace
- Consider working near an open window
Non-Toxic Alternatives
- Solvents: Use odorless mineral spirits instead of turpentine
- Mediums: Try walnut oil or safflower oil instead of linseed oil
- Cleanup: Use vegetable oil-based soaps for brush cleaning
Proper Disposal
- Never pour solvents down drains
- Dispose of paint-soaked rags properly (they can spontaneously combust)
- Check local regulations for paint disposal
Practice Exercises for New Oil Painters
Exercise 1: Color Mixing Chart
Create a grid showing how your primary colors mix together. This reference will be invaluable for future paintings.
Exercise 2: Value Study
Paint a simple still life using only one color plus white. This teaches you to see values (light and dark) independent of color.

Exercise 3: Brush Stroke Practice
Fill a canvas with different brush strokes – long, short, thick, thin, smooth, textured. Learn how your brushes behave.
Exercise 4: Simple Still Life
Arrange 2-3 simple objects with good lighting. Focus on basic shapes and color relationships rather than details.
Building Your Oil Painting Skills
Study the Masters
Visit museums or study high-quality reproductions online. Notice how master painters handled:
- Brush strokes
- Color relationships
- Light and shadow
- Composition
Join a Community
Connect with other artists through:
- Local art groups
- Online forums and social media
- Painting classes or workshops
- Art supply store events
Keep a Painting Journal
Document your progress with:
- Photos of works in progress
- Color mixing notes
- Technique experiments
- Lessons learned from mistakes

Recommended YouTube Tutorial
For visual learners, I highly recommend watching “Learn How to Oil Paint in 10 minutes” by PaintCoach. This 10-minute video demonstrates proper brush handling, color mixing, and basic techniques that complement this written guide perfectly.
Frequently Asked Questions
What supplies do I need to start oil painting?
You need oil paints (6-8 colors), brushes (2-3 filberts), canvas panels, a palette, medium (linseed oil), solvent (odorless mineral spirits), and rags for cleanup. This basic kit costs $50-100 and will last for many paintings.
How long does oil paint take to dry?
Oil paint drying time varies by thickness and conditions. Thin layers may be touch-dry in 24-48 hours, while thick applications can take weeks. Full curing takes 6-12 months. This slow drying is actually beneficial for beginners as it allows time for corrections and blending.
Can I use water with oil paints?
Traditional oil paints don’t mix with water. However, water-mixable oil paints are available that clean up with water while maintaining oil paint characteristics. These are excellent for beginners concerned about solvents.
What’s the difference between oil and acrylic paint?
Oil paints dry slowly, blend beautifully, and offer rich colors but require solvents for cleanup. Acrylics dry quickly, clean up with water, but don’t blend as easily once they start drying. Oil painting for beginners offers more working time to learn techniques.
How do I clean oil painting brushes?
First, wipe excess paint on a rag. Rinse in solvent (mineral spirits), then wash with soap and warm water. Reshape the brush and lay flat to dry. Never let paint dry in your brushes.
What canvas is best for oil painting?
Pre-primed canvas panels are perfect for beginners – they’re affordable, ready to use, and provide good texture. Avoid unprimed canvas as oil paint will eventually rot the fibers without proper preparation.
How much does it cost to start oil painting?
A basic beginner setup costs $50-100. Student-grade supplies are perfectly adequate for learning. You can upgrade to professional materials as your skills develop.
Can I oil paint indoors safely?
Yes, with proper ventilation and modern materials. Use odorless solvents, ensure good air circulation, and consider water-mixable oils if you’re sensitive to traditional materials.
What colors should a beginner buy?
Start with titanium white, ivory black, cadmium yellow medium, cadmium red medium, ultramarine blue, burnt umber, and yellow ochre. These six colors can mix virtually any color you need.
How do I mix oil paint colors?
Start with the lighter color and gradually add the darker color. Mix more than you think you’ll need, as it’s difficult to match colors exactly. Practice with a color mixing chart to learn how your specific paints behave together.
Conclusion
Oil painting for beginners is an incredibly rewarding journey that opens up endless creative possibilities. While the medium may seem complex at first, remember that every master artist started with their first brushstroke. Focus on learning the fundamentals – proper supply selection, basic color mixing, essential techniques, and safety practices. Don’t be discouraged by early challenges; oil painting skills develop gradually through consistent practice and experimentation.
Start with simple subjects, be patient with the learning process, and most importantly, enjoy the meditative and expressive nature of working with oil paints. With dedication and practice, you’ll soon discover why oil painting for beginners often becomes a lifelong passion. Your artistic journey begins with that first bold stroke of paint on canvas – so gather your supplies, set up your workspace, and start creating!
Additional Resources
Essential Reading
- “Oil Painting Techniques and Materials” by Harold Speed – Classic instruction manual
- “The Art of Oil Painting” by Walter Foster – Modern beginner-friendly approach
Online Learning Platforms
- Proko Oil Painting Course – Comprehensive video instruction
- New Masters Academy – Classical techniques
- Evolve Artist – Beginner-focused programs
Art Supply Retailers
- Jerry’s Artarama – Wide selection, competitive prices
- Jackson’s Art Supplies – Professional quality materials
- Blick Art Materials – Beginner sets and individual supplies
Professional Paint Manufacturers
- Winsor & Newton – Traditional quality since 1832
- Gamblin Artists Colors – Modern formulations, safety-focused
- Old Holland – Premium traditional pigments
Online Communities
- WetCanvas Oil Painting Forum – Active community with expert advice
- Reddit r/oilpainting – Supportive beginner-friendly community
- Facebook Oil Painting Groups – Daily inspiration and tips

