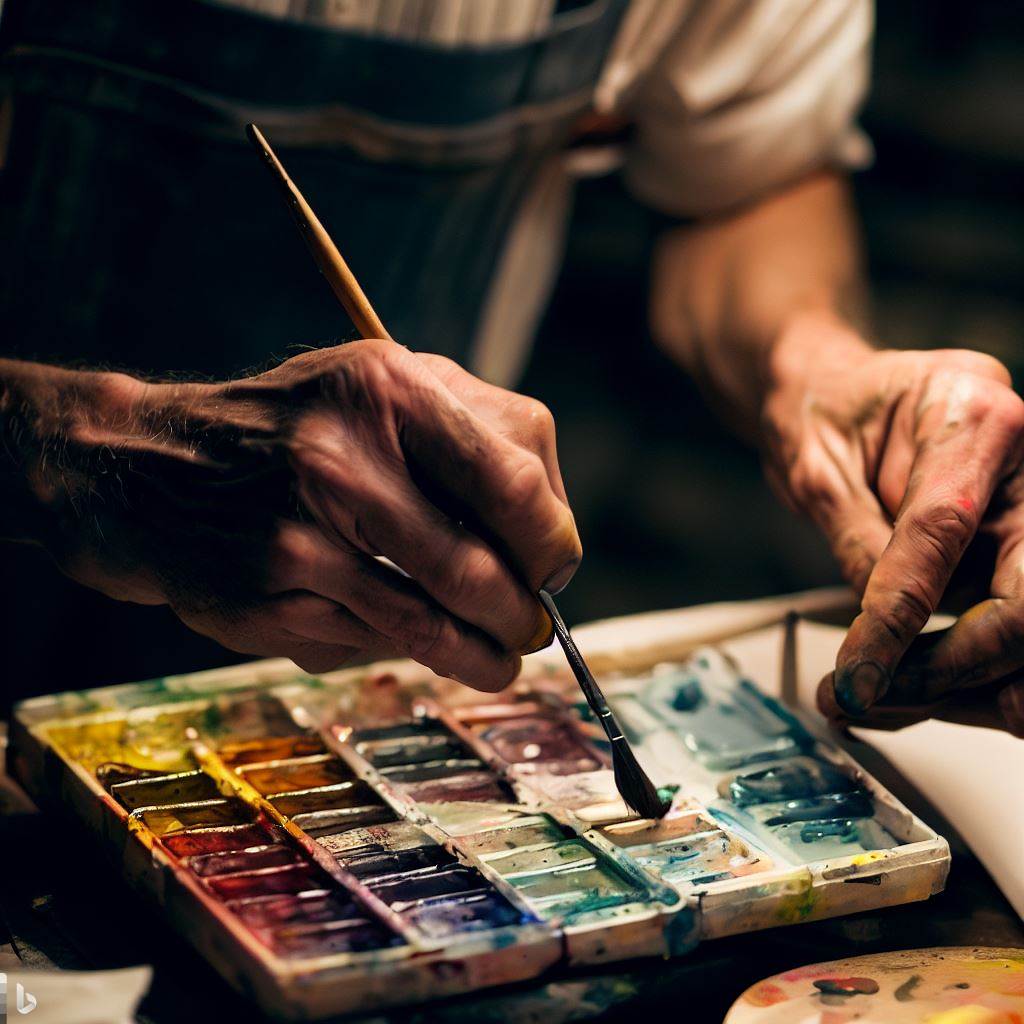
Watercolor painting is a beautiful and delicate art form that requires special care to preserve its vibrancy and longevity. Sealing a watercolor painting helps protect it from dust, moisture, and fading, ensuring its beauty lasts for years to come. In this article, we will guide you through the process of sealing your watercolor painting, providing step-by-step instructions and valuable tips along the way.
First, consider whether is it necessary! Watercolor paintings framed by glass are a popular alternative. So remember, it is not necessary to varnish a watercolor painting, and varnishing is not usually done for traditional watercolor paintings.
Introduction
Sealing a watercolor painting is a step in the artistic process. It not only protects the artwork but also enhances its colors and prevents fading over time. By following the proper sealing techniques, you can ensure that your watercolor painting remains in excellent condition, allowing you to showcase your talent and creativity.
What is Watercolor Painting?
Watercolor painting is a technique where pigments are mixed with water to create transparent layers of colors on paper. It is known for its luminosity and the ability to capture the fluidity and spontaneity of the subject. Watercolor paintings often depict landscapes, portraits, still life, and various other subjects, allowing artists to express their creativity in unique ways.
Do Watercolor Paintings Need to Be Sealed?
Before we dive into the process of sealing a watercolor painting, it’s important to understand whether or not it’s necessary. The answer is that it depends on the type of paper you used for your painting. If you used a high-quality watercolor paper, then it’s not necessary to seal the painting. However, if you used a lower quality paper or paper that is not specifically designed for watercolor painting, then it’s recommended to seal the painting to protect it from moisture and other environmental factors.
Importance of Sealing
Sealing a watercolor painting serves multiple purposes. Firstly, it acts as a protective layer, safeguarding the artwork from external factors such as dust, dirt, and moisture. Secondly, it enhances the colors, making them appear more vibrant and saturated. Lastly, sealing helps prevent the fading of pigments, ensuring the longevity of the painting.
Materials Needed
Before you begin sealing your watercolor painting, gather the following materials:
- Watercolor painting
- Spray varnish or brush-on varnish
- Soft paintbrushes
- Palette or a mixing tray
- Clean water
- Paper towels or lint-free cloth
- Masking tape or clips (to secure the painting)
Step 1: Preparing the Painting
Before applying any sealer, ensure that your watercolor painting is completely dry. It’s important to let the painting sit undisturbed for at least 24 hours to allow the water and pigments to evaporate. Check for any smudges, stains, or imperfections that need to be addressed before proceeding.
Step 2: Choosing the Sealing Method
There are two common methods for sealing watercolor paintings: using spray varnish and applying brush-on varnish. Both methods have their pros and cons, so choose the one that suits your preferences and the specific requirements of your artwork.
Method 1: Using Spray Varnish
Spray varnish provides a quick and even application, making it ideal for larger paintings or when you need to seal multiple artworks. Here’s how to use spray varnish:

- Place your watercolor painting on a protected surface or easel.
- Shake the spray varnish can vigorously for a few seconds.
- Hold the can approximately 12 inches away from the painting.
- Apply the varnish in thin, even coats, using horizontal or vertical strokes.
- Allow each coat to dry before applying the next layer, following the manufacturer’s instructions.
- Repeat the process until you achieve the desired level of protection and finish.
Method 2: Applying Brush-On Varnish
Brush-on varnish offers more control and allows for precise application, making it suitable for smaller paintings or when you want to have a hands-on approach. Follow these steps to apply brush-on varnish:
- Select a soft paintbrush suitable for varnishing.
- Dip the brush into the varnish, ensuring you have a sufficient amount.
- Start from the top corner of the painting and work your way across in smooth, even strokes.
- Be careful not to overload the brush with varnish, as it may cause pooling or streaks.
- Allow the first layer to dry completely before applying additional coats, if necessary.
- Repeat the process until you achieve the desired level of protection and finish.
Step 3: Applying the Sealer
Regardless of the sealing method you choose, the application process is similar. Ensure you are working in a well-ventilated area and follow these steps:
- Carefully position your watercolor painting on an easel or flat surface.
- Begin applying the varnish or sealer from one corner, working your way across the painting.
- Use smooth, even strokes to ensure even coverage.
- Pay attention to the edges and corners, making sure they are properly sealed.
- Avoid excessive brushing or touching the painting while applying the sealer to prevent smudging or damage.
Step 4: Drying and Final Touches
After applying the sealer, allow your watercolor painting to dry completely. Follow the drying time specified by the varnish manufacturer. Once dry, inspect the painting for any imperfections or areas that might need touch-ups. You can use a soft brush or a damp cloth to gently clean or correct any issues.
Tips for Sealing Watercolor Paintings
- Use high-quality varnishes or sealers specifically designed for watercolor paintings.
- Always read and follow the instructions provided by the manufacturer.
- Test the varnish on a small, inconspicuous area of the painting before applying it fully.
- Avoid applying excessive pressure while brushing the sealer to prevent damage to the delicate paint layers.
- Consider framing your sealed watercolor painting under glass for added protection and display.
Common Mistakes to Avoid
- Sealing a watercolor painting before it is completely dry can lead to smudging and color bleeding.
- Applying too thick of a layer of varnish can cause the colors to appear muddy or distorted.
- Neglecting to clean your brushes properly after applying varnish can lead to stiff bristles and affect future painting sessions.
- Failing to secure the painting properly during the sealing process can result in accidental smudges or damage.
Conclusion
Sealing your watercolor painting is an essential step to protect and preserve your artwork. By following the correct methods and using high-quality materials, you can ensure that your watercolor painting retains its beauty and stands the test of time. Enjoy the process of sealing your paintings, and embrace the satisfaction of knowing that your creations are safeguarded for future generations to admire.
FAQs on how to Seal a Watercolor Painting
How long does it take for a watercolor painting to dry before sealing?
It is recommended to let the watercolor painting dry for at least 24 hours before applying any sealer.
Can I use hairspray as a sealer for watercolor paintings?
It is not recommended to use hairspray as a sealer for watercolor paintings, as it may cause discoloration and damage the artwork.
Should I seal both the front and back of a watercolor painting?
Generally, sealing the front of the watercolor painting is sufficient. However, if you want to provide additional protection, you can apply a thin layer of varnish to the back as well.
Can I seal a watercolor painting with acrylic varnish?
Yes, acrylic varnish can be used to seal watercolor paintings. Make sure to choose a varnish specifically formulated for use with water-based media.
Can I remove the varnish from a sealed watercolor painting if needed?
Yes, varnish can be removed from a watercolor painting, but the process requires careful consideration and should be done by a professional conservator to avoid damaging the artwork.

