
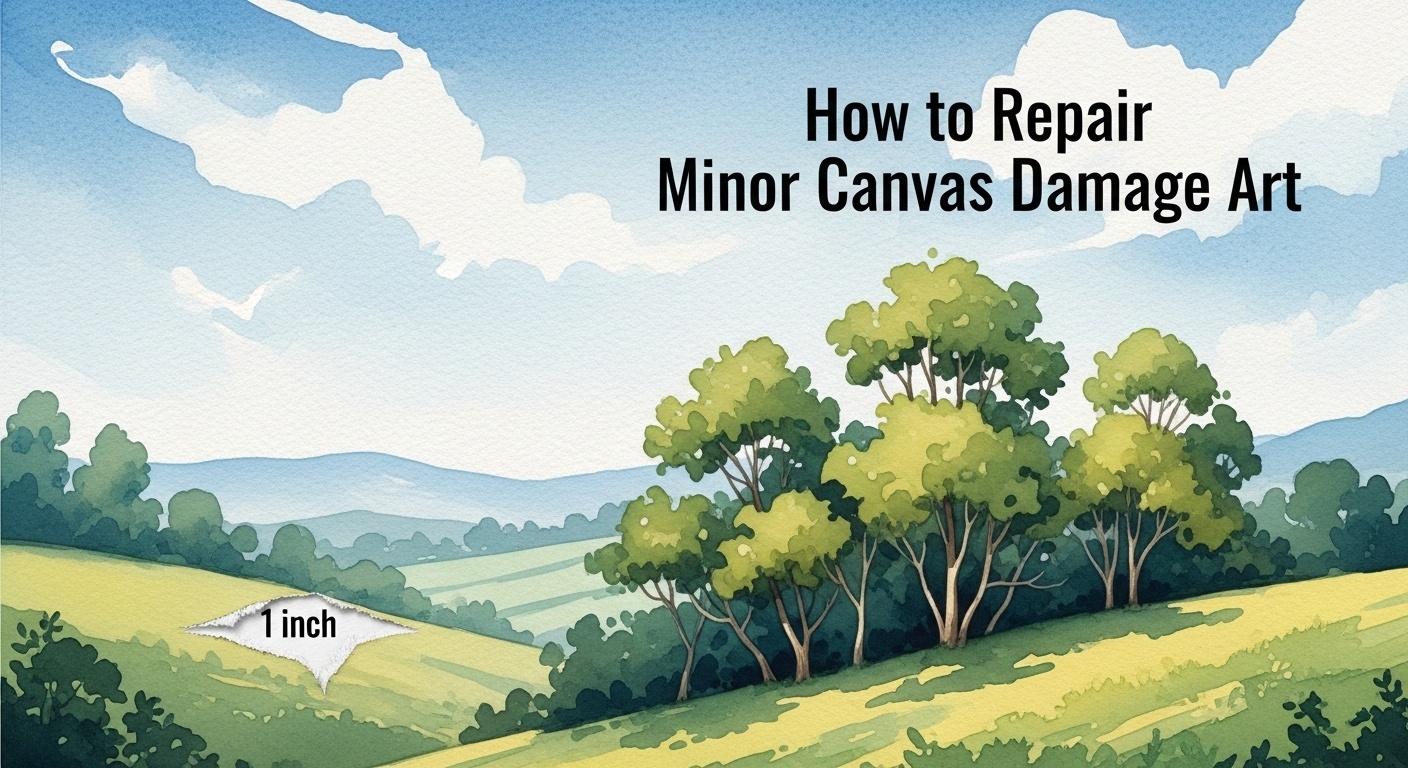
Discovering a dent, tear, or puncture in your canvas painting can feel heartbreaking. Whether you’ve accidentally bumped your work-in-progress or discovered damage to a finished piece, learning to repair minor canvas damage art is a valuable skill that saves time, money, and precious creative work. This practical guide walks you through simple techniques to fix common canvas problems using supplies you likely already own.
Key Takeaways
- Minor canvas damage includes dents, small tears under 2 inches, punctures, and surface scratches
- Most repairs need just PVA glue, canvas patches, basic tools, and patience
- Back-patching from behind the canvas creates the strongest, most invisible repairs
- Proper handling and storage prevent most damage before it happens
- Know when to call a professional conservator for valuable or extensively damaged artwork
Understanding Minor Canvas Damage

What Counts as “Minor” Damage?
Not every canvas problem requires professional help. You can handle minor damage at home with basic supplies:
- Dents and sagging where canvas has lost tension
- Small punctures less than half an inch across
- Minor tears under 2 inches without major fiber loss
- Surface scratches that haven’t broken through the canvas
- Small paint flakes just starting to lift
Larger tears, extensive damage, or valuable artwork need a professional art conservator. When in doubt about whether to repair minor canvas damage art yourself, consult an expert.
Common Causes of Canvas Problems
Most damage happens from:
- Accidental bumps during transport or painting
- Humidity changes causing canvas to expand and contract
- Careless handling without corner protection
- Pets or kids accidentally contacting the surface
- Tools slipping during painting sessions
- Normal aging in older canvases
Choosing quality canvas from the start reduces damage risk significantly.
Essential Repair Supplies

Adhesives You’ll Need
PVA Glue remains the gold standard for canvas repairs. This white craft glue dries clear, stays flexible, and won’t yellow over time. Dilute it slightly with water (about 1:1 ratio) for better penetration into canvas fibers.
Conservation-Grade Options like BEVA 371 or wheat starch paste work better for valuable pieces but cost more and require expertise to apply properly.
Avoid These: Never use super glue, hot glue, or tape on fine art. These create brittle bonds that damage canvas permanently.
Patching Materials
Use raw canvas or linen that matches your original canvas weight. Cut patches at least 1-2 inches larger than the damaged area on all sides. Acid-free fabric works for delicate or vintage pieces.
Basic Tools
- Palette knife for spreading adhesive
- Small brushes for detail work
- Clean weights (books work great)
- Wax paper to prevent sticking
- Sharp scissors or craft knife
- Cotton swabs for cleaning
- Soft brush for dusting
Most artists already have these essential painting supplies in their studio.
How to Repair Minor Canvas Damage Art: Step-by-Step Methods
Fixing Dents and Sagging Canvas
Dents are the easiest canvas problem to solve. The fibers haven’t broken—they’ve just lost tension.
Water Misting Method:
- Place canvas face-down on a clean surface
- Lightly spray the back of the dented area with distilled water
- Let it air-dry completely (never use heat!)
- Canvas fibers tighten as they dry, eliminating the dent
Stretcher Bar Keys Method:

Most stretched canvases include small wooden wedges in the corners that adjust tension:
- Find the keys in each corner slot
- Gently tap them deeper using a small hammer
- Work gradually, checking tension frequently
- Tap opposite corners in sequence for even tension
Proper canvas preparation prevents many tension issues from developing.
Repairing Small Punctures
Small holes need back-patching for strength:
- Clean around the puncture with a soft, dry brush
- Cut a patch from raw canvas, 1-2 inches larger than the hole
- Fray the edges slightly with your fingers for better blending
- Apply diluted PVA glue to the patch (not the canvas)
- Position carefully behind the hole, centering it
- Press firmly through wax paper, working center outward
- Weight it down and let dry 24-48 hours
- Fill the front with thin gesso layers if needed
- Sand gently when dry with fine sandpaper
- Retouch to match surrounding colors
This technique to repair minor canvas damage art maintains strength while remaining nearly invisible.
Mending Tears and Rips
Tears require more care but follow similar principles:
Preparation:
- Carefully align torn edges without forcing them
- Clean dust or debris from the area
- Test fit your patch before applying glue
Application:
- Cut a patch extending 2 inches beyond the tear on all sides
- Fray edges for softer transition
- Apply adhesive to the patch with a palette knife
- Position behind the tear, ensuring edges meet properly
- Gently press edges together from the front
- Cover with wax paper and apply weights
- Allow 48-72 hours for complete drying
- Fill, sand, and retouch as needed
Artists working in acrylic painting find color matching easier since acrylics dry quickly.
Video: Professional demonstration of canvas tear repair technique
Fixing Surface Scratches
Surface damage that hasn’t penetrated the canvas needs gentler treatment:
- Clean carefully with a barely damp cotton swab
- Let dry completely
- Apply thin gesso layers only if the primer is damaged
- Match paint carefully, testing colors first
- Use tiny brushstrokes to blend seamlessly
- Apply final varnish once cured
Understanding color mixing helps match original work during retouching.
Stabilizing Paint Flaking
When paint begins lifting but hasn’t fallen off:
- Mix very diluted PVA glue (1 part glue to 5-10 parts water)
- Apply carefully under lifting paint with fine brush
- Press gently with soft cloth through wax paper
- Weight lightly if needed
- Allow thorough drying before handling

Retouching Your Repair
Matching Colors and Textures
Final appearance depends on careful retouching:
Color Matching:
- Mix test colors on palette paper first
- Build up thin layers rather than thick application
- Consider that older paint may have darkened
- View matches in natural daylight
Texture Matching: Whether you work with oil painting or watercolor, replicate your original brushwork style.
Applying Final Layers
- Apply gesso in thin coats if ground was damaged (2-3 layers)
- Sand lightly between coats with 220-grit paper
- Match original surface texture before painting
- Paint in multiple thin layers
- Step back frequently to check from distance
Fixing painting mistakes teaches similar patience and technique.
Varnishing
Final varnish unifies surface appearance:
- Wait at least 2 weeks for oil paints to cure
- Test varnish on scrap canvas first
- Apply thin, even coats
- Match original finish (matte, satin, or gloss)
Learn more about varnishing finished paintings for proper protection.
Preventing Canvas Damage

Smart Handling Practices
Prevention beats repair every time:
Handling Tips:
- Hold stretched canvases by stretcher bars, never the painted surface
- Use two hands for canvases larger than 16×20 inches
- Wear clean cotton gloves for finished or valuable works
- Install corner protectors before transport
Storage Best Practices:
- Store canvases vertically, not stacked flat
- Use acid-free materials for wrapping
- Maintain consistent temperature (65-70°F) and humidity (40-55%)
- Keep away from direct sunlight
- Ensure good air circulation
Environmental Control
Canvas responds dramatically to environmental changes:
| Factor | Ideal Range | Problems from Extremes |
|---|---|---|
| Temperature | 65-70°F | Warping, cracking, loosening |
| Humidity | 40-55% | Mold, fiber breakdown |
| Light | Under 150 lux | Fading, chemical damage |
| Air Quality | Clean, dust-free | Surface dirt, deterioration |
Proper Framing
Good framing protects against damage:
- Use spacers to prevent canvas touching glass
- Install backing boards for puncture protection
- Choose UV-filtering glazing
- Ensure proper ventilation
- Inspect frames regularly for loose parts
When to Call a Professional
Damage Beyond DIY Repair
Seek professional help for:
- Tears longer than 2-3 inches or in multiple directions
- Damage affecting more than 10% of painting surface
- Valuable or historically significant artworks
- Severe paint loss needing extensive inpainting
- Structural damage to stretcher bars
- Mold or water damage
- Any uncertainty about proper methods
What Conservators Do

Professional art conservators provide:
- Thorough examinations with specialized equipment
- Detailed condition reports and documentation
- Museum-quality materials for lasting repairs
- Expertise that maintains original integrity
- Insurance documentation when needed
- Long-term preservation guidance
Organizations like the American Institute for Conservation maintain directories of qualified conservators.
Cost Considerations
Professional restoration costs vary:
- Simple repairs: $100-$500
- Moderate damage: $500-$2,000
- Extensive restoration: $2,000-$10,000+
Balance repair costs against artwork value—both monetary and sentimental. Learning to repair minor canvas damage art yourself makes sense for practice pieces, while exhibition or commissioned work merits professional attention.
Common Repair Mistakes to Avoid
- Wrong adhesives: Craft glues and tape cause permanent damage
- Rushing: Not allowing proper drying time ruins repairs
- Over-repairing: Using too much adhesive that seeps through
- Poor color matching: Creating obvious repair lines
- Skipping cleaning: Trapping dirt under patches
Learn from common painting mistakes to improve repair skills.
FAQ: Canvas Repair Questions
How do you fix a dent in a canvas painting?
Lightly mist the back of your canvas with distilled water using a spray bottle, then let it air-dry naturally. As canvas fibers dry, they contract and regain tension, eliminating the dent. For persistent dents, adjust stretcher bar corner keys by gently tapping them deeper to increase overall canvas tension.
What glue do you use to repair a canvas?
PVA (polyvinyl acetate) glue diluted with water is the best choice for most canvas repairs. Mix 1 part PVA glue with 1-2 parts water to create flexible adhesive that dries clear and won’t yellow. For valuable artworks, conservators prefer specialized archival adhesives like wheat starch paste or BEVA 371.
How do you fix a small tear in a canvas painting?
Align torn edges carefully, then cut a raw canvas patch extending 2 inches beyond the tear on all sides. Apply diluted PVA glue to the patch, position it behind the tear, and press firmly using wax paper and weights. Allow 48-72 hours for drying, then fill with gesso, sand smooth, and retouch with matching paint.
Can a ripped canvas be repaired?
Yes, ripped canvases can be repaired if damage is minor (tears under 3 inches without significant fiber loss). Back-patching with appropriate adhesives and canvas creates structurally sound repairs that become virtually invisible when properly retouched. Extensive rips or damage to valuable artworks need professional conservation.
How do you fix a loose canvas?
Insert wooden corner keys (wedges) that came with your stretcher bars deeper into corner slots by tapping gently with a small hammer. Work opposite corners in sequence to maintain even tension. If keys are missing, canvas supply stores sell replacements. Avoid over-tightening, which can warp the frame or crack paint.
Additional Resources
Professional Organizations
- American Institute for Conservation (AIC) – Find certified conservators and conservation resources
- International Institute for Conservation – Global conservation standards and practices
Supply Sources
- Dick Blick Art Materials – Comprehensive art supplies including canvas and repair materials
- Jerry’s Artarama – Wide selection of conservation supplies
Educational Resources
- Conservation OnLine (CoOL) – Free conservation information and resources
- Canadian Conservation Institute – Technical bulletins and guidance
Recommended Reading
- “The Artist’s Handbook of Materials and Techniques” by Ralph Mayer – Comprehensive guide to art materials and conservation
Conclusion
Mastering how to repair minor canvas damage art empowers artists to maintain their work’s integrity while developing valuable conservation skills. From simple dents fixed with water to complex tear repairs requiring patching and retouching, most minor damage responds well to patient work using proper materials and techniques.
Remember that successful repair balances technical skill with realistic assessment of your abilities. While beginners can learn basic techniques, valuable or extensively damaged works deserve professional attention. By following these methods, maintaining proper environmental conditions, and handling canvases carefully, you’ll minimize future damage while confidently addressing inevitable minor mishaps.
Start with small repairs on less important pieces to build confidence, invest in quality materials, and seek professional guidance when needed. Your artistic creations deserve preservation for future enjoyment.
Share your canvas repair experiences in the comments below. For more painting techniques and artist resources, explore our comprehensive painting guides.

