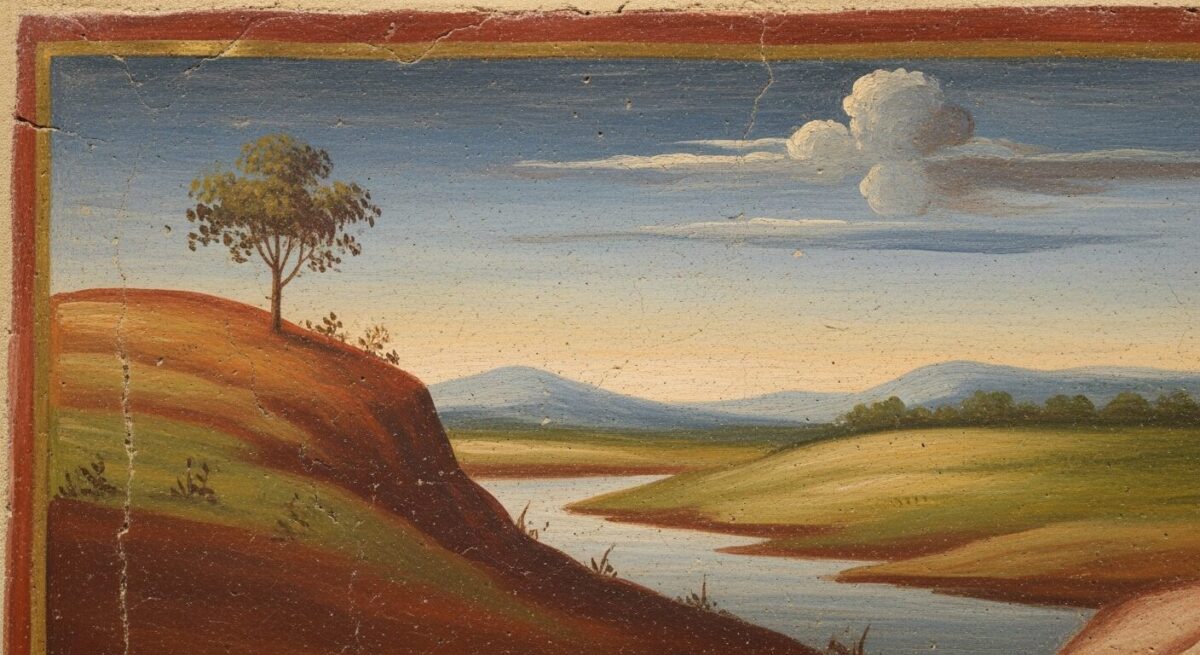
Fresco painting for beginners opens up a world of ancient artistic traditions that have captivated viewers for centuries. This timeless technique, which involves painting on wet lime plaster, creates stunning wall art that can last for hundreds of years. From Michelangelo’s breathtaking Sistine Chapel ceiling to Roman villa decorations, fresco painting has left an indelible mark on art history. Whether you’re a complete novice or an experienced artist looking to explore new mediums, learning fresco painting offers a unique and rewarding creative journey.
Key Points Summary
- Fresco painting involves applying water-based pigments to wet lime plaster
- Two main techniques: buon fresco (true fresco) and fresco secco
- Essential materials include lime plaster, natural pigments, and specialized brushes
- Time-sensitive process requiring quick, confident painting while plaster remains wet
- Rich historical tradition dating back to ancient civilizations
- Creates permanent, luminous artwork through chemical bonding
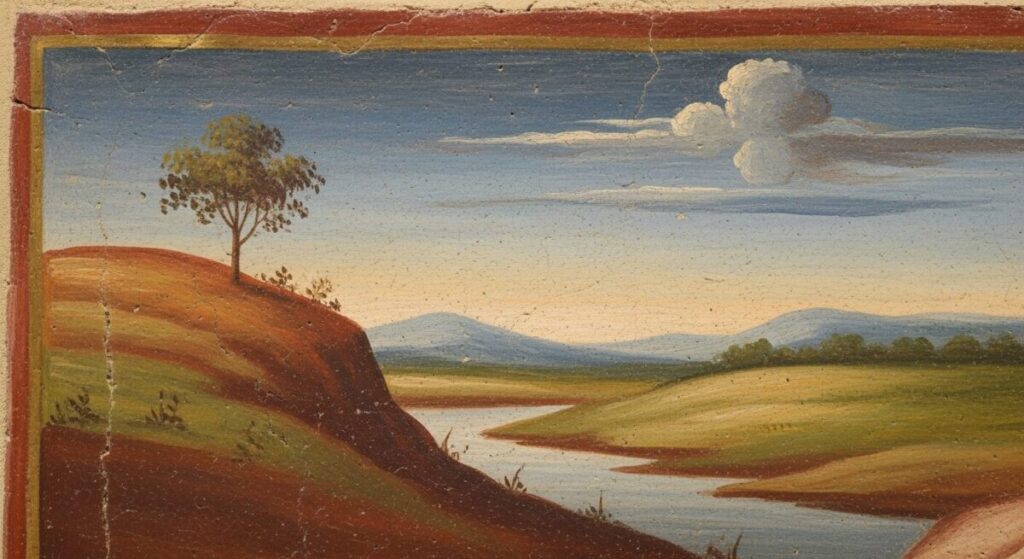
What is Fresco Painting?
Fresco painting is a traditional wall painting technique where artists apply water-based pigments directly onto freshly laid, wet lime plaster. The word “fresco” comes from the Italian word meaning “fresh,” referring to the wet plaster surface. As the plaster dries and carbonates, it chemically bonds with the pigments, creating artwork that becomes part of the wall itself.
This ancient art form differs significantly from modern painting techniques because the artist must work quickly while the plaster remains workable. The result is a matte, luminous finish that has remarkable durability when properly executed.
The Rich History of Fresco Art
Renaissance art represents the golden age of fresco painting, but this technique has much deeper roots. Ancient Romans decorated their villas with elaborate frescoes, while Byzantine and medieval artists adorned church walls with religious scenes. The technique reached its pinnacle during the Italian Renaissance when masters like Michelangelo, Raphael, and Giotto created masterpieces that still inspire artists today.
The Sistine Chapel ceiling, painted by Michelangelo between 1508 and 1512, remains the most famous example of buon fresco technique. This monumental work demonstrates the incredible possibilities of fresco painting when mastered by skilled hands.
Essential Materials for Fresco Painting
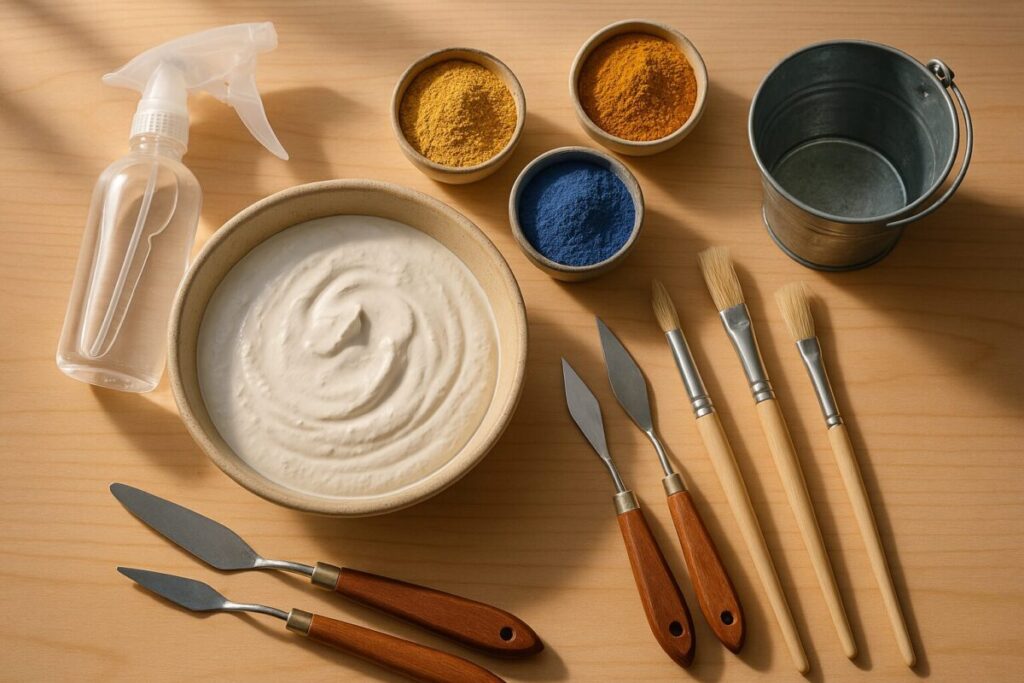
Before diving into fresco painting techniques, you’ll need to gather the right painting supplies. Here’s what every beginner needs:
Basic Fresco Painting Supplies
| Material | Purpose | Notes |
|---|---|---|
| Lime plaster (calcium hydroxide) | Base surface for painting | Must be fresh and properly mixed |
| Natural earth pigments | Coloring agents | Iron oxides, ultramarine, ochres work best |
| Hog bristle brushes | Paint application | Stiff bristles handle thick pigment mixtures |
| Spray bottle | Moisture control | Keeps plaster workable longer |
| Palette knives | Mixing pigments | Essential for proper color preparation |
| Water containers | Pigment dilution | Use distilled water for best results |
Choosing the Right Plaster
Lime plaster forms the foundation of successful fresco painting. Made from calcium hydroxide (slaked lime), this plaster must be properly aged and mixed. Many beginners purchase pre-made lime plaster from art suppliers, which ensures consistent quality and proper preparation.
Selecting Natural Pigments
Natural earth pigments work best for fresco painting because they’re alkali-resistant and won’t fade when exposed to lime’s high pH. Popular choices include:
- Yellow ochre
- Red ochre
- Burnt sienna
- Ultramarine blue
- Raw umber
- Titanium white (modern addition)
Understanding color theory helps you mix these pigments effectively and create harmonious color schemes in your frescoes.
Fresco Painting Techniques: Buon Fresco vs Fresco Secco
Buon Fresco Technique (True Fresco)
Buon fresco, or “true fresco,” involves painting on wet lime plaster. This traditional method creates the most durable results because pigments chemically bond with the carbonating lime. However, it requires working quickly since you only have about 8-12 hours before the plaster becomes too dry.
“In buon fresco, the artist becomes a partner with chemistry itself, as the lime plaster carbonates and locks the pigments permanently into the wall surface.”
Traditional Italian Fresco Master
Fresco Secco Method
Fresco secco, meaning “dry fresco,” involves painting on dried plaster using pigments mixed with a binding agent like egg tempera or lime water. While easier for beginners, this method doesn’t achieve the same permanence as buon fresco since the paint sits on top of the plaster rather than bonding with it.
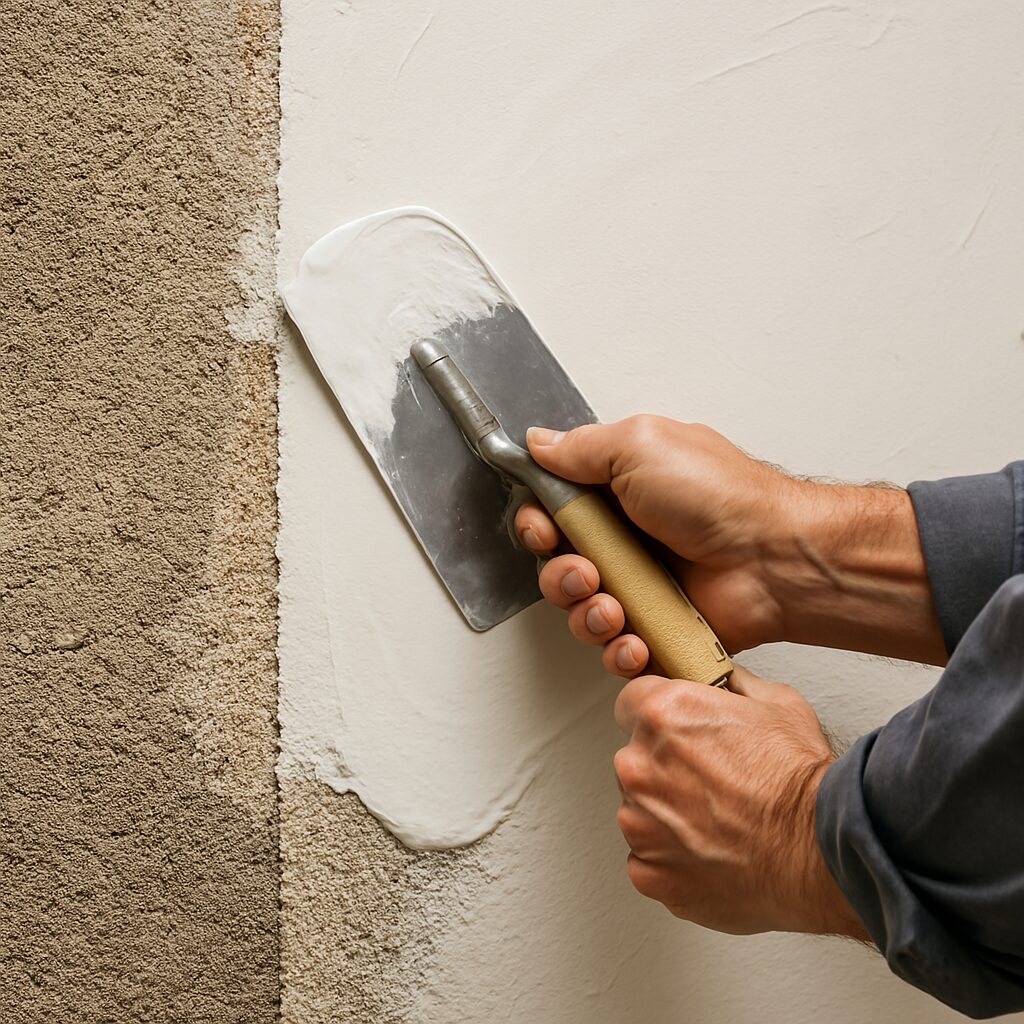
Step-by-Step Fresco Painting Process
Step 1: Surface Preparation
Proper wall preparation is crucial for successful fresco painting. The surface must be clean, stable, and properly primed with base coats of plaster. Traditional frescoes use multiple plaster layers:
- Arriccio: The rough base layer
- Intonaco: The smooth final layer for painting
Step 2: Creating Your Cartoon
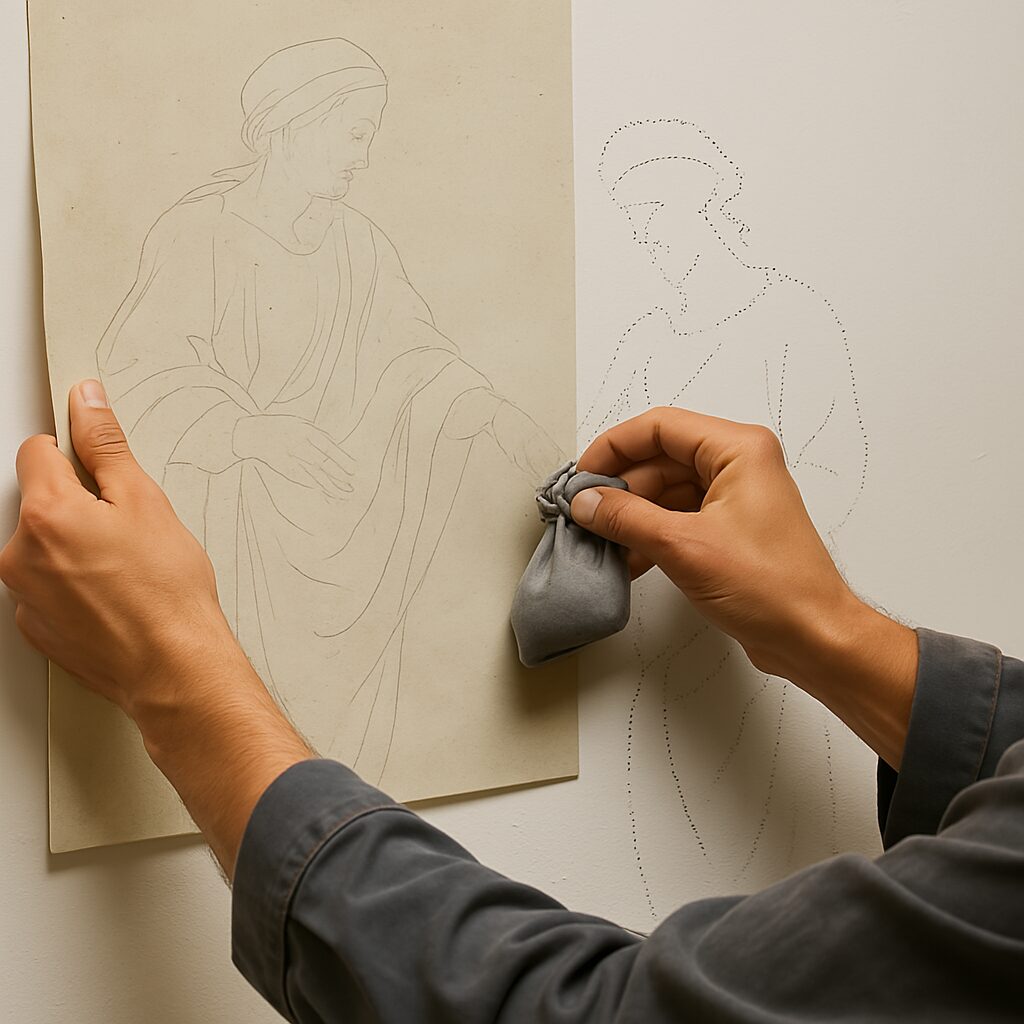
A cartoon in fresco painting refers to a full-size drawing of your design. This preparatory drawing helps you plan your composition and serves as a guide during the painting process. Many artists use the traditional spolvero technique to transfer their cartoon to the wet plaster surface.
Step 3: Plaster Application
Apply the final intonaco layer smoothly and evenly. The plaster should have a creamy consistency and remain wet throughout your painting session. Work in small sections called “giornata” (meaning “day’s work” in Italian) that you can complete while the plaster remains workable.
Step 4: Cartoon Transfer
Transfer your design to the wet plaster using the spolvero technique. This involves perforating your cartoon with small holes and dusting powdered charcoal through them onto the plaster surface, creating a dotted outline of your design.
Step 5: Paint Application
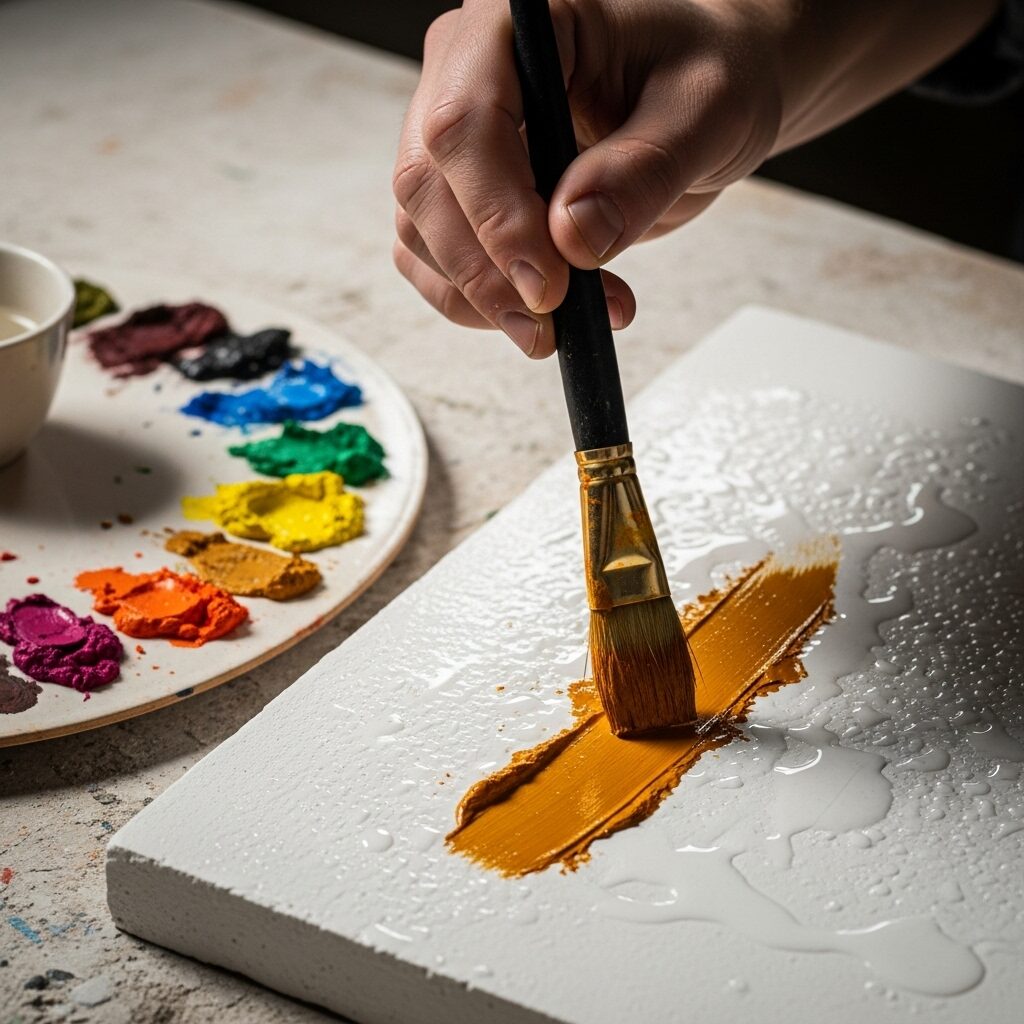
Mix your pigments with water only – no binding agents needed in true fresco. Apply paint quickly and confidently, working from light to dark colors. The wet plaster absorbs the pigmented water, and as it carbonates, it permanently captures the pigments.
Step 6: Finishing Touches
Complete your section while the plaster remains workable. Any areas not finished must be scraped away and redone with fresh plaster. This time pressure makes fresco painting both challenging and exciting for beginners.
Beginner Tips and Common Mistakes
Essential Tips for Success
Learning fresco painting requires patience and practice. Start with small practice panels before attempting larger wall surfaces. Keep your initial designs simple and focus on mastering the basic technique before trying complex compositions.
Work in good lighting conditions and maintain proper ventilation when working with lime plaster. Always wear protective equipment including gloves and safety glasses, as lime can be caustic.
Common Mistakes to Avoid
Many beginners make these typical errors:
- Working too slowly and letting the plaster dry
- Using incompatible pigments that react poorly with lime
- Applying paint too thickly, preventing proper absorption
- Not maintaining consistent moisture levels in the plaster
- Attempting overly complex designs as a first project
Modern Applications and Contemporary Fresco
While rooted in ancient tradition, fresco painting has found new life in contemporary art and interior design. Modern artists adapt traditional techniques for indoor projects, creating stunning accent walls and decorative elements that bring the timeless beauty of fresco into today’s homes and public spaces.
Contemporary fresco artists often combine traditional buon fresco methods with modern materials and design sensibilities, creating works that honor the past while speaking to present-day audiences.
Getting Started with Your First Fresco Project
For beginners interested in fresco painting for beginners, start with a small practice panel rather than attempting a full wall. Purchase a fresco starter kit from a reputable art supplier, which typically includes pre-mixed lime plaster, basic pigments, and instructions.
Consider taking a workshop or online course to learn proper techniques firsthand. Many art centers and schools offer introduction to painting courses that include fresco painting modules.
Practice mixing pigments and understand how different colors behave with lime plaster. Start with simple geometric designs or basic landscapes before attempting more complex figurative work.
Check out this helpful tutorial video for visual guidance:
Visual Summary of Process
🎨 Fresco Painting for Beginners
Interactive Step-by-Step Guide to Traditional Fresco Techniques
Fresco Painting Stages
Materials Needed
💡 Fresco Tips
Stage 1: Wall Preparation
Prepare the wall surface with a rough base coat. The wall must be clean, damp, and ready to receive the fresh lime plaster. This foundation layer helps the final plaster adhere properly.
Frequently Asked Questions
How long does fresco painting take to dry? Buon fresco painting must be completed while the plaster is wet, typically within 8-12 hours. The plaster continues to carbonate and harden over several weeks, reaching full strength after about 28 days.
Can beginners learn fresco painting at home? Yes, beginners can practice fresco painting at home using small panels and proper ventilation. Start with practice boards before attempting wall surfaces, and always follow safety guidelines when working with lime plaster.
What materials do you need for fresco painting? Essential materials include lime plaster (calcium hydroxide), natural earth pigments, hog bristle brushes, water containers, spray bottle, palette knives, and protective equipment. A cartoon and transfer materials are also necessary for design work.
What is the difference between fresco and regular painting? Fresco painting uses water-based pigments applied to wet lime plaster, creating a chemical bond as the lime carbonates. Regular painting typically uses binders like oil or acrylic and can be applied to various dry surfaces.
How to prepare plaster for fresco painting? Proper plaster preparation involves mixing slaked lime with water and fine aggregate, applying it in layers (arriccio and intonaco), and maintaining proper moisture levels throughout the painting process.
What pigments are best for fresco painting? Natural earth pigments like ochres, siennas, umbers, and ultramarine blue work best because they’re alkali-resistant and compatible with lime’s high pH. Avoid pigments containing metals that might react with lime.
As you embark on your journey into fresco painting for beginners, remember that this ancient art form rewards patience, practice, and respect for traditional techniques. The unique satisfaction of creating permanent wall art through chemical bonding between pigments and lime plaster offers an unmatched artistic experience that connects you to centuries of artistic tradition.
Citations:
- A Beginner’s Guide to Fresco Art: History, Methods, and Famous Examples (Vault Editions) – Detailed overview of fresco history, techniques, and examples from antiquity through global cultures.
- A Complete Guide to Fresco Painting (The Collector) – Covers historical context, technical manual notes (Cennino Cennini), materials, methods, and artist tips for beginners.
- How To Identify Fresco Artwork: 3 Techniques (John Canning & Co) – Explains the differences between buon fresco, secco, and mezzo fresco techniques with beginner-friendly descriptions.
- How to get started with fresco painting? (Ilia Fresco) – Practical guide for studio setup, choosing materials, mixing plaster, and step-by-step basics.
- Fresco (Wikipedia) – Technical background, chemistry, stepwise process, and terminology for beginners learning fresco mural painting.
- Fresco painting | history, method, & examples (Britannica) – Comprehensive summary of fresco painting, materials, cartoon transfer, the giornata method, and key artists .

