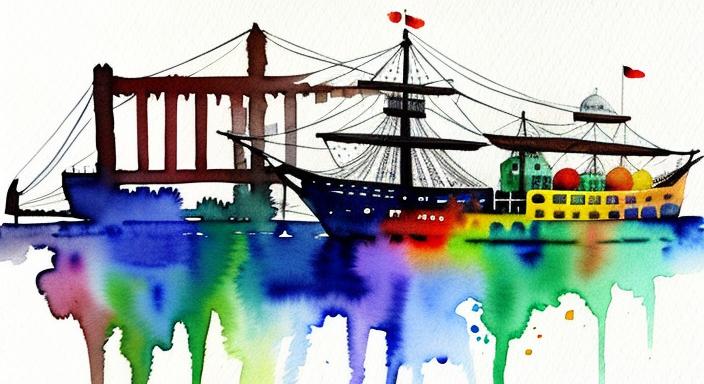
Ever stare at a blank canvas or sketchbook, yearning to create the masterpieces swirling in your imagination, but paralyzed by the fear of a blank page? You’re not alone. The myth of the “innate artist” has kept many from exploring the joys of Drawing and Watercolor Painting. But the truth is, anyone can unlock their artistic potential with a little guidance and practice.
This beginner-friendly guide will be your compass on this creative journey. We’ll ditch the intimidation and dive into the fundamentals of Drawing and Watercolor Painting, step-by-step. Learn to capture the world around you with pencil and paper, then watch your vision come to life in a splash of vibrant watercolors.
Video Tutorial: Drawing and Watercolor Painting
Getting the Right Supplies
Procuring the proper drawing and watercolor supplies is an important first step. For drawing, all you need is a pencil, eraser, and paper. A standard #2 pencil is perfect for most projects as its soft graphite allows for shades of light and dark marks. Be sure to also have a kneaded eraser for precision erasures without damaging the paper surface.
As for paper, a medium-grain sketch pad or loose sheets of printer paper are inexpensive options to start experimenting. As your skills progress, consider upgrading to thicker sheets of bristol paper or strathmore series drawing pads which accept a wider range of mark-making without tearing.
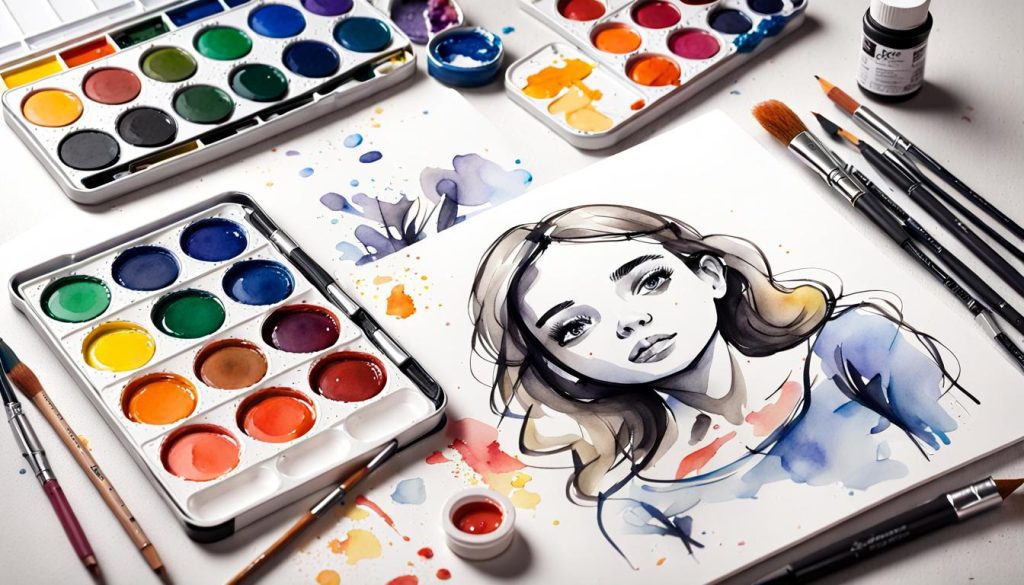
When it comes to watercolor painting, your basic supplies include brushes, watercolors, and watercolor paper. A rounded brush set with sizes #4, #8, and #12 is versatile for applying different techniques. For watercolors, a pan set with primary colors – red, yellow, blue – allows you to mix countless secondary and tertiary hues on the palette or directly on the paper.
For the all-important watercolor paper, a 140lb cold press paper withstands wet media application without buckling or tearing, capturing fine details beautifully. Always be sure to have a small container, such as a clean yoghurt lid, of clean water on hand as well. Proper Paper is essential for unleashing your inner artist through colorful compositions.
With these affordable basic supplies, you’ll be set to start practising drawing and painting fundamentals. But what techniques should you learn first?
Developing Your Drawing Skills
The foundation of any drawing is observation. Take time to really study your subject matter, whether it’s a still life set up or a scene from a photo reference. Notice details, proportions, relationships between elements, and how light affects form and shadow. With patient observation comes accurate rendering.
A great beginner exercise is contour line drawing where you trace the outer edges of shapes without lifting your pencil from the page. This trains your eye-to-hand coordination which will serve you in all types of drawing. Another useful method is first sketching the basic underlying structures – like sketching mannequin shapes for figures – before adding surface-level details on top.
Developing value, or ranges from light to dark, is also key. Try value scales from white to black or gradual shading practice sheets to understand how value creates the illusion of three dimensions on a flat surface. Blending stumps can smoothly blend shades of grey for a realistic form.
With regular session applying these techniques, your drawings will improve noticeably in just a few weeks as you expand your visual library. The techniques are really endless – color pencil, pen and ink, and more await your exploration!
Mastering Watercolor Paint Techniques
Let’s cover some essential watercolor techniques to get you started on your watercolor painting journey. The best way to gain skill is through experimentation, so don’t be afraid to play.
Wet-on-wet is one of the most dramatic techniques in watercolor – load up your brush and paint into a clean, wet wash area on the paper. Colors will effortlessly meld and blend on the page in beautiful soft gradients thanks to moisture.
In contrast, the wet-on-dry technique involves painting into a dry area using less water so pigment lays flatter with harder edges. It’s great for details and layering glazes of color one at a time.
Glazing is a layering technique where you apply successive thin washes of color – allow each layer to dry fully before adding the next. It builds luminous, atmospheric color fields.
Salt can also be sprinkled onto a wet surface before it dries for a textured finish, like the texture of rocks in a landscape. And using the side of a just-damp brush adds soft ripples and blends colors naturally.
Nothing beats experiential learning either – so get painting! Your own unique expression will emerge.
Creating Finished Artworks
With fundamental skills under your belt, you’ll be well on your way to creating finished artworks worthy of admiring. Here are some ideas to cultivate your artistic vision:
Life drawing is constructive – set up still life arrangements of textures objects or drape fabric and practice observational contour techniques. Capturing the play of light gives realism.
Work from photo references as an intermediate stage too. Examples could include painting regional florals, animals at the zoo captured with perspective techniques, or candid environmental scenes from your neighborhood park.
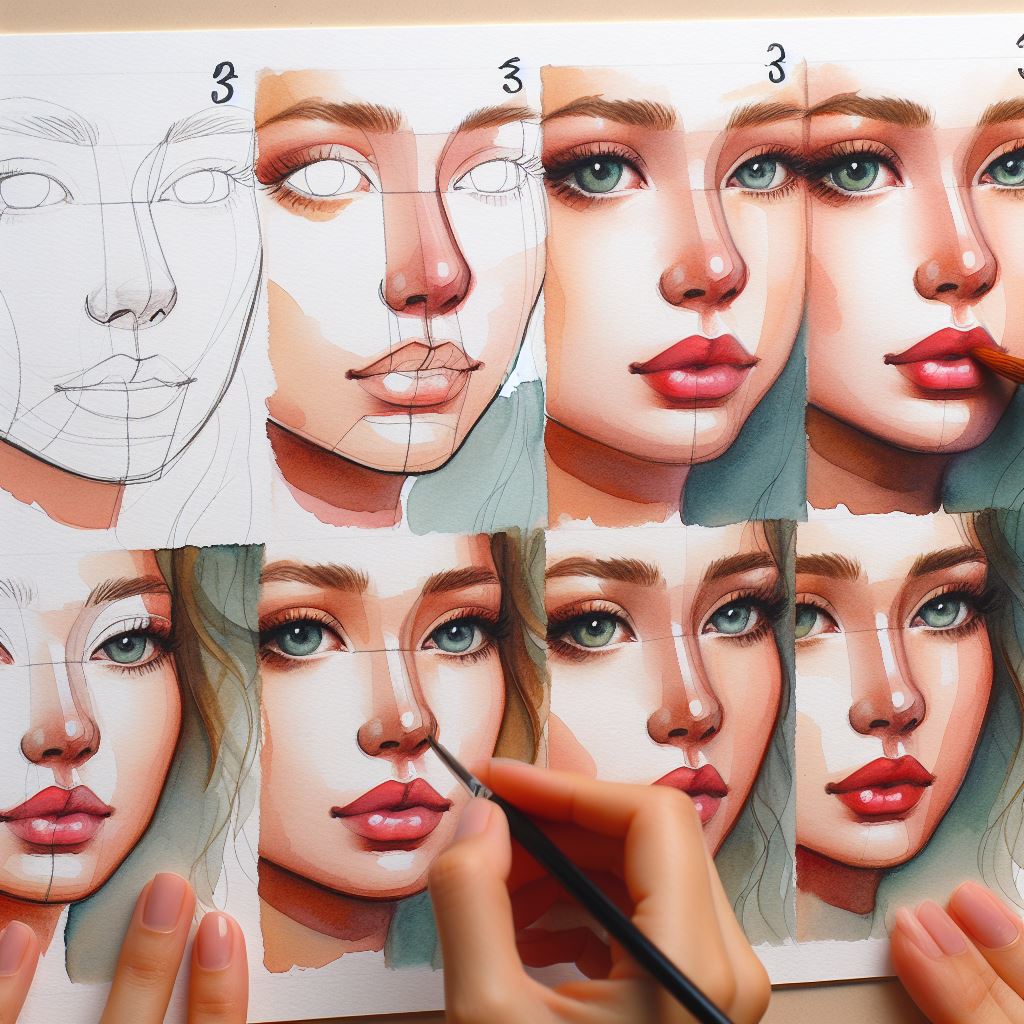
Drawing or painting portraits focuses on observation skills – really focus on the planes and proportions of the facial features like eyes, nose, lips, and how shadows fall.
Another avenue is abstract expressionism where you freely experiment with textures, colors, and compositions without being photorealistic. Let intuition guide your hand.
Illustrating yourself reading a passage from your favorite book brings literature to life creatively too.
The key is finding subjects that fascinate you. Your enthusiasm will carry through to the piece and viewer response. Share finished works online and solicit feedback to further propel your skills upward.
Developing Your Skills with a Drawing to Watercolor Exercise
One great way to put your new drawing and watercolor skills to use is by completing a piece that incorporates both mediums. Here is a suggested exercise to help develop your abilities:
Materials needed:
- Pencil
- Eraser
- Sheet of watercolor paper
- Watercolor brushes #4, #8, #12
- Watercolors: primary colors + black
- Reference photo of a flower
Instructions:
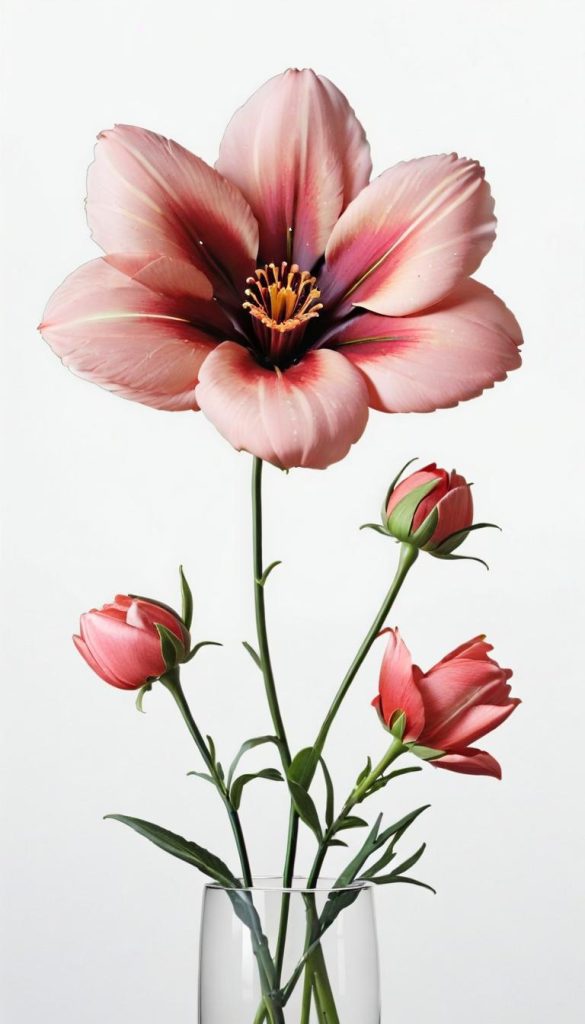
- Carefully study the reference photo and draw the basic outlines and shapes of the flower onto the watercolor paper using your pencil. Pay attention to proportions.
- Add definitional lines and details to the petals, stamen, any patterns. Develop the value ranges with your pencil strokes, leaving some areas lighter.
- Once the drawing is complete, use your brushes and watercolors to bring it to life! Start with the darker areas and work inward, applying pigment wet-into-wet for soft gradients.
- Layer washes of different hues like yellow in the center graduating out to pink petal edges. Let each layer dry before adding the next.
- Finish with details and highlights using a damp brush pulled across still-moist areas. Sign and date your work!

This exercise allows you to practice observational drawing skills and watercolor techniques all in one cohesive piece. With regular practice, your skill level will dramatically increase over time.
In Summary
In conclusion, this in-depth guide has covered the necessary supplies, foundational drawing and painting techniques, and ideas for creating finished pieces that are truly works of art. Developing your skills takes ongoing practice but also patience – focus on progress over perfection and the joy of creative expression each session brings.
With regular committed practice applying what you’ve learned here, your drawing and watercolor painting abilities will steadily evolve over the months. Confidence in visualizing and rendering any subject you set your mind to will grow. Now it’s up to you – grab your supplies, unleash your inner artist, and embark on your creative journey!


