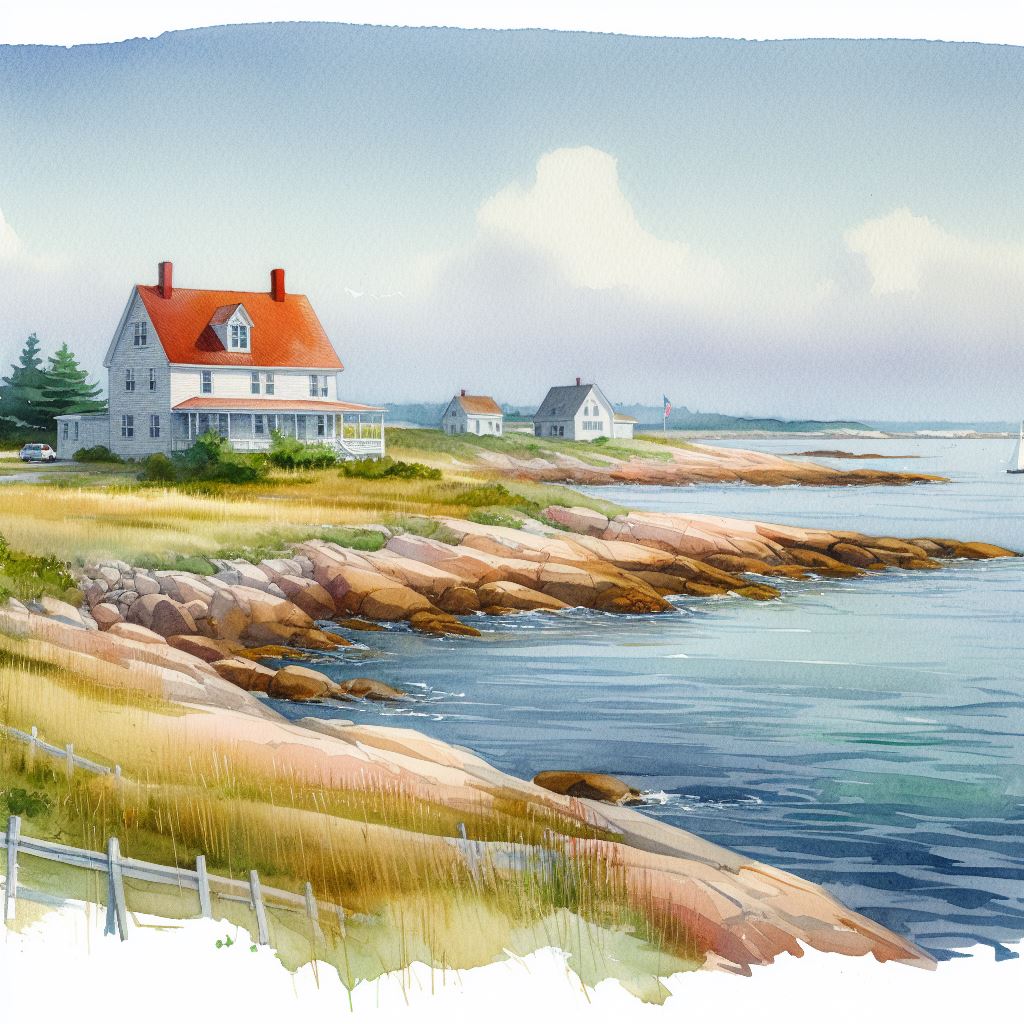
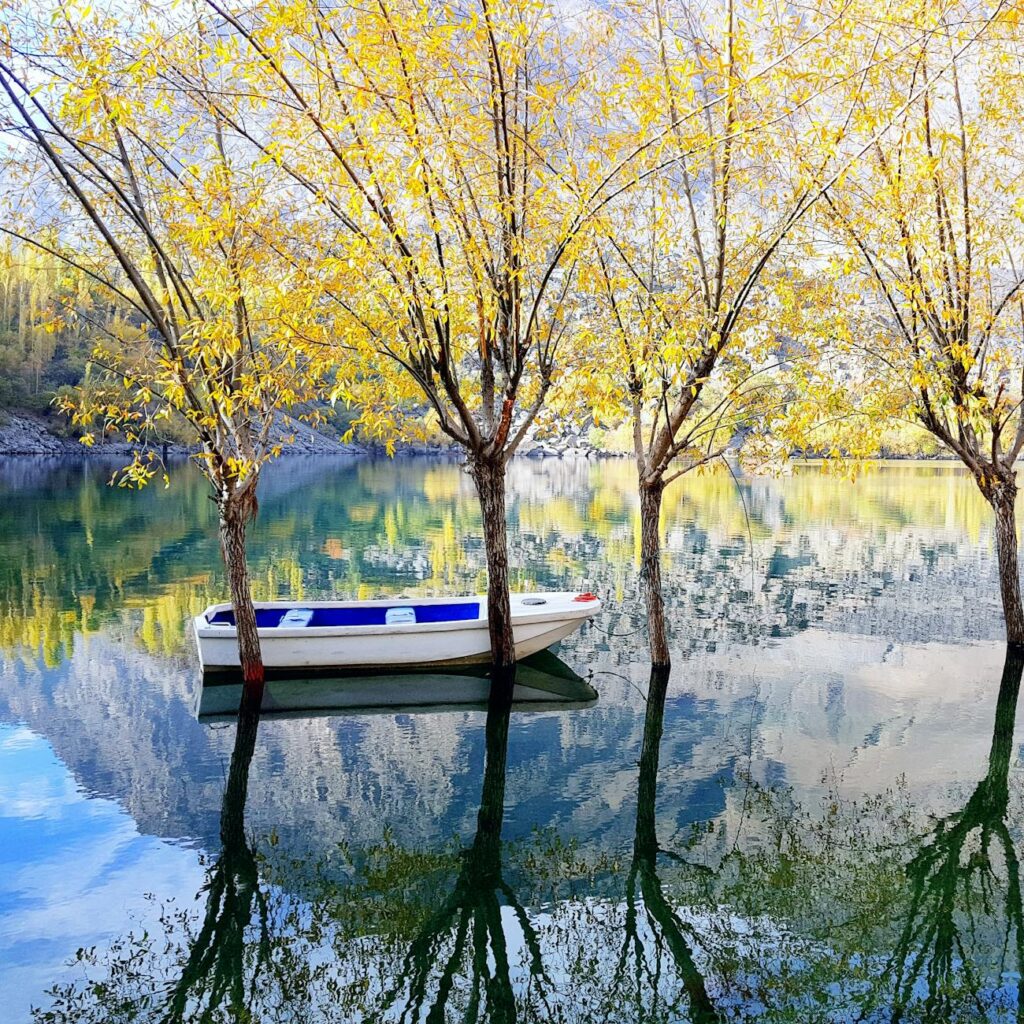
Learning beginner watercolor techniques overview can feel overwhelming at first, but understanding the role of water in mixing pigments is your key to success. Water isn’t just a tool in watercolor painting—it’s your creative partner that controls everything from paint consistency to color transparency. Whether you’re creating your first wash or mixing custom colors, mastering water control will transform your painting experience from frustrating to magical.
Key Points Summary
- Water controls paint consistency, transparency, and flow in watercolor painting
- The proper water-to-pigment ratio determines your paint’s strength and coverage
- Two main techniques—wet-on-wet and wet-on-dry—create different artistic effects
- Common mistakes include using too much or too little water in mixtures
- Setting up a proper workspace with clean water containers is essential for success
Understanding the Role of Water in Watercolor Painting
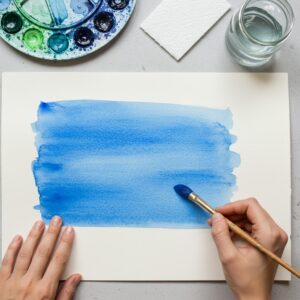
Water serves as the vehicle that carries pigment across your paper, but its role goes far deeper than simple transportation. Think of water as the conductor of an orchestra—it controls the tempo, volume, and harmony of your colors. When you understand how water behaves with watercolor pigments, you gain the power to create everything from bold, vibrant strokes to delicate, transparent washes.
The magic happens because watercolor pigments are designed to be reactivated with water. Unlike oil paints that dry permanently, watercolors remain workable as long as they’re moist. This unique property means that water content directly affects:
- Paint transparency: More water creates more transparent layers
- Color intensity: Less water produces more concentrated colors
- Paint flow: Water content controls how paint moves across paper
- Drying time: Higher water content extends your working time
Professional artists often describe watercolor as “painting with liquid light” because water allows pigments to glow with natural luminosity that’s impossible to achieve with opaque mediums.
Essential Water-to-Pigment Ratios for Beginners
Getting the right water-to-pigment ratio is like learning to cook—you need to understand the basic proportions before you can improvise. Here’s a simple guide that will help you achieve consistent results:
| Paint Consistency | Water Ratio | Best Uses | Visual Description |
|---|---|---|---|
| Thick Paint | 1:1 water to paint | Details, bold strokes | Like heavy cream |
| Medium Paint | 2:1 water to paint | General painting | Like milk |
| Light Wash | 4:1 water to paint | Backgrounds, glazing | Like colored water |
| Very Light Wash | 8:1 water to paint | Subtle tints | Barely visible color |
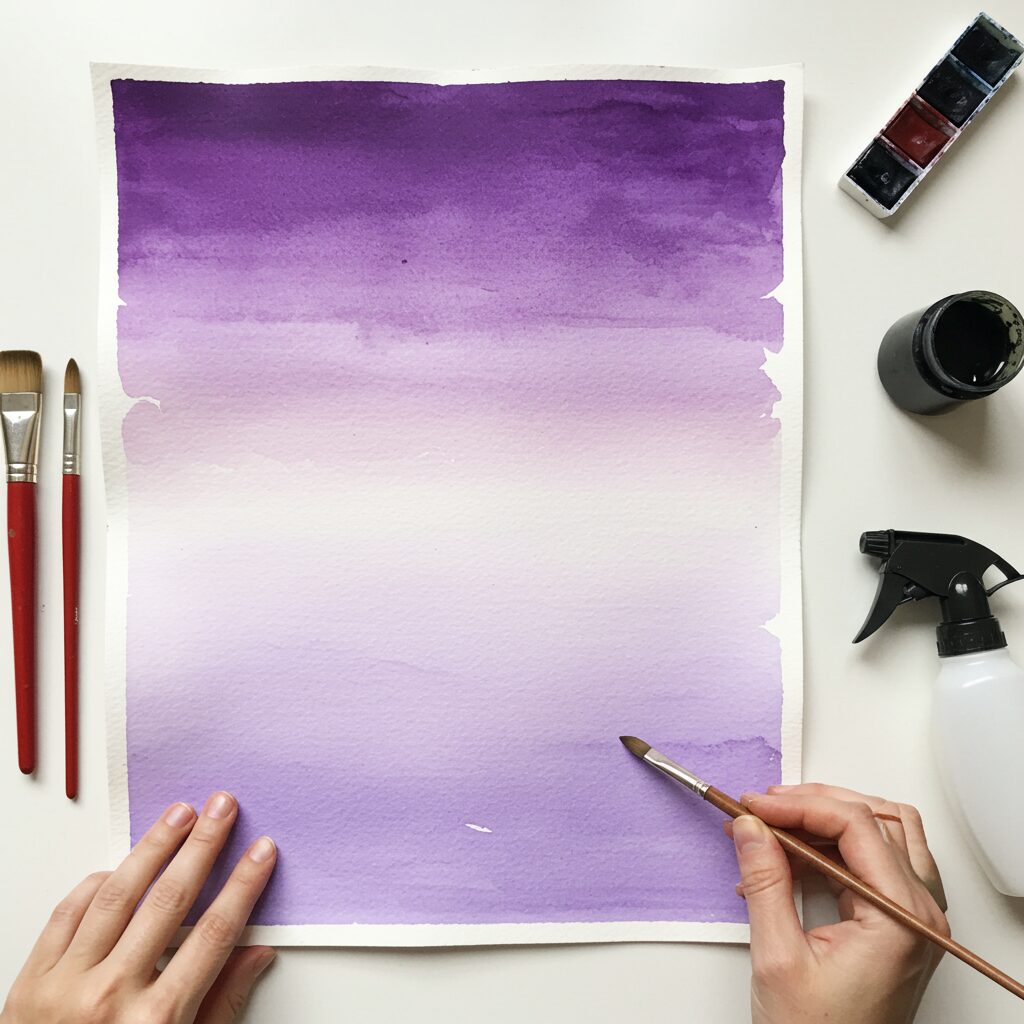
To test your paint consistency, try this simple technique: Load your brush with paint mixture and make a small stroke on scrap paper. The paint should flow smoothly without creating puddles (too much water) or dragging roughly (too little water). This testing method will become second nature as you develop your skills.
Remember, these ratios are starting points. Different pigments behave differently—some colors are naturally more transparent, while others are more opaque. Watercolor transparency techniques can help you understand how water affects each pigment’s natural properties.
Basic Watercolor Mixing Techniques Overview
Mastering basic watercolor mixing techniques starts with understanding where and how to combine your colors. You have two main mixing options: palette mixing and wet-on-paper mixing.
Palette Mixing gives you complete control over your colors before they touch the paper. Start with clean water in your mixing area, then gradually add pigment until you achieve your desired consistency. This method works best for:
- Precise color matching
- Large areas of consistent color
- Beginners learning color relationships
Wet-on-Paper Mixing creates more spontaneous, organic color blends. This technique involves applying wet paint to wet paper or wet paint, allowing colors to flow and blend naturally. It’s perfect for:
- Soft, atmospheric effects
- Natural-looking color transitions
- Advanced texture creation
The key to successful mixing is understanding color temperature and how water affects pigment behavior. Warm colors (reds, oranges, yellows) tend to spread more aggressively in water, while cool colors (blues, greens, purples) often stay more contained.
Creating Perfect Watercolor Washes: Step-by-Step Guide
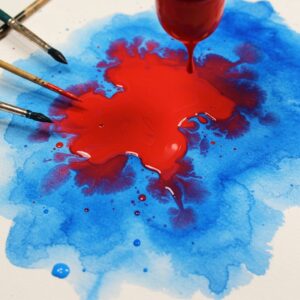
A watercolor wash is a large area of evenly applied color—the foundation of most watercolor paintings. Here’s how to create smooth, professional-looking washes every time:
Step 1: Prepare Your Workspace
Set up two water containers: one for clean water, one for brush cleaning. Mix enough paint for your entire wash in a palette well—running out mid-wash creates unwanted texture lines.
Step 2: Wet Your Paper (Optional)
For soft-edged washes, lightly dampen your paper with clean water using a large, flat brush. For crisp edges, work on dry paper.
Step 3: Load Your Brush
Use a flat brush loaded with your paint mixture. The brush should be full but not dripping.
Step 4: Apply the First Stroke
Start at the top of your wash area and pull the brush horizontally across the paper. Work quickly while the paint is wet.
Step 5: Continue Downward
Overlap each stroke slightly with the previous one, maintaining the same paint consistency throughout.
“The secret to perfect washes is working fast enough to keep a wet edge, but slow enough to maintain control.”
Our complete watercolor guide for beginners provides additional foundation techniques that complement wash creation.
Watercolor Mixing Palette
New Engine: Realistic mixing and smooth brushes.
Controlling Paint Flow and Consistency
Paint flow control separates amateur watercolorists from confident painters. Understanding how water behaves on different surfaces and in various conditions helps you predict and control your results.
Paper Moisture Levels dramatically affect paint behavior:
- Dry paper: Paint stays where you put it with crisp edges
- Damp paper: Paint flows controllably with soft edges
- Wet paper: Paint flows freely, creating organic blends
Brush Water Content also plays a crucial role:
- Dry brush: Creates textured, broken strokes
- Moist brush: Provides controlled paint application
- Wet brush: Produces flowing, liquid effects
The wet-on-wet watercolor techniques article explores advanced flow control methods that build on these basics.
Common Water-Related Mistakes and How to Avoid Them
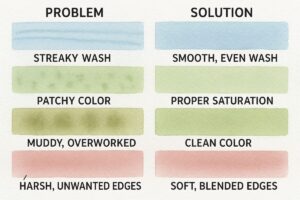
Every watercolor artist makes these mistakes—learning to identify and fix them quickly will accelerate your progress:
Mistake 1: Using Dirty Water Dirty water creates muddy colors and unexpected color shifts. Change your water frequently, and use separate containers for cleaning brushes and mixing clean colors.
Mistake 2: Overworking Wet Paint Continuously fussing with wet watercolor creates unwanted textures and lifts paint from the paper. Apply your stroke and let it dry before making adjustments.
Mistake 3: Inconsistent Paint Consistency Mixing paint too thin or too thick mid-painting creates uneven coverage. Test your mixtures on scrap paper and mix enough paint for your entire section.
Mistake 4: Ignoring Paper Moisture Applying paint to paper that’s too wet or too dry for your intended effect. Learn to recognize proper paper moisture levels through practice.
Our guide on how to fix watercolor painting mistakes provides detailed solutions for these and other common problems.
Setting Up Your Workspace: Water Containers and Tools
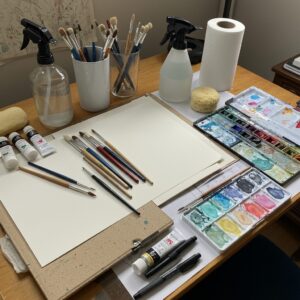
A well-organized workspace prevents mistakes and makes painting more enjoyable. Here’s your essential setup:
Water System:
- Two large water containers (glass or ceramic work best)
- Container 1: Clean water for mixing
- Container 2: Dirty water for brush cleaning
Mixing Tools:
- White ceramic or plastic palette with deep wells
- Paper towels for brush control
- Natural sponge for lifting paint and creating textures
Quality Brushes: Round brushes (sizes 6, 10, 14) for detail work and small washes. Flat brushes (sizes 1/2″, 3/4″, 1″) for large washes and sharp edges.
The right essential watercolor painting supplies make learning easier and more enjoyable. Invest in quality basics rather than buying everything at once.
Practice Exercises for Mastering Water Control
Exercise 1: Consistency Strips Paint five horizontal strips using the same color but different water ratios. This helps you understand how water affects color intensity.
Exercise 2: Wet-on-Wet Flowers Paint simple flower shapes on wet paper, letting colors flow and blend naturally. This teaches you to work with water rather than against it.
Exercise 3: Gradient Rectangles Create smooth color transitions from dark to light using consistent water control. Start with concentrated paint and gradually add water.
Exercise 4: Two-Color Mixing Practice mixing two colors on wet paper, observing how different pigments behave in water.
These exercises, combined with watercolor color mixing guide techniques, will build your confidence and control.
Advanced Water Control Techniques
Once you master basic water control, you can explore more sophisticated techniques:
Charging involves dropping different colors into wet paint, creating natural color variations within washes. Lifting uses clean, damp brushes to remove paint from wet surfaces, creating highlights and corrections. Blooms happen when you add water to partially dry paint, creating beautiful organic textures.
Check out this helpful video demonstration of water control techniques:
Understanding watercolor light and shadow techniques will help you use water control to create dimensional, realistic paintings.
Frequently Asked Questions
Q: How much water should I use with watercolor paint? A: Start with a 2:1 water-to-paint ratio for general painting, then adjust based on your desired effect. More water creates transparency, less water creates intensity.
Q: What type of water is best for watercolor painting? A: Clean tap water works fine for most artists. If your tap water is very hard or chlorinated, consider using distilled water for mixing colors.
Q: How do I know if my paint has enough water? A: Test on scrap paper—properly mixed paint flows smoothly without creating puddles or dragging roughly across the surface.
Q: Why do my watercolors look streaky? A: Streaky results usually indicate insufficient water in your paint mixture or working too slowly, allowing sections to dry before blending.
Q: How do I control water in watercolor techniques? A: Practice with different brush dampness levels and paper moisture conditions. Keep separate water containers and test consistencies frequently.
Q: What happens if I use too much water in watercolor? A: Excessive water creates weak colors, unwanted bleeding, and difficulty controlling paint placement. Reduce water gradually until you achieve better control.
Conclusion
Mastering beginner watercolor techniques overview comes down to understanding the role of water in every aspect of your painting process. From mixing pigments to creating smooth washes, water control determines your success more than any other single factor. Remember that watercolor painting is a partnership between you, your pigments, and water—respect this relationship, and your paintings will flourish.
Start with the basic water-to-pigment ratios, practice the fundamental techniques, and don’t be afraid to make mistakes. Every watercolor artist has created muddy colors and uneven washes. The key is learning from these experiences and gradually building your water control skills through consistent practice.
The magic of watercolor lies in its unpredictability—embrace the happy accidents while developing the technical skills to achieve your artistic vision. With patience and practice, you’ll soon be creating beautiful, luminous paintings that showcase the unique beauty only watercolor can provide.
Additional Resources
- Watercolor Society of America – Professional organization with technique articles and workshops
- American Watercolor Society – Educational resources and artist development programs
- Jackson’s Art Blog – Watercolor Tips – Comprehensive technique tutorials and product reviews
- Watercolor Academy – Online courses and technique demonstrations
- Artist’s Network Watercolor – Articles, tips, and community discussions
- Cheap Joe’s Art Blog – Product reviews, techniques, and artist interviews

