Have you ever walked into a home decor store, fallen in love with a beautiful piece of wall art, and then felt your heart sink when you saw the price tag? I’ve been there too! The good news is that you don’t need to be a professional artist or spend a fortune to create stunning wall art for your home. In this guide, I’ll share 15 DIY wall art ideas that anyone can paint themselves, regardless of artistic experience. These projects use simple techniques and affordable supplies to create impressive pieces that will make your walls shine with your personal creativity.
Key Points:
- You don’t need artistic talent to create beautiful wall art
- DIY wall art saves money while personalizing your space
- Simple techniques like stenciling and tape methods work for beginners
- Basic supplies are all you need to get started
- Each project can be customized to match your home’s style
Why DIY Wall Art Ideas Are Worth Trying
When you create your own wall art, you’re doing more than just saving money. You’re making something uniquely yours that reflects your personality and style. Store-bought art can be beautiful, but there’s something special about pointing to a piece on your wall and saying, “I made that!” Plus, creating art can be incredibly relaxing and satisfying – a perfect weekend project that results in something you’ll enjoy for years.
According to a study on creative hobbies, engaging in artistic activities can reduce stress and increase positive emotions. So not only will you beautify your home, but you’ll also boost your mood in the process!
What You’ll Need to Get Started
Before diving into specific projects, let’s cover the basic supplies you’ll want to have on hand:
| Supply | Budget Option | Mid-Range Option |
|---|---|---|
| Canvas | Dollar store canvas boards | Multi-pack stretched canvas |
| Paint | Craft acrylics | Artist-grade acrylics |
| Brushes | Basic synthetic set | Mixed bristle set |
| Palette | Paper plates | Plastic palette |
| Additional | Painter’s tape, sponges, palette knives | Texture mediums, metallics, specialty tools |
Don’t feel like you need everything at once! Start with basic supplies and add to your collection as you discover which techniques you enjoy most.
5 Beginner-Friendly DIY Wall Art Ideas
1. Abstract Color Blocks
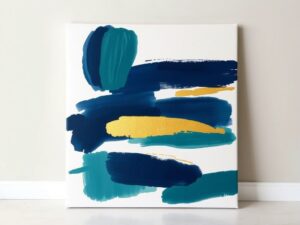
This technique uses painter’s tape to create clean, sharp lines between colors – perfect for creating modern, geometric designs.
How to do it:
- Apply painter’s tape to create shapes on your canvas
- Paint each section with different colors
- Let dry completely before carefully removing the tape
- Optional: add gold or silver accents to edges for extra pop
This technique works beautifully for creating abstract art with bold shapes, which can complement almost any decor style from minimalist to contemporary.
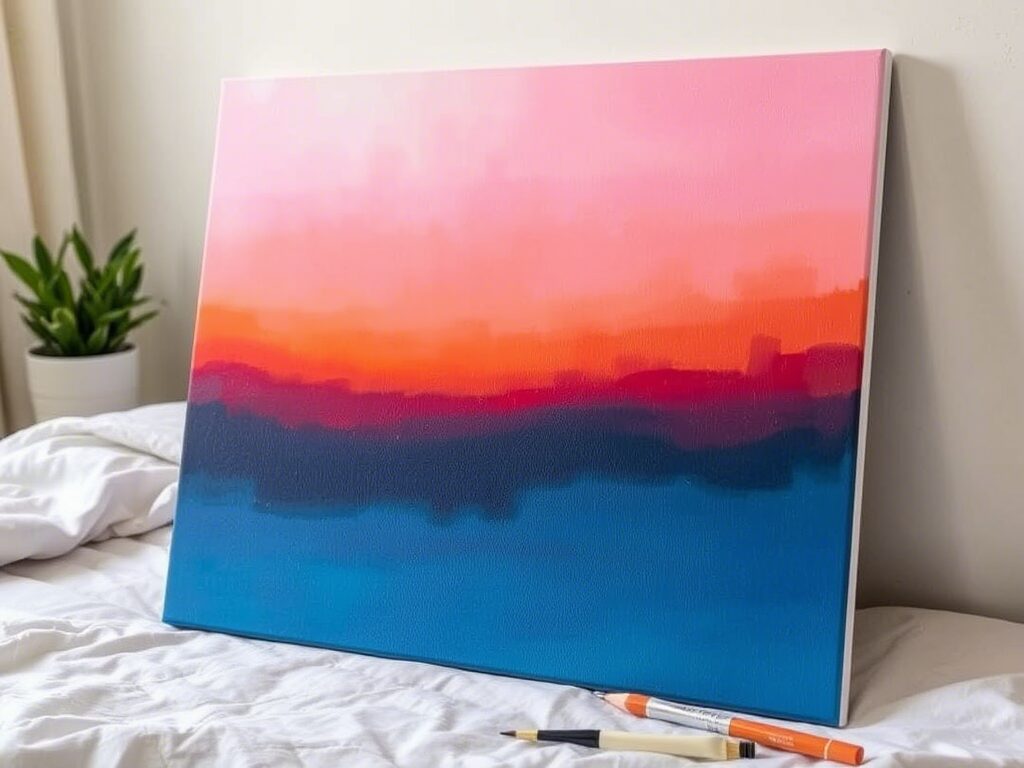
2. Ombré Gradient
An ombré effect creates a beautiful color transition that looks much more difficult than it actually is!
How to do it:
- Choose 2-4 colors that blend well together
- Section your canvas horizontally with light pencil marks
- Paint each section with your colors
- While still wet, blend where the colors meet using a clean, damp brush
- Work quickly to achieve seamless blending
This technique is perfect for creating peaceful sunset or ocean-inspired pieces that add calming energy to bedrooms or meditation spaces.
3. Minimalist Line Art
Sometimes the simplest designs make the biggest statement. Line art uses just a few strokes to create sophisticated, gallery-worthy pieces.
How to do it:
- Start with a white or solid color background
- Using a thin brush and black paint (or any contrasting color), create continuous flowing lines
- Focus on abstract shapes or minimalist faces
- Keep it simple – fewer lines often create more impact
This style works wonderfully for creating elegant art that looks expensive but costs very little to make. For more minimalist inspiration, check out maximalism vs minimalism to understand how simple art can make a powerful impact.
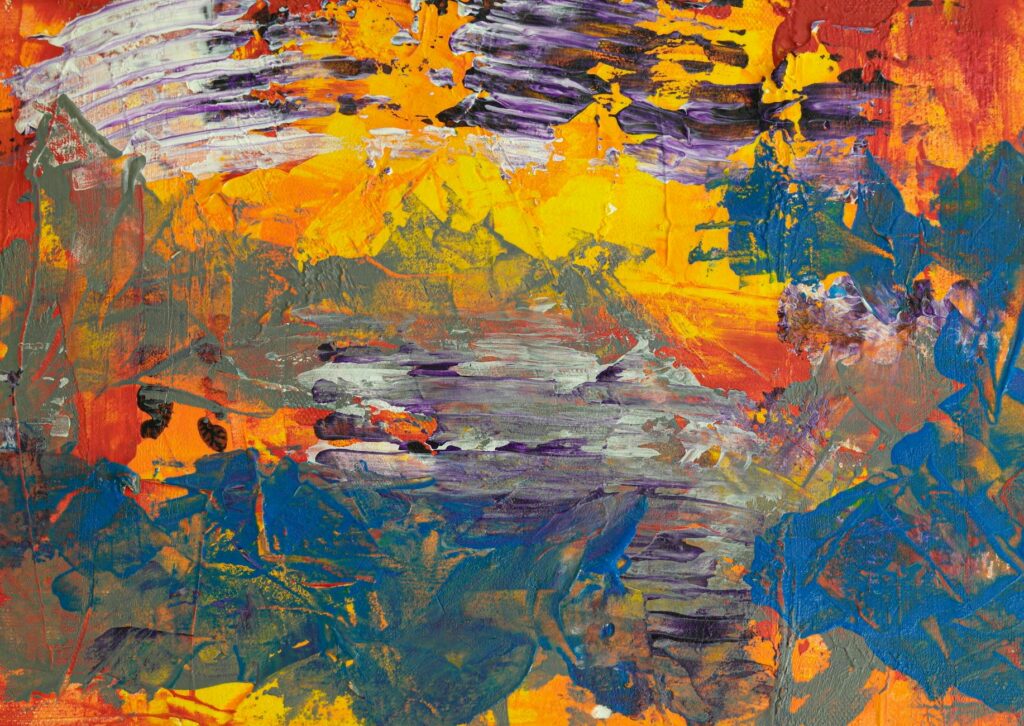
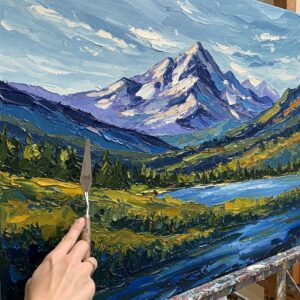
4. Textured Abstract Landscapes
No brushes needed for this technique! Palette knives create beautiful texture and dimension.
How to do it:
- Choose 3-5 complementary colors
- Apply paint directly to canvas using the edge and flat side of a palette knife
- Layer colors to suggest a horizon line, mountains, or fields
- Add texture by dragging, scraping, or dabbing the paint
The imperfect nature of this technique makes it perfect for beginners while creating impressively textured results. You can learn more about different texture painting techniques to enhance your landscape pieces.
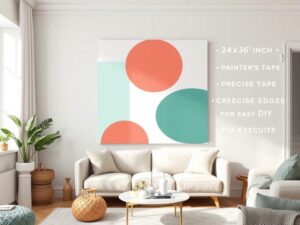
5. Simple Stencil Art
Stencils are the secret weapon of DIY artists! They help you create precise, professional-looking designs with minimal effort.
How to do it:
- Purchase stencils or make your own from cardstock
- Secure stencil to canvas with repositionable spray adhesive
- Dab paint over stencil using a foam pouncer
- Remove stencil carefully while paint is still wet
- Layer different stencils for more complex designs
“Art enables us to find ourselves and lose ourselves at the same time.”
Thomas Merton
Advanced Techniques to Try
Once you’ve mastered the basics, you might want to experiment with these slightly more advanced (but still accessible) techniques:
Acrylic Pouring
This technique creates stunning, organic patterns that are never the same twice. Check out this helpful YouTube tutorial to see it in action:
Mixed Media Collage
Combine painting with other elements like magazine cutouts, fabric scraps, or pressed flowers for unique textured pieces. If you want to expand your artistic horizons, explore top 10 mixed media art techniques for more creative possibilities.
Statement Wall Murals
Feeling brave? A simple mural on a feature wall can transform an entire room. Start with geometric shapes or an oversized abstract design for the biggest impact with the least technical skill required.
How to Make Your DIY Wall Art Look Professional
Even the simplest DIY art can look professional with these tips:
- Use quality canvas – Pre-primed, stretched canvas looks more professional than canvas board
- Paint the edges – Either continue your design around the sides or paint the edges a solid color
- Apply a finish – A light coat of matte or gloss medium protects your artwork and adds a professional sheen
- Frame it – A simple frame elevates even the most basic artwork
- Present in multiples – Create a series of complementary pieces and hang them together for gallery impact
For more guidance on displaying your creations, check out jaw-dropping artwork display ideas for inspiration on arrangement and presentation.No brushes needed for this textured landscape palette knife painting
Color Choices That Make an Impact
The colors you choose can dramatically affect the mood of your DIY wall art. Understanding basic color theory basics can help you create more harmonious compositions.
For living rooms and communal spaces, try:

- Complementary colors (opposite on the color wheel) for vibrant energy
- Analogous colors (next to each other) for harmony and flow
For bedrooms and relaxation spaces:
- Cool blues and greens for calm
- Soft pastels for gentle tranquility
Want to really understand how color affects mood? Learn more about how to create mood with color choices to help your DIY art set the perfect atmosphere for each room.
DIY Wall Art for Specific Spaces
Different rooms may call for different styles of wall art:
Kitchen: Bright, cheerful pieces with food-related themes or vibrant abstract designs
Bathroom: Smaller watercolor pieces with ocean or nature themes (make sure to frame well to protect from humidity)
Home Office: Motivational pieces with a clean, focused design that inspires without distracting
Children’s Rooms: Fun, colorful art that can grow with them – try handprints or simple character outlines
If you have kids who want to join the fun, check out DIY art projects for kids for family-friendly creative activities that can produce display-worthy results.
Finding Inspiration for Your DIY Wall Art
Not sure what to create? Inspiration is everywhere:
- Nature (leaves, flowers, landscapes)
- Architecture (geometric patterns, skylines)
- Fashion (color schemes, patterns)
- Pinterest ideas for painting
- Famous artists’ styles (try how to paint like Van Gogh)
Remember that your goal isn’t to copy exactly, but to be inspired and create something that speaks to you.
FAQ: DIY Wall Art Ideas
What paint is best for DIY wall art?
Acrylic paint is ideal for beginners because it dries quickly, can be used on multiple surfaces, and cleans up with water. For more specialized projects, consider a complete guide to art mediums to find the perfect paint for your specific project.
How do I hang DIY wall art?
For lightweight canvas pieces, adhesive hanging strips work well and don’t damage walls. For heavier pieces, use appropriate hardware based on wall type and weight. Always use a level to ensure straight hanging.
What if I make a mistake while painting?
Many mistakes can be fixed! For acrylic paint, simply wait for it to dry and paint over it. For watercolor mistakes, check out fix watercolor mistakes for helpful techniques.
How can I make my DIY art look more professional?
Focus on composition using the rule of thirds, maintain consistent lighting in your piece, and invest in proper framing or presentation.
What are good DIY wall art ideas for rental apartments?
Try canvas art that can be hung with damage-free hooks, or create art on paper that can be framed and easily moved. Removable wall decals are another option for renters.
Conclusion
Creating your own DIY wall art isn’t just about saving money – it’s about expressing yourself and adding a personal touch to your home that no store-bought piece can match. Whether you choose simple geometric designs, textured landscapes, or minimalist line art, the techniques we’ve covered make beautiful wall art accessible to everyone, regardless of artistic background. With basic supplies and a little creativity, you can transform blank walls into personalized galleries that reflect your unique style. So grab a canvas, pick up a brush, and start exploring these DIY wall art ideas – your walls (and wallet) will thank you!

