
If you zoom in really close to your TV screen or a digital photo, what do you see? You don’t see a solid picture; you see thousands of tiny little colored squares called pixels. Long before computers existed, artists discovered this same secret. Pointillism for kids is the perfect way to introduce young artists to this fascinating concept: that a masterpiece is just a bunch of tiny dots working together.
In this guide, we aren’t just making crafts; we are exploring art history, diving into the biology of the human eye, and developing crucial fine motor skills. Whether you are a teacher looking for a lesson plan or a parent wanting a meaningful afternoon activity, grab your Q-tips (cotton swabs) and let’s get dotty.
Key Takeaways:
- The History: Learn about Georges Seurat and the invention of dot art.
- The Science: Understand how our eyes mix colors (Optical Mixing).
- The Skills: Develop the “pincer grasp” essential for writing.
- The Fun: 5 step-by-step projects ranging from beginner to advanced.

What is Pointillism? (A Simple Explanation for Kids)
Imagine you have a puzzle, but the pieces are just tiny dots of paint. Pointillism is a painting technique where the artist uses small, distinct dots of color applied in patterns to form an image. The artist doesn’t mix the paint on a palette; they rely on the viewer’s eye to mix the colors for them.
The Story of Georges Seurat & Paul Signac
In the 1880s, an artist named Georges Seurat decided that the loose brushstrokes of the Impressionists were a bit too messy. He wanted science and order in his art. Along with his friend Paul Signac, he developed this technique. They didn’t call it “Pointillism” at first; they called it Divisionism (dividing colors) or Chromoluminarism.
Seurat’s life was short—he died at age 31—but he changed art forever. He is a central figure when discussing famous painters and paintings because he bridged the gap between old-school tradition and modern abstraction.
Pointillism vs. Divisionism: What’s the Difference?
While often used interchangeably, there is a technical difference:
- Pointillism refers specifically to the technique of applying dots.
- Divisionism refers to the color theory behind it (keeping colors separate).
For kids, you can explain it like this: Pointillism is what your hand does (making dots), and Divisionism is what your eyes do (mixing the colors).
Famous Paintings to Show Your Kids (La Grande Jatte)
The Holy Grail of dot art is Seurat’s A Sunday Afternoon on the Island of La Grande Jatte (1884-1886). This massive painting is roughly 7 by 10 feet tall!
- Fun Fact: It took Seurat two years to paint.
- Fun Fact: It contains millions of tiny dots.
- Activity: Show your child a picture of this painting on a screen. Zoom in until they only see dots, then zoom out until the picture reveals itself.

The Science Behind the Art: How Our Eyes Mix Colors
This is where art class meets biology class. How does science influence art? In Pointillism, the answer lies in how our brains process light.
Optical Mixing: The “Brain Blender”
When you mix red and yellow paint on a plate, you get orange goo. This is physical mixing.
In Pointillism, you place a red dot next to a yellow dot. If you stand back, your eye blends them together to create orange light. This is Optical Mixing. The colors remain pure and vibrant because they aren’t “muddied” by physical blending. It creates a shimmering, vibrating effect that artists call “luster.”
Cone Cells & The Retina: Why We See Color
Why does this happen? Inside our eyes, on the retina, we have special light detectors called Cone Cells.
- We have three types of cones: Red, Green, and Blue.
- When Seurat puts a red dot and a yellow dot side-by-side, they stimulate your Red and Green cone cells simultaneously.
- Your brain gets confused (in a good way!) and averages the signal, telling you: “That’s Orange!”
The “Magic Orange” Experiment (Try This First!)
Before starting a full project, do this 2-minute experiment:
- Take a piece of white paper.
- Use a Q-tip to make a cluster of Red dots.
- Fill the spaces in between with Yellow dots (don’t let them touch!).
- Tape the paper to the wall and walk 10 feet back.
- Result: The dot cluster should look Orange!

Why Q-Tip Painting is Critical for Development
Beyond the history and science, Pointillism for kids is a powerhouse for physical development. While older kids might use fine brushes, Q-tips are the perfect tool for preschoolers and kindergarteners.
Mastering the Pincer Grasp (Ages 3-5)
The way a child holds a Q-tip mimics the way they will eventually hold a pencil.
- 9-12 Months: Children develop a “Neat Pincer Grasp” (thumb and index finger).
- 3-5 Years: They refine this into the “Static Tripod Grasp.”
Painting with Q-tips forces the child to pinch a small object, strengthening the specific hand muscles required for handwriting. It is much more effective for this specific skill than gripping a chunky paintbrush with a whole fist.
Hand-Eye Coordination & Spatial Awareness
To create a picture, the child must place dots intentionally. They have to judge the distance between the Q-tip and the paper, and the distance between the new dot and the previous dot. This improves spatial awareness and hand-eye coordination.
Patience and Focus in a Digital Age

Unlike swiping a tablet, making thousands of dots takes time. It teaches delayed gratification. The picture doesn’t appear instantly; it emerges slowly. This is a meditative process that can actually help calm energetic children.
Essential Materials & Safety Check
Before we paint, we need the right tools. If you are unsure what to buy, check out this guide to art and craft supplies.
Tempera vs. Acrylic: Which Paint is Best?
For kids under 10, paint choice is critical for both safety and cleanup.
| Paint Type | Average Drying Time | Washability | Best For Age | Cost Estimate (2024) |
|---|---|---|---|---|
| Washable Tempera | 5-10 Minutes | High (Soap & Water) | 3-8 Years | $0.50 – $1.00 / oz |
| Acrylic Paint | 10-20 Minutes | Low (Permanent once dry) | 10+ Years | $1.50 – $3.00 / oz |
| Liquid Watercolor | 15-30 Minutes | High (Stains some fabrics) | 5-10 Years | $1.00 – $2.00 / oz |
- Recommendation: Use Washable Tempera. It has a matte finish similar to gouache and is forgiving if it spills. For older kids, acrylics offer brighter colors but ruin clothes.
Safety First: Understanding ASTM D-4236 Labels
Always look for the code ASTM D-4236 on your paint bottles. This certifies that the art material has been reviewed by a toxicologist and labeled for chronic health hazards. If a bottle says “Non-Toxic” but lacks this code, do not use it for children.
Paper Matters: Why You Need Cardstock
Standard printer paper is too thin. The wet dots will warp the paper (cockling). Use Cardstock or heavy watercolor paper. The stiffness makes it easier for the child to press down without the paper crinkling.

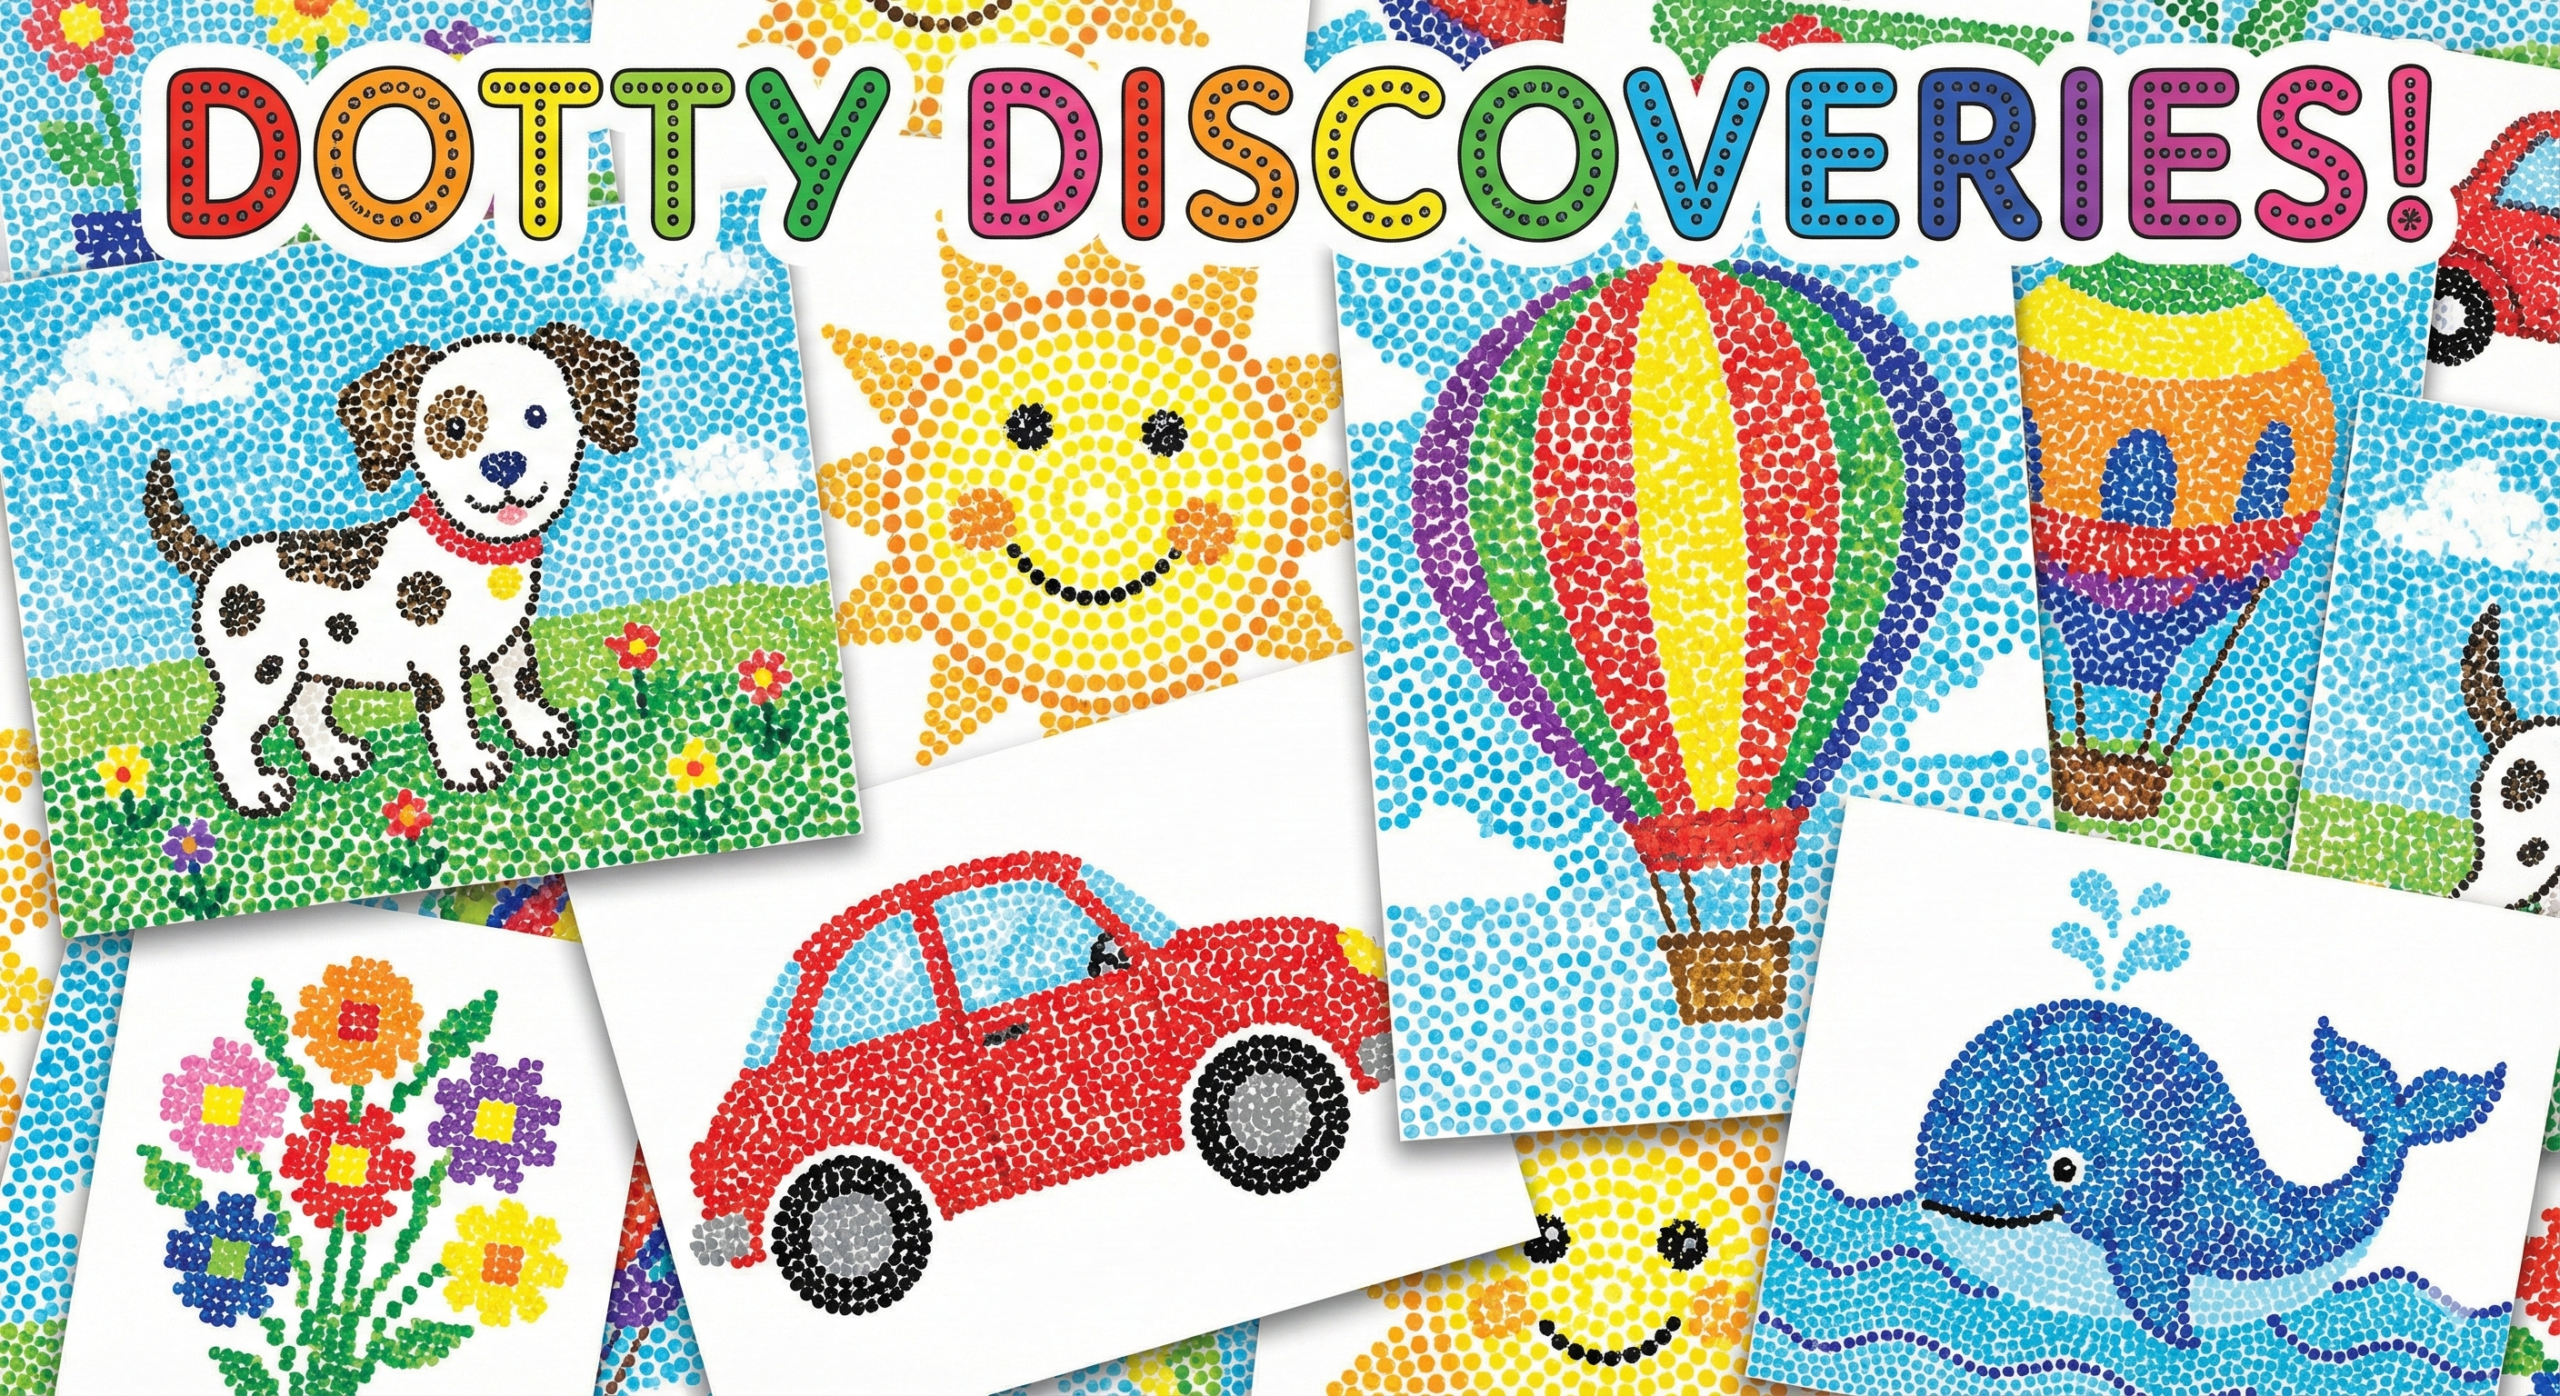
5 Easy Pointillism Projects for Kids (Step-by-Step)
Ready to create? Here are five projects ranked from easiest to hardest.
Project 1: The Rainbow Row (Beginner)
Focus: Linear motor control and primary colors.
- Prep: Pour Red, Yellow, and Blue tempera paint onto a plate (or use a color mixing chart printable as a guide).
- Step 1: Have the child dip a Q-tip in Red. Make a horizontal row of dots across the top of the page.
- Step 2: Switch Q-tips (no rinsing!). Make a Yellow row below the Red.
- Step 3: Make a Blue row.
- Challenge: Ask them to make an Orange row by alternating Red and Yellow dots (Red, Yellow, Red, Yellow) in a single line.
Project 2: The “Bundled” Fall Tree (Intermediate)
Technique: Bundling Q-tips for foliage.
Research Note: Painting one dot at a time can be tedious for toddlers. “Bundling” speeds up the process and creates a texture that looks exactly like leaves!
- Prep: Take 5-7 Q-tips and bundle them together using a rubber band.
- Step 1: Draw a simple brown trunk with a marker or brush.
- Step 2: Dip the entire bundle into Green, Yellow, or Orange paint.
- Step 3: Stamp the bundle repeatedly around the branches. The multiple tips create instant, fluffy-looking foliage.
- Development: This uses a different grasp (palmar) and is great for satisfying sensory feedback.
Project 3: The Magic Optical Illusion (Science Focus)
Activity: Mixing Blue and Yellow dots to make Green.
This reinforces the color mixing primer.
- Prep: Draw a simple leaf shape outline.
- Step 1: Give the child ONLY Blue and Yellow paint. No Green!
- Step 2: Ask them to fill the leaf with dots.
- Step 3: Encourage them to layer the dots close together.
- Step 4: Step back. Does the leaf look Green? This is a practical demonstration of Optical Mixing.
Project 4: Pixel Name Art (Advanced)
Technique: Using graph paper for precision.
- Prep: Use 1cm grid graph paper. Write the child’s name in block letters lightly in pencil.
- Step 1: The child must place exactly one dot in the center of each square inside their name.
- Step 2: Use a contrasting color to fill the squares outside the name.
- Why it works: This introduces the concept of pixels and screen resolution. It requires high focus and steady hands.
Project 5: The “Mini Seurat” Landscape
Activity: Filling a landscape template.
Inspired by impressionist art characteristics, this project puts it all together.
- Prep: Lightly sketch a horizon line (sky vs. grass) and a simple object like a house or sun.
- Step 1: Fill the sky with Blue and White dots (swirl them for wind!).
- Step 2: Fill the grass with Green and Yellow dots.
- Step 3: Remind the child: No scrubbing! Only “dot, dot, dot.”
- Finish: Display the art from a distance to see the image come together.
[YOUTUBE: How to Paint Pointillism Art for Kids]

Troubleshooting & Tips for Success
Even with easy projects, things can get messy. Here is how to handle common issues.
How to Prevent “Muddy” Colors
If the dots touch while wet, they physically mix into brown mud.
- Tip: Work in sections. Do all the Red dots first, then take a break. Come back when dry to add the Blue dots nearby.
- Tip: Teach the mantra: “Press and Lift.” If they drag the Q-tip, it becomes a line, not a dot.
Dealing with Paint Blobs and Smears
Sometimes a child presses too hard, leaving a 3D blob of paint.
- Fix: Don’t wipe it! Wiping creates a smear. Use the clean end of a Q-tip to lift the excess blob straight up off the paper.
Clean Up Hacks for Mess-Free Art
- Use an old muffin tin as a palette. It separates colors perfectly and is easy to wash.
- Have a “Trash Cup” nearby for used Q-tips so they don’t end up on the table (or the carpet).
- For difficult stains on tables, check our guide on acrylic painting tools and cleanup methods.
Conclusion: Turning Dots into Masterpieces
Pointillism for kids is more than just dipping cotton swabs in paint. It is a journey through history, a biology lesson on human vision, and a workout for developing hands. By teaching your children or students about Seurat, the retina, and the power of patience, you are giving them tools that go far beyond the art classroom.
Remember, every digital image they see on a screen is just modern Pointillism. By slowing down to create their own pixels by hand, they gain a new appreciation for the colorful world around them. So, grab those Q-tips and start connecting the dots!
Frequently Asked Questions (FAQ)
What is the best paint for Q-tip art?
Washable Tempera paint is the best choice for children under 10. It is non-toxic, inexpensive, and washes out of clothes easily. What is tempera paint? It’s an ancient medium that is perfect for modern classrooms.
How to teach Pointillism to elementary students?
Start with the “Magic Orange” experiment to engage them with science. Then, show them La Grande Jatte by Seurat. Use Q-tips instead of brushes to force them to use the dotting technique, as brushes often tempt kids to stroke and blend.
Is acrylic paint safe for toddlers?
Generally, no. While many acrylics are non-toxic, they become permanent plastic when dry. If a toddler gets acrylic paint on their clothes or ingests a flake, it can be problematic. Stick to paints labeled specifically for early childhood (washable tempera or finger paint).
Who invented Pointillism for kids to learn about?
Georges Seurat and Paul Signac are the two main artists. Seurat is the “father” of the movement. You can tell kids he was an artist who wanted to paint with science!
What is the difference between Pointillism and Divisionism?
Pointillism is the technique (using dots). Divisionism is the theory (separating colors so the eye mixes them). You can do Pointillism without doing Divisionism (e.g., just making a black and white dot drawing), but Seurat did both.

