Watercolor painting is a popular and enjoyable art form that can produce stunning results. Whether you are a beginner or an experienced artist, you can always learn new skills and techniques to improve your watercolor landscapes.
In this article, we will show you 10 watercolor landscape painting techniques that are easy, fun, and effective. You will learn how to use different watercolor paints, watercolor paper, watercolor brushes, watercolor techniques, watercolor washes (click links for our guides on artist materials and techniques), and watercolor landscapes to create beautiful and realistic scenes.
We will also provide you with some examples, tips, and resources to help you practice and master these techniques. By the end of this article, you will be able to create your watercolor landscape paintings with confidence and flair.
Watercolor Landscape Painting Techniques:
Wet-on-Wet Technique
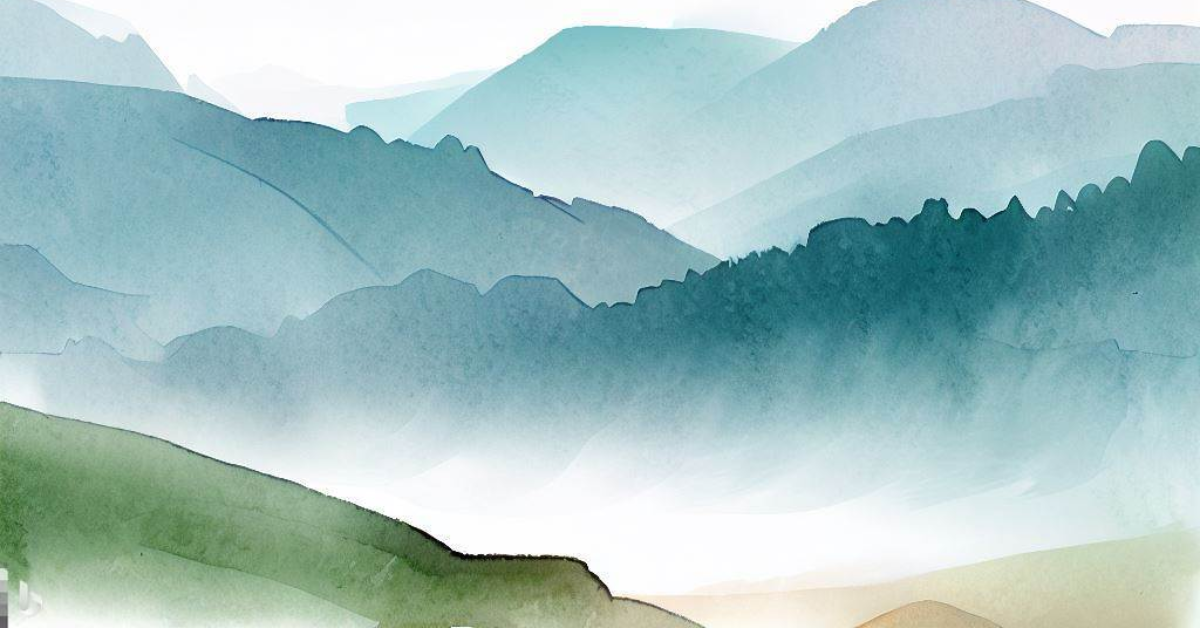
One of the most basic and essential watercolor landscape painting techniques is wet on wet. This technique involves applying wet paint to wet paper, creating soft and blended effects. Wet on wet technique is ideal for creating smooth gradients, backgrounds, skies, and other elements that require a fluid and loose style.
To use wet on wet technique for watercolor landscapes, you will need to wet the paper first with clean water, using a large and soft brush. Then, you will need to apply the paint to the wet area, using a smaller and more pointed brush. You can tilt the paper to let the colors mix and flow, creating interesting patterns and shapes. You can also add more water or paint to adjust the intensity and value of the colors.
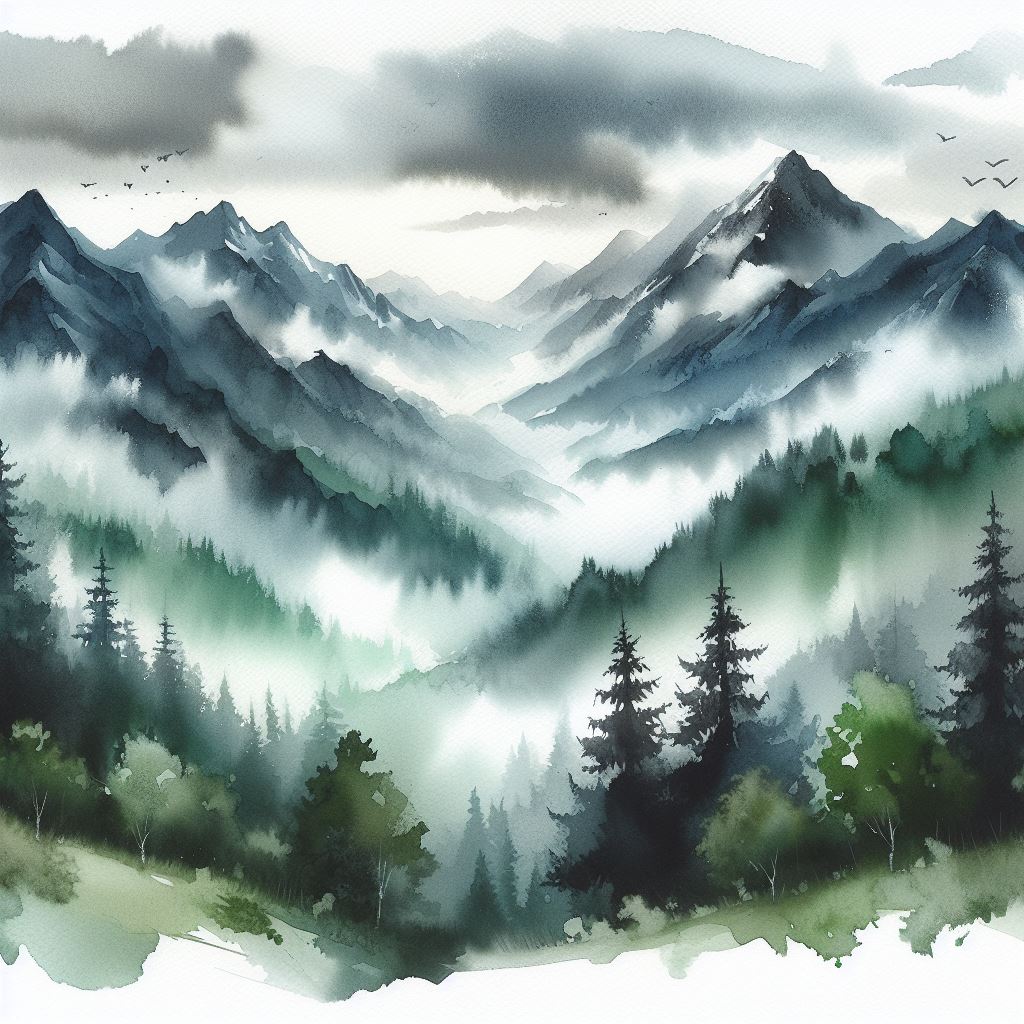
Here is an example of a watercolor landscape that uses wet on wet technique for the sky and the mountains. Notice how the colors blend smoothly and create a misty and atmospheric effect.
You can watch a full tutorial on using this technique here:
Dry Brush Technique
Another watercolor landscape painting technique that you need to try is dry brush. This technique involves applying dry or slightly damp paint to dry paper, creating crisp and textured effects. Dry brush technique is ideal for creating details, highlights, contrast, and other elements that require a sharp and defined style.
To use the dry brush technique for watercolor landscapes, you will need to use a dry or slightly damp brush, and load it with paint. Then, you will need to drag the brush across the paper, using a light and quick motion. You can vary the pressure and direction of the brush to create different effects and shapes. You can also use different colors and values to create depth and dimension.
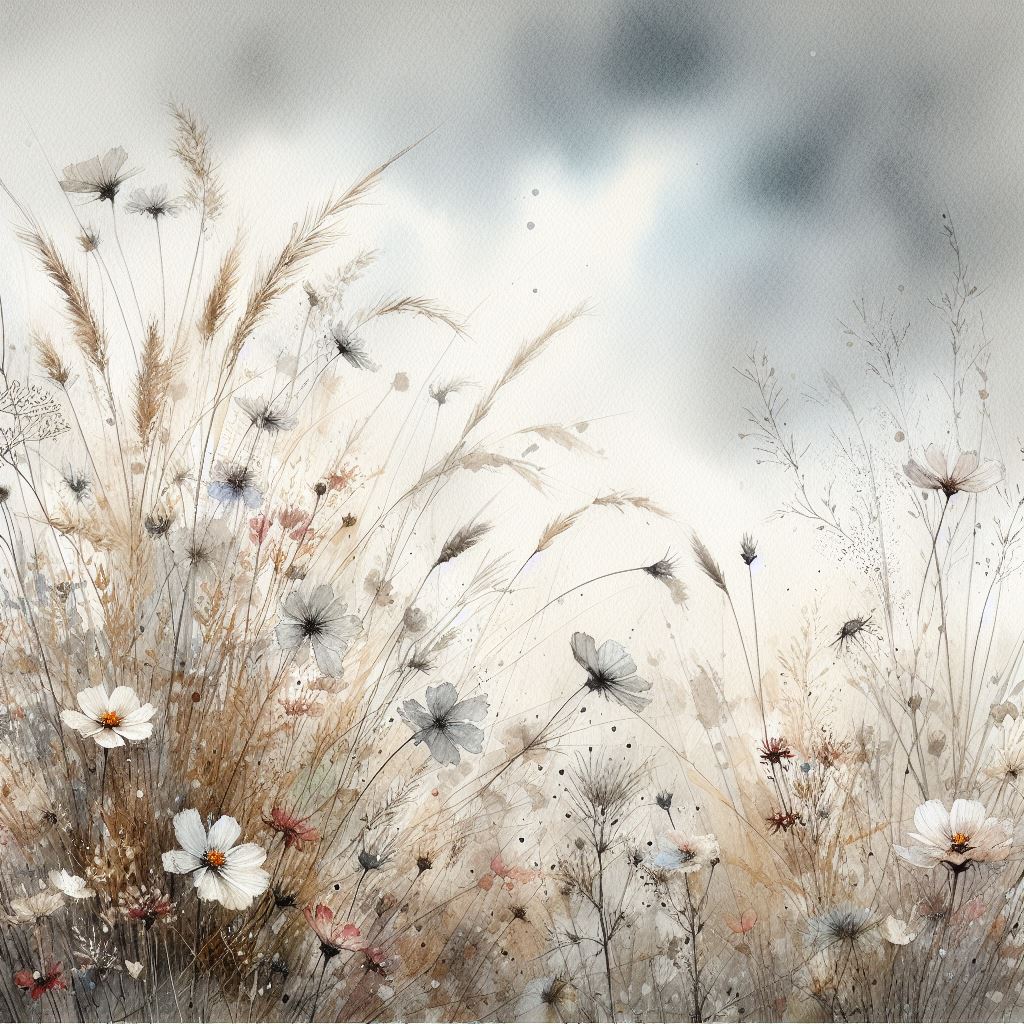
Here is an example of a watercolor landscape that uses dry brush technique for the grass and the flowers. Notice how the colors create a crisp and textured effect, and how they contrast with the smooth background.
You can watch the full tutorial on this technique here:
Wet-on-Dry Technique
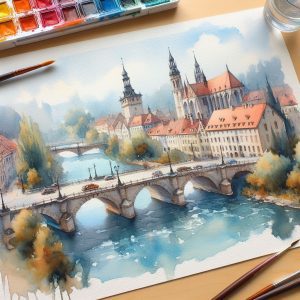
Another watercolor landscape painting technique that you need to try is wet on dry. This technique involves applying wet paint to dry paper, creating clear and controlled effects. Wet on dry technique is ideal for creating details, edges, contrast, and other elements that require a precise and accurate style.
To use wet on dry technique for watercolor landscapes, you will need to wet the brush, and load it with paint. Then, you will need to apply the paint to dry paper, using a smooth and steady motion. You can vary the pressure and direction of the brush to create different effects and shapes. You can also use different colors and values to create depth and dimension.
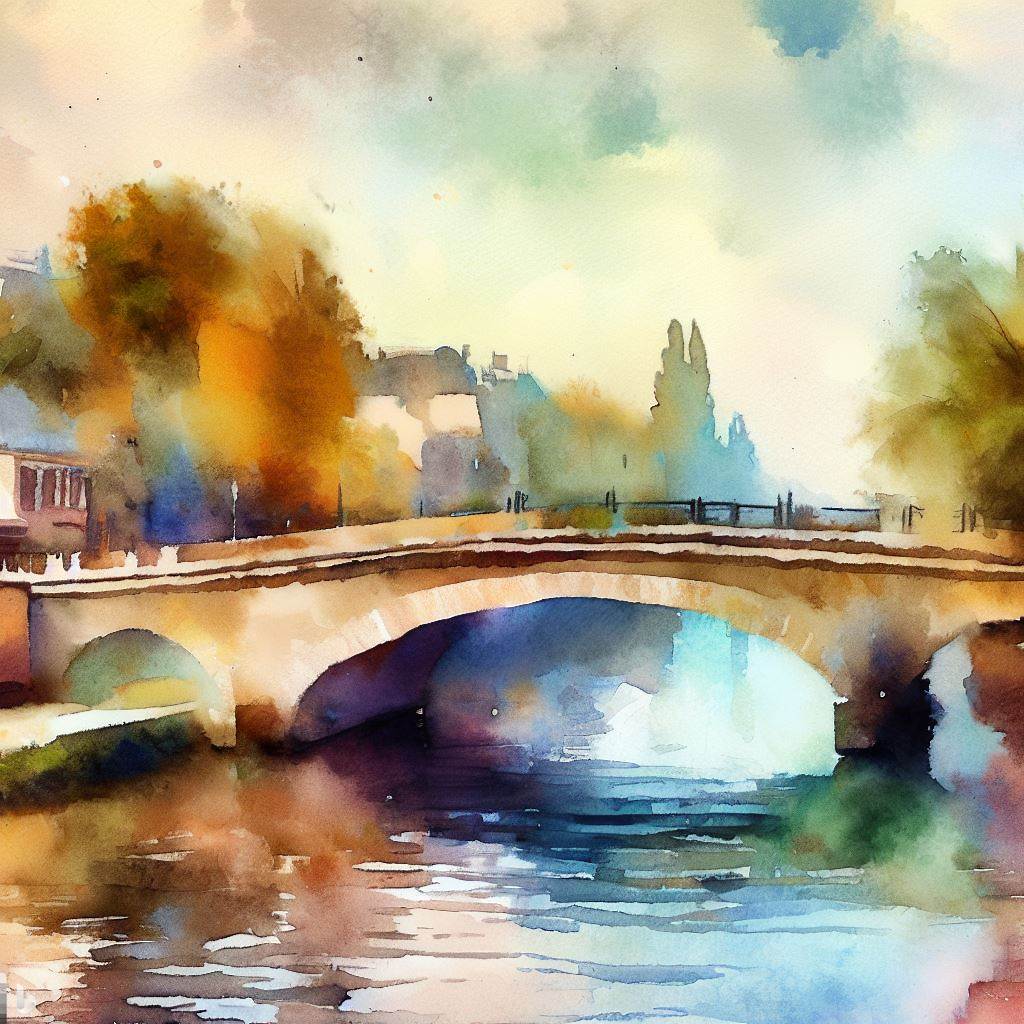
Here is an example (above) of a watercolor landscape that uses wet on dry technique for the buildings and the bridge. Notice how the wet paint creates a clear and controlled effect, and how it adds interest and detail to the painting.
You can watch a full tutorial on this technique here.
Lifting Technique
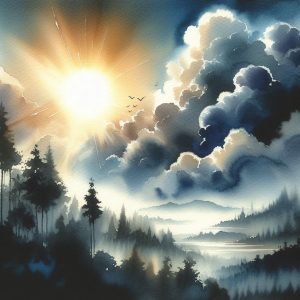
Lifting is a watercolor landscape painting technique that can help you create highlights and contrast in your paintings. This technique involves lifting off the paint from the paper, using a clean and damp brush, tissue, or sponge. Lifting technique can help you correct mistakes, add details, or create effects such as clouds, snow, or reflections.
To use lifting technique for watercolor landscapes, you will need to wait for the paint to dry completely, or at least partially. Then, you will need to wet the area that you want to lift off, using a clean and damp brush, tissue, or sponge. You can use different shapes and sizes of tools to create different effects and shapes. You can also repeat the process to lift off more paint and create lighter values.
Above is an example of a watercolor landscape that uses lifting technique for the clouds and the sun. Notice how the lifted areas create a bright and dramatic effect, and how they contrast with the dark background.
You can watch the full tutorial about this technique here.
Glazing Technique
Glazing is a watercolor landscape painting technique that can help you create depth and richness in your paintings. This technique involves applying a thin layer of transparent paint over a dry layer of paint, creating a new color that is a mixture of both. Glazing technique can help you create subtle color changes, shadows, or atmospheric effects.
To use glazing technique for watercolor landscapes, you will need to make sure that the first layer of paint is completely dry, or else the colors will mix and create mud. Then, you will need to apply a thin layer of transparent paint over the dry layer, using a soft and smooth brush. You can use different colors and values to create different effects and shapes. You can also repeat the process to create more layers and more depth.
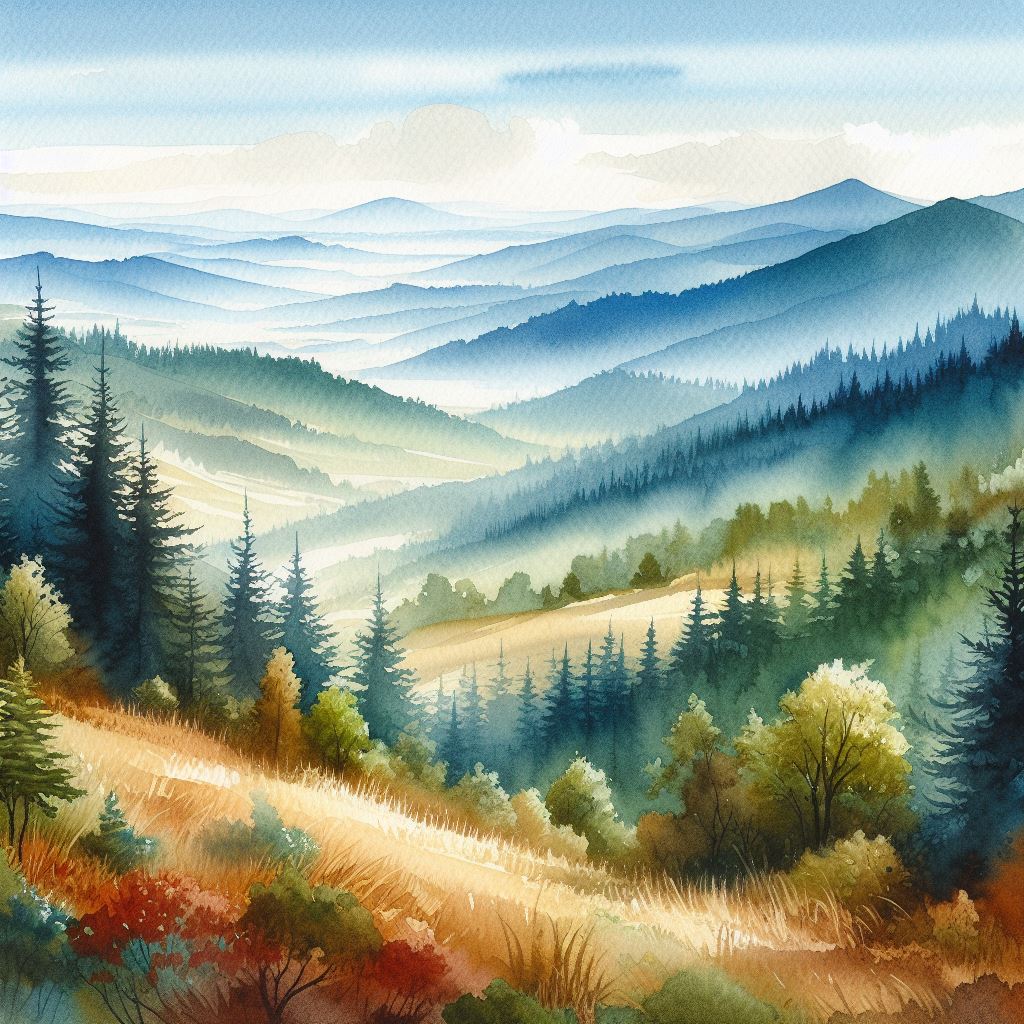
Here is an example of a watercolor landscape that uses glazing technique for the forest and the hills. Notice how the layers of paint create a rich and varied effect, and how they create a sense of distance and perspective.
You can watch the full tutorial on this glazing technique here.
Salt Technique
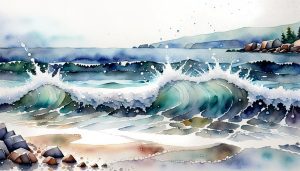
Salt is a watercolor landscape painting technique that can help you create interesting and random patterns in your paintings. This technique involves sprinkling salt over wet paint, and letting it dry. Salt technique can help you create texture, movement, or sparkle in your watercolor landscapes.
To use salt technique for watercolor landscapes, you will need to apply wet paint to the paper, using any technique or color that you want. Then, you will need to sprinkle salt over the wet paint, using a pinch of salt, a shaker, or a spoon. You can use different types and sizes of salt to create different effects and shapes. After the paint and salt are dry, you will need to brush off the salt, revealing the patterns underneath.
Above is an example of a watercolor landscape that uses salt technique for the sea and the rocks. Notice how the salt creates a textured and sparkling effect, and how it adds interest and detail to the painting.
You can see the full tutorial using salt here.
Masking Technique
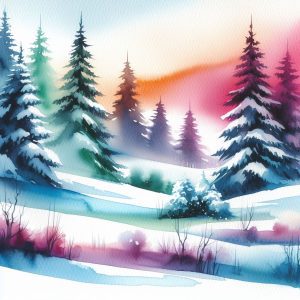
Masking is a watercolor landscape painting technique that can help you create sharp and defined edges in your paintings. This technique involves covering the areas that you want to keep white or unpainted, using masking fluid, tape, or paper, and painting over them. Masking technique can help you preserve the white of the paper, create contrast, or add details such as snow, buildings, or animals.
To use a masking technique for watercolor landscapes, you will need to apply the masking fluid, tape, or paper to the areas that you want to protect, using a brush, knife, or scissors. Then, you will need to paint over the masked areas, using any technique or color that you want. After the paint is dry, you will need to remove the masking material, revealing the white or unpainted areas underneath.
See the example above of a watercolor landscape that uses a masking technique for the snow and the trees. Notice how the masked areas create a sharp and defined effect, and how they contrast with the colorful background.
You can watch the full tutorial of this technique here.
Negative Painting Technique
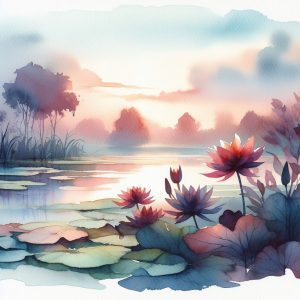
Negative painting is a watercolor landscape painting technique that can help you create shape and form in your paintings. This technique involves painting around the object, not the object itself, creating a negative space. Negative painting technique can help you create layers, depth, or perspective in your watercolor landscapes.
To use negative painting technique for watercolor landscapes, you will need to paint the background first, using any technique or color that you want. Then, you will need to paint around the object, using a darker value of the same or a different color. You can use different shapes and sizes of brushes to create different effects and shapes. You can also repeat the process to create more layers and more depth.
Here is an example of a watercolor landscape that uses negative painting technique for the water lilies, flower and the leaves. Notice how the negative space creates a shape and form effect, and how it adds depth and dimension to the painting.
You can watch a full tutorial on negative painting here.
Splatter Technique

Splattering is a watercolor landscape painting technique that can help you create dynamic and lively effects in your paintings. This technique involves flicking or blowing paint onto the paper, creating dots, splashes, or streaks. Splattering technique can help you create stars, rain, snow, flowers, or other elements that require a spontaneous and energetic style.
To use splattering technique for watercolor landscapes, you will need to use a brush, toothbrush, or straw, and load it with paint. Then, you will need to flick or blow the paint onto the paper, using a fast and forceful motion. You can vary the distance and angle of the tool to create different effects and shapes. You can also use different colors and values to create depth and dimension.
Above is an example of a watercolor landscape that uses splattering technique for the stars and the snow. Notice how the splatters create a dynamic and lively effect, and how they add interest and detail to the painting.
You can watch a full tutorial on splatter techniques here.
Sgraffito Technique
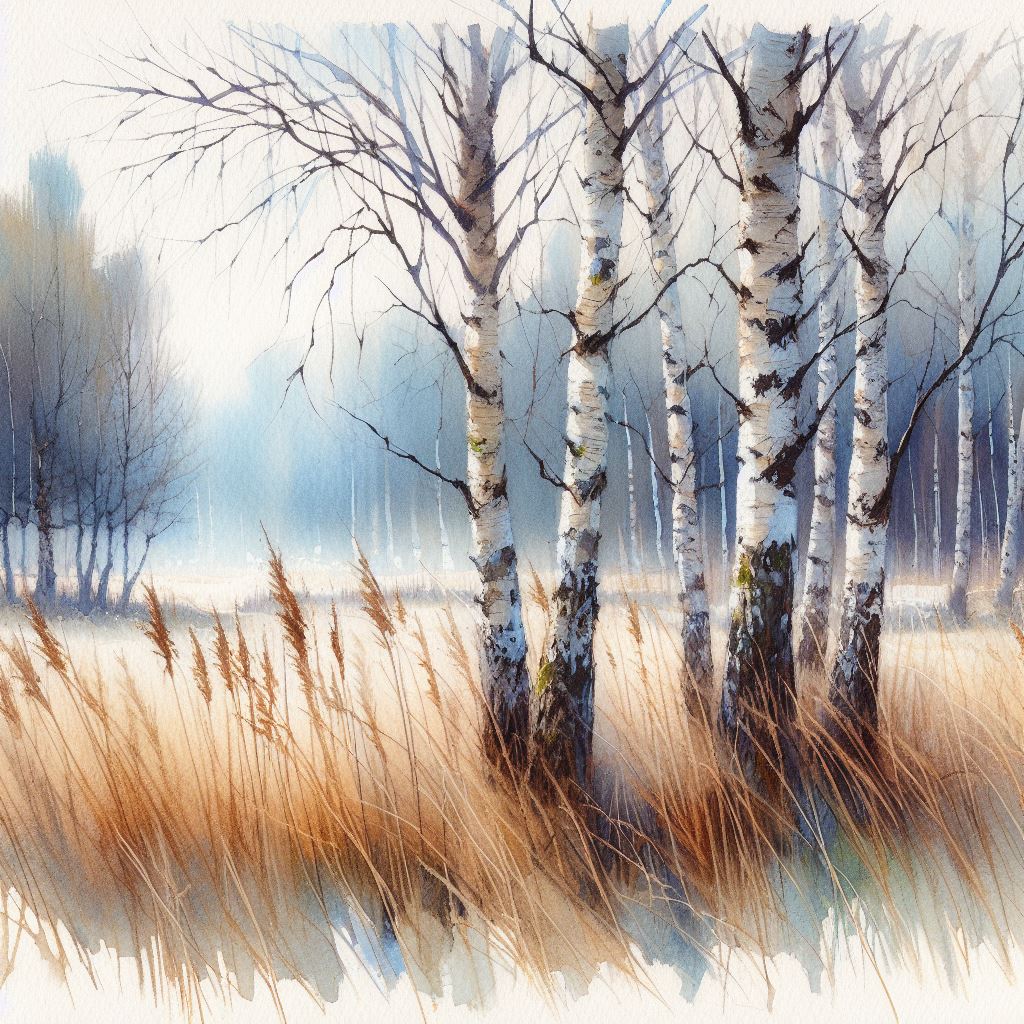
The sgraffito technique involves scratching or scraping into the dried paint layers to reveal the underlying colors or create intricate details. Once the initial washes of paint have dried, use a sharp tool like a knife, a dry brush, or even a toothpick to carefully scratch or scrape away the top layers of paint. This technique allows you to create fine lines, and textures, and add intricate details to your watercolor landscapes. It is particularly effective for rendering grass blades, and tree branches, or adding texture to rocky surfaces. A watercolor landscape painting incorporating the sgraffito technique might feature a rugged mountain scene with delicate lines etched into the rocks, revealing the underlying layers and adding depth to the composition.
Famous Watercolor Landscape Artists
Do you need inspiration? These artists have used a variety of watercolor techniques:
- J.M.W. Turner
- John Constable
- Winslow Homer
- Thomas Moran
- John Singer Sargent
- Carl Spitzweg
- Hiroshige Utagawa
- Albrecht Dürer
- William Blake
- James Abbott McNeill Whistler
We hope you enjoyed this article on 10 watercolor landscape painting techniques that you need to try. These techniques can help you create beautiful and realistic watercolor landscapes with ease and fun. You can also combine and experiment with these techniques to achieve various results and styles.
We encourage you to try these techniques and share your results with us. You can also check out the tutorials that we linked for each technique, and learn more tips and tricks from the experts. If you have any questions or comments, feel free to leave them below.
Thank you for reading and happy painting!
