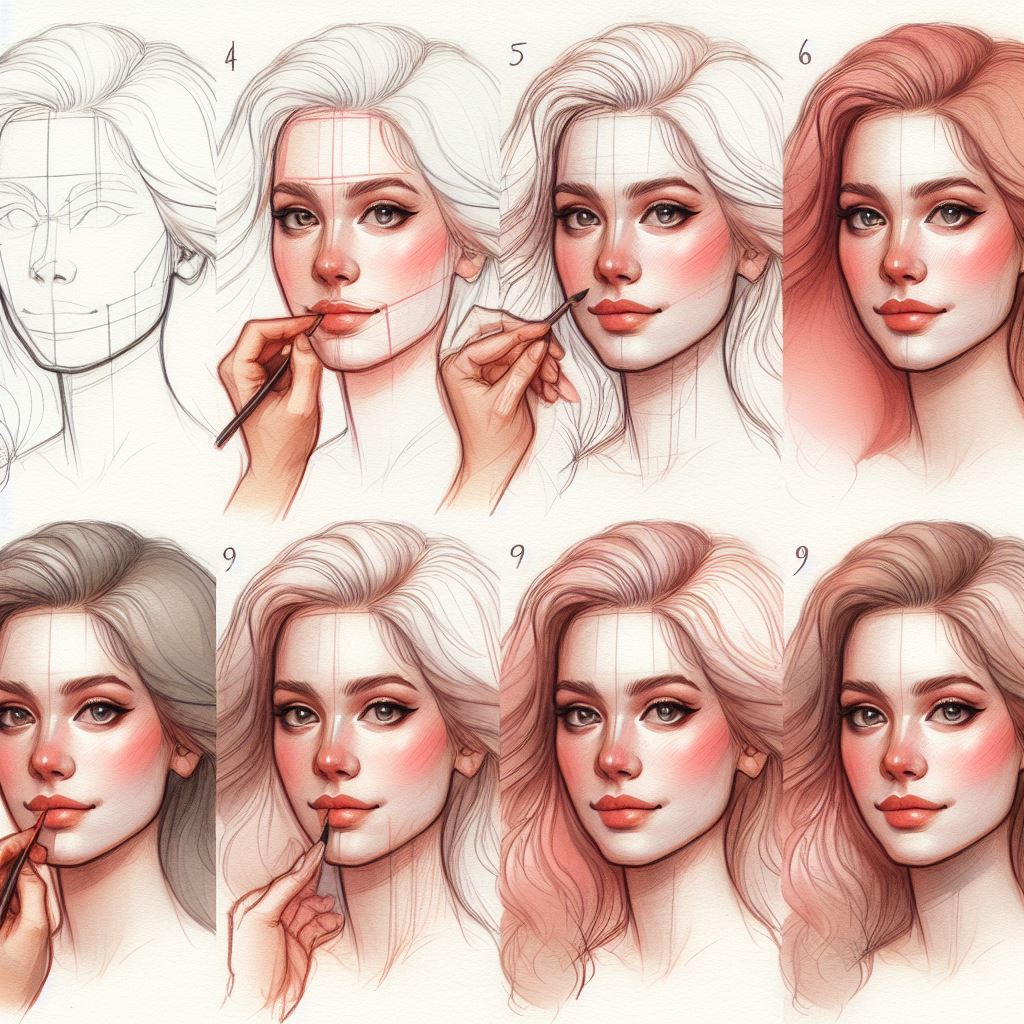
In the world of watercolor painting, mastering watercolor glazing techniques can be the key to transforming your artwork from flat and lifeless to vibrant and full of depth. This method of layering transparent washes of color allows artists to create luminous effects, subtle color transitions, and rich, complex hues that captivate viewers. By harnessing the power of watercolor glazing techniques, you can elevate your paintings to new heights, achieving a level of sophistication that sets your work apart.

The Art and Science of Watercolor Glazing Techniques
At its core, watercolor glazing is both an art form and a scientific process. It requires a deep understanding of color theory, pigment behavior, and the interaction between water, paint, and paper. By applying thin, transparent layers of paint over dried or partially dried underlying layers, artists can create optical mixing effects that result in stunning visual depth.
The Fundamentals of Glazing
To master watercolor glazing techniques, it’s essential to grasp the basic principles:
- Layer Sequencing: Begin with lighter colors and gradually build up to darker tones
- Drying Time: Ensure each layer is completely dry before applying the next to prevent unwanted mixing
- Transparency: Use transparent or semi-transparent pigments for best results
- Brush Control: Apply glazes with a soft brush and a gentle touch to avoid disturbing underlying layers
The Science Behind the Technique
Watercolor glazing works on the principle of light interaction. As light passes through multiple layers of transparent pigment, it reflects off the white paper beneath, creating a luminous effect. This optical mixing of colors produces results that are often more vibrant and complex than those achieved by mixing colors on a palette.
Essential Materials for Watercolor Glazing
To successfully implement watercolor glazing techniques, you’ll need:
- High-quality watercolor paper (preferably 140 lb cold-pressed)
- Transparent watercolor paints
- Soft, round brushes in various sizes
- A clean palette for mixing
- A hairdryer (optional, for speeding up drying time)
Step-by-Step Guide to Watercolor Glazing
- Prepare Your Palette: Select your colors, ensuring they are transparent or semi-transparent.
- Apply the First Wash: Lay down a light, even wash of your base color. Allow it to dry completely.
- Plan Your Layers: Consider the color mixing effects of your chosen pigments. Create a glazing chart to experiment with different combinations.
- Apply Subsequent Glazes: Using a soft brush, apply thin layers of color over the dried base. Work quickly to avoid reactivating underlying layers.
- Build Depth: Continue adding layers, allowing each to dry before applying the next. This gradual buildup creates rich, luminous effects.
- Refine Details: Use glazing to add subtle details, adjust tones, and create smooth transitions between colors.
Advanced Watercolor Glazing Techniques
Once you’ve mastered the basics, explore these advanced techniques:
Complementary Color Glazing
Use glazes of complementary colors to create subtle neutrals and harmonious color schemes. For example, glaze a transparent green over a pink area to tone down brightness and add depth.
Granulation Effects
Experiment with granulating pigments to add texture and interest to your glazes. These pigments settle into the paper’s texture, creating a unique, grainy appearance.
Negative Painting with Glazes
Use glazing to define shapes by painting around them, gradually building up the background to create contrast and form.
Troubleshooting Common Glazing Issues
| Issue | Solution |
|---|---|
| Muddy Colors | Use single-pigment paints and limit the number of layers |
| Lifting Underlying Layers | Ensure each layer is completely dry and use a light touch |
| Hard Edges | Soften unwanted hard edges with a damp brush |
| Overworking | Plan your glazes in advance and know when to stop |
The Power of Practice: Developing Your Glazing Skills
As with any artistic technique, mastering watercolor glazing requires practice and patience. Consider these exercises to hone your skills:
- Create a glazing chart with your most-used colors to understand their interactions.
- Practice layering a single color to achieve a range of values.
- Experiment with glazing complementary colors to create subtle neutrals.
- Try painting a simple still life using only glazing techniques.
“Watercolor glazing is like building a symphony of color, layer by layer. Each glaze adds depth and richness to the composition, creating a visual harmony that captivates the viewer.”
Anna Bucciarelli, Watercolor Artist
Elevating Your Artwork with Watercolor Glazing
By incorporating watercolor glazing techniques into your artistic practice, you open up a world of possibilities for creating depth, luminosity, and richness in your paintings. This method allows for greater control over color and value, enabling you to build up complex hues and subtle transitions that bring your subjects to life.
Remember that glazing is not just about adding layers; it’s about thoughtful color selection, careful application, and a deep understanding of how pigments interact. As you continue to practice and refine your glazing techniques, you’ll find that your paintings take on a new level of sophistication and visual appeal.
Whether you’re painting portraits, landscapes, or still lifes, watercolor glazing can elevate your work from simple representations to captivating art pieces. Embrace the transparency of watercolors, experiment with different pigments and layering techniques, and watch as your paintings transform into luminous masterpieces that truly showcase the unique beauty of this medium.
As you embark on your journey to master watercolor glazing techniques, remember that each painting is an opportunity to learn and grow. Embrace the process, celebrate the happy accidents, and most importantly, enjoy the magical interplay of water, pigment, and light that makes watercolor glazing such a rewarding technique.


