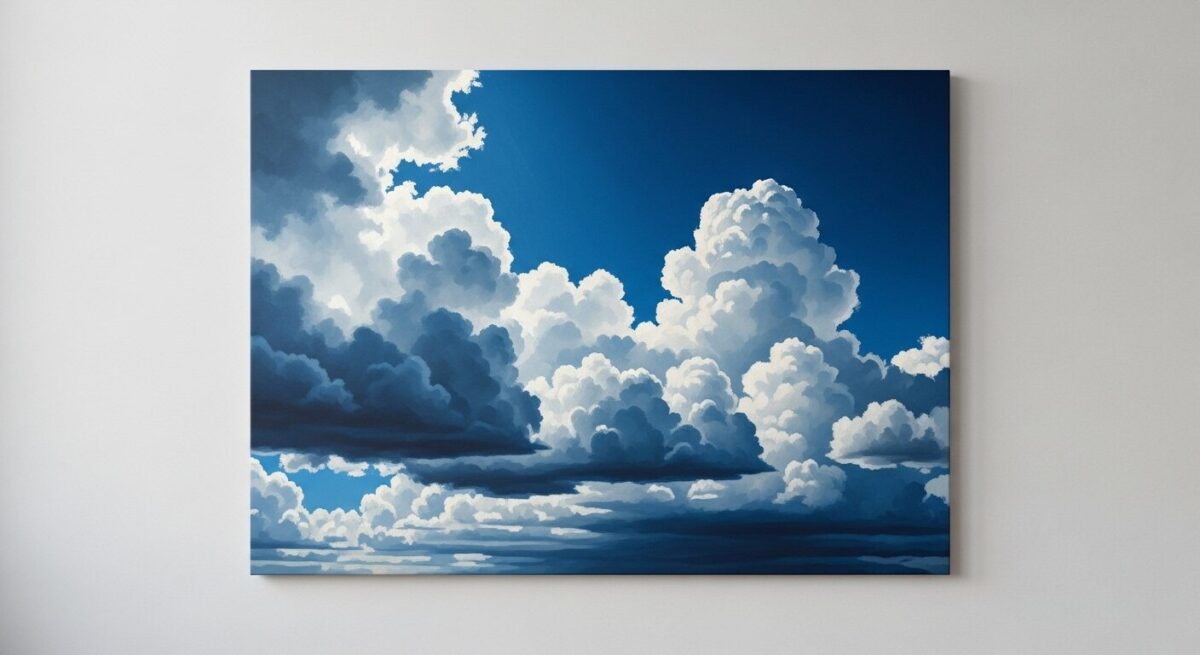
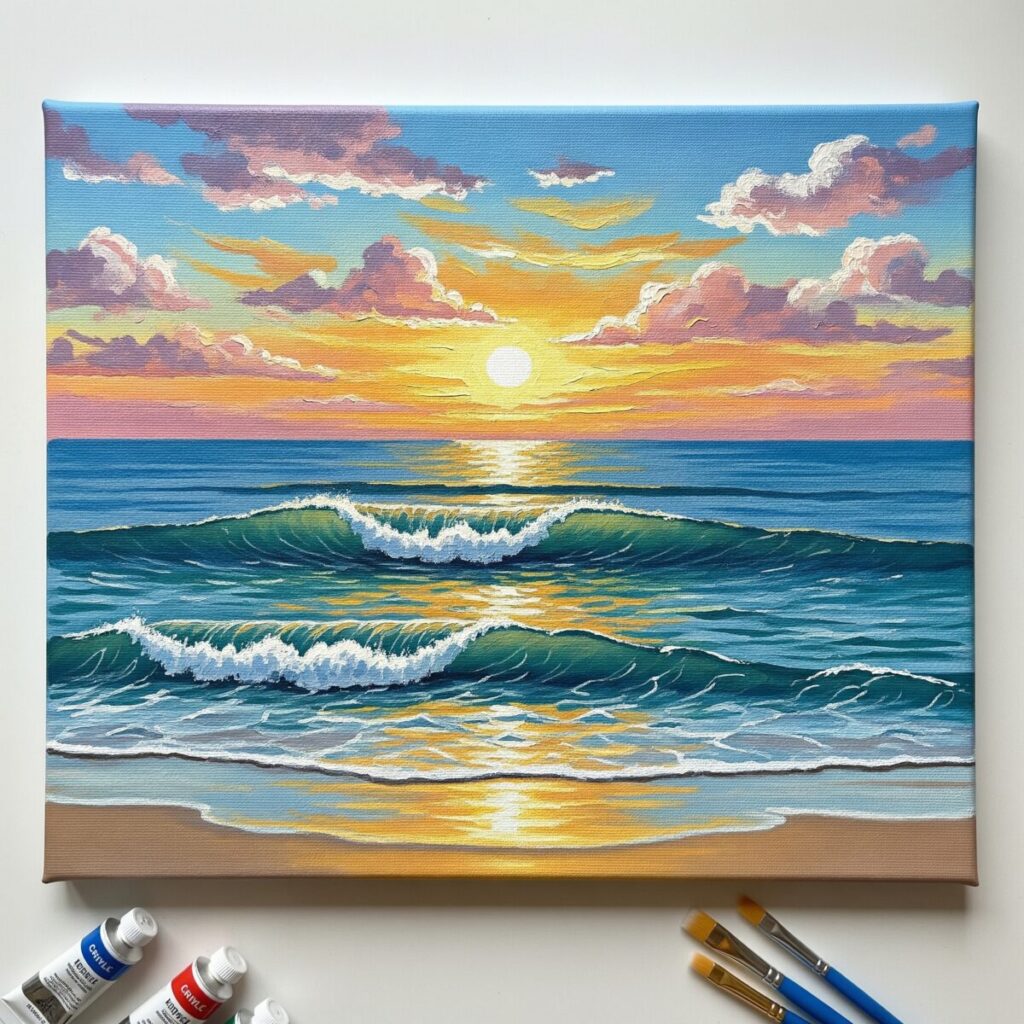
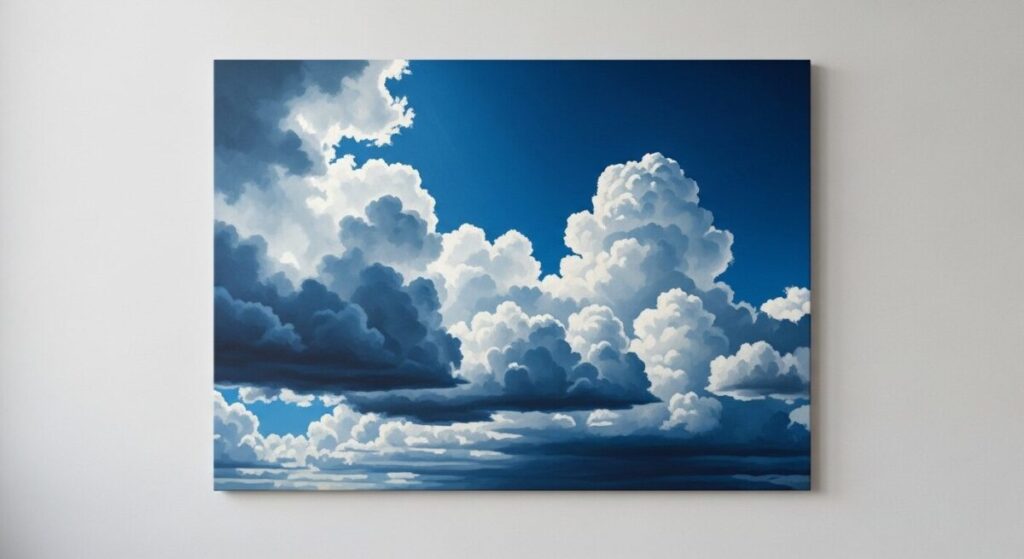
Have you ever looked up at the sky and wished you could capture its beauty on canvas? Painting clouds can seem tricky, but it’s one of the most rewarding skills a beginner can learn. This guide on how to paint clouds with acrylics for beginners will break down the process into simple, easy-to-follow steps. Forget flat, cartoonish blobs—we’re going to teach you how to create clouds with depth, light, and personality that will bring your landscape paintings to life. With just a few colors and the right techniques, you’ll be painting breathtaking skies in no time.
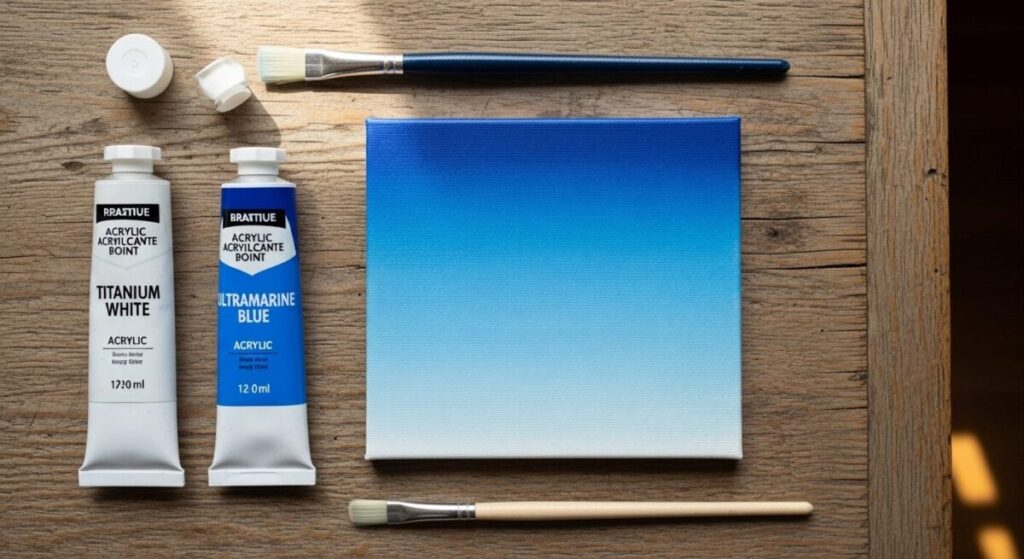
Key Points at a Glance:
- It’s All About Layers: Realistic clouds are built up in layers, starting with the sky, then the cloud’s main shape, followed by shadows and highlights.
- Simple Color Palette: You don’t need dozens of colors. A basic blue, white, and a tiny touch of red or yellow are all you need to create a variety of cloud effects.
- Blending is Key: The secret to soft, fluffy clouds is learning how to blend the edges into the sky. A slightly damp brush is your best friend here.
- Light Creates Form: Understanding where your light is coming from will tell you where to place highlights and shadows, giving your clouds a three-dimensional feel.
- Practice Makes Perfect: Don’t be afraid to experiment! The more you practice, the more you’ll develop a feel for creating natural-looking clouds.
Why Clouds Can Make or Break Your Painting
Clouds do more than just fill the empty space in a sky. They create mood, indicate the time of day, and add a sense of depth and scale to your work. A stormy, dark sky can make a scene feel dramatic, while soft, wispy clouds can create a feeling of peace and calm. Learning to paint them effectively is a fundamental skill. If you’re new to creating dimension in your art, our guide on how to create depth in paintings offers a great starting point for understanding perspective.
The Perfect Cloud-Painting Toolkit
Gathering your supplies is the first step. You likely already have most of what you need if you’ve started your acrylic journey.
| Essential Supplies | Purpose | Pro-Tip |
| Acrylic Paints | Titanium White, Ultramarine or Cerulean Blue, a touch of Cadmium Red or Yellow. | Mix a tiny bit of red/yellow into your blue for a more natural-looking sky. |
| Brushes | A 1-inch flat brush (for the sky), a filbert or mop brush (for fluffy clouds), and a small round brush (for details). | A “mop” brush is excellent for dabbing and blending to create a soft, fluffy texture. |
| Canvas or Paper | Any prepared surface will do. Primed canvas panels are great for practice. | |
| Palette | A paper plate, plastic palette, or ceramic dish for mixing colors. | |
| Water & Paper Towels | For rinsing brushes and dabbing off excess paint or water. | Keep two water jars: one for initial rinsing and one for a final clean rinse. |
For a complete rundown of artist essentials, be sure to look at the essential guide to painting supplies for artists.
Painting Fluffy Clouds in 5 Simple Steps
Ready to get started? Let’s walk through the process step-by-step.
Step 1: Create Your Sky
Before you can have clouds, you need a sky. Use your 1-inch flat brush to paint your background. A great technique is to create a gradient, with a darker blue at the top of the canvas that gets lighter as you move toward the horizon. To do this, mix a little white into your blue for each new band of color. Having a smooth background is key, so you might want to brush up on your skills by reading our guide to mastering the blending painting technique.
Step 2: Block in the Basic Cloud Shapes

Once your sky is dry, it’s time to add the clouds. Mix Titanium White with just a touch of your sky blue. Using your filbert or mop brush, lightly dab or tap the paint onto the canvas where you want your clouds to be. Think about the overall shape—are they big and puffy or long and stretched out? Don’t worry about details yet; just focus on creating the main forms.
Step 3: Add the Shadows
This is the step that brings your clouds to life! To create a shadow color, mix your main cloud color with a little more blue and a tiny speck of red. This creates a soft, greyish lavender tone. Determine your light source (usually the sun, coming from one side). Apply this shadow color to the bottoms and sides of the clouds that are opposite your light source. This simple addition immediately creates a sense of volume. For a deeper dive into this concept, the complete guide to light and shadow is an invaluable resource.
Step 4: Blend and Soften the Edges
To avoid your clouds looking like they are stuck on the sky, you need to soften their edges. Take a clean, slightly damp brush and gently “scrub” the edges of your clouds where they meet the blue sky. This will smudge the line and create a soft, hazy transition, making the clouds look like they are part of the atmosphere.
Step 5: Pop in the Highlights
The final touch is the highlight. Take some pure Titanium White on the tip of your brush and dab it onto the top edges of the clouds—wherever the sun would be hitting them most directly. This creates a bright “pop” of light that makes your clouds look full and illuminated. Use these highlights sparingly for the most impact. If you make a mistake, don’t panic! Our guide to fixing painting mistakes can help you out.
“The sky is the source of light in nature – and governs everything.”
John Constable
This quote from the master landscape painter John Constable reminds us just how important the sky is in a painting. It dictates the light, the color, and the mood of the entire piece.
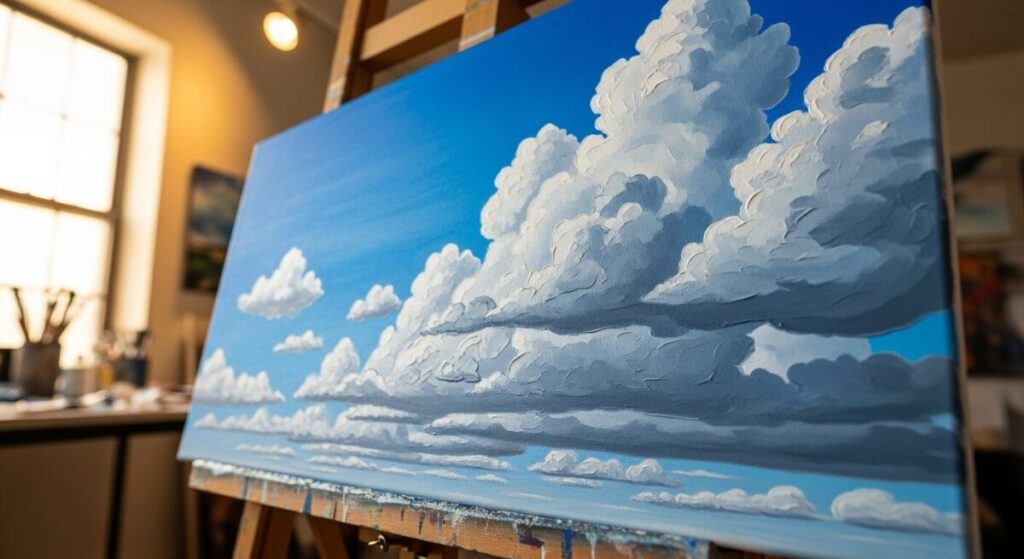
Watch and Learn
This video tutorial provides a wonderful visual guide to painting simple, beautiful clouds with acrylics.
FAQs: How to Paint Clouds with Acrylics for Beginners

How do you make clouds look realistic with acrylics? Realism comes from layering and understanding light. Start with a well-blended sky, block in your shapes, and then add both shadows and bright highlights. Blending the edges is crucial to make them look soft and atmospheric rather than hard-edged.
What brush is best for painting clouds? A filbert brush is great because its curved top helps create rounded, puffy shapes. A mop brush or a deerfoot stippler is also excellent for dabbing on paint to create a soft, textured look. Avoid using a square, flat brush for the cloud shapes themselves, as it can create unnaturally hard edges.
What colors do you need to paint clouds? You can paint beautiful clouds with a very simple palette: Titanium White, a blue (like Ultramarine or Cerulean), and a tiny amount of red or yellow. The red helps to create natural-looking shadows when mixed with blue and white.
How do you paint fluffy clouds for beginners? The key to fluffy clouds is the application technique and blending. Use a dabbing or tapping motion with your brush instead of long strokes. Build up the color slowly. Most importantly, make sure to blend the edges into the sky with a clean, damp brush for that signature softness.
The journey of learning to paint is filled with exciting new techniques. For a broader overview, take a look at our mastering acrylic painting a complete guide for beginners.
Resources
To continue your sky-painting journey, explore these excellent external resources:
How to Paint Clouds Step-By-Step – Thorough article with tips on edges, color mixing, and step-by-step instructions for creating cloudscapes in acrylics.How to Paint Clouds: Step-By-Step Acrylic Art Lesson – Beginner-friendly tutorial with photos and detailed breakdown of layering, blending, and adding highlights and shadows for depth.
How To Paint Simple Clouds – Practical step-by-step guide focused on painting skyscapes and realistic cloud formations, with tips for gradients and perspective.
How to paint clouds in acrylic – Offers foundational advice on perspective, varying cloud shapes, and making clouds look natural in the sky.
How to Paint Clouds with Acrylics – Clear, stepwise tutorial created by professional artists, covering brush choice, color mixing, and techniques for blending edges.
r/painting – How to paint clouds? – Community discussion with experienced painters sharing best practices for cloud shapes, blending, highlights, and depth in acrylic painting.

