
Learning how to draw a dog step-by-step is one of the most rewarding and fun art projects for kids and beginners! Dogs are beloved pets that capture our hearts, and drawing them helps develop creativity, hand-eye coordination, and artistic confidence. Whether you’re a parent looking for engaging activities, a teacher planning art lessons, or a young artist ready to create, this step-by-step guide will have you drawing adorable dogs in no time using simple shapes and basic techniques.
Key Points Summary
- Start with basic geometric shapes (circles and ovals) for easy success
- Follow numbered steps from foundation to finished drawing
- Learn techniques for different dog breeds and styles
- Avoid common mistakes with helpful tips and fixes
- Practice regularly to build confidence and improve skills
- Use simple supplies you already have at home
Getting Started: Basic Supplies for Dog Drawing
Before diving into your dog drawing tutorial, gather these simple art supplies that most families already have at home. You don’t need expensive materials to create beautiful artwork!
Essential Supplies:
- Plain white paper (copy paper works great)
- Regular pencils (#2 pencil is perfect)
- Eraser (any type will do)
- Black marker or pen for final lines
Optional Fun Additions:
- Colored pencils, crayons, or markers
- Ruler for guidelines
- Blending stump for shading
The beauty of learning to draw lies in its simplicity. These basic materials are perfect for sketching fundamentals and will serve you well as you develop your artistic skills.

How to Draw a Dog Easy: Using Basic Shapes
The secret to easy dog drawing starts with breaking down complex forms into simple geometric shapes. This approach makes drawing less intimidating and more successful for beginners and children.
Foundation Shape Method:
- Head = Large Circle: This becomes your dog’s head and face area
- Body = Horizontal Oval: Position this slightly below and behind the head circle
- Connection: Draw light guidelines connecting these shapes
This basic shape technique works because it gives you proper proportions from the start. Professional artists use this same method when planning their drawings! The circle-and-oval foundation ensures your dog will look balanced and realistic, even with simple lines.
“Every great drawing starts with simple shapes. Master the basics, and you can draw anything!”
Art Education Principle
Step-by-Step Tutorial: Drawing Your First Dog

Now let’s walk through the complete process of creating your dog drawing using our simple shape method:
Step 1: Create the Foundation (30 seconds)
- Draw a medium-sized circle for the head
- Add a horizontal oval below and slightly behind for the body
- Keep lines light – you’ll darken them later
Step 2: Add Ears and Facial Features (1 minute)
- Draw two triangular ears on top of the head circle
- Add two small circles for eyes in the upper portion of the head
- Place a small triangle or heart shape for the nose in the center-lower area
Step 3: Complete the Face (1 minute)
- Draw a curved line from the nose down for the mouth
- Add a small tongue or smile for personality
- Include eyebrows or eyelashes for expression
Step 4: Build the Body Structure (2 minutes)
- Add four rectangular legs extending down from the body oval
- Draw a curved tail extending from the rear of the body
- Connect head to body with neck lines
Step 5: Final Details and Cleanup (2 minutes)
- Erase construction lines you no longer need
- Darken your final lines with pencil or marker
- Add small details like paw pads, ear texture, or collar
This step-by-step drawing approach builds confidence because each stage creates visible progress. Don’t worry about perfection – focus on following the process!
Drawing Different Dog Breeds for Beginners
Once you master the basic dog drawing technique, you can easily adapt it to create different breeds by adjusting the foundation shapes:
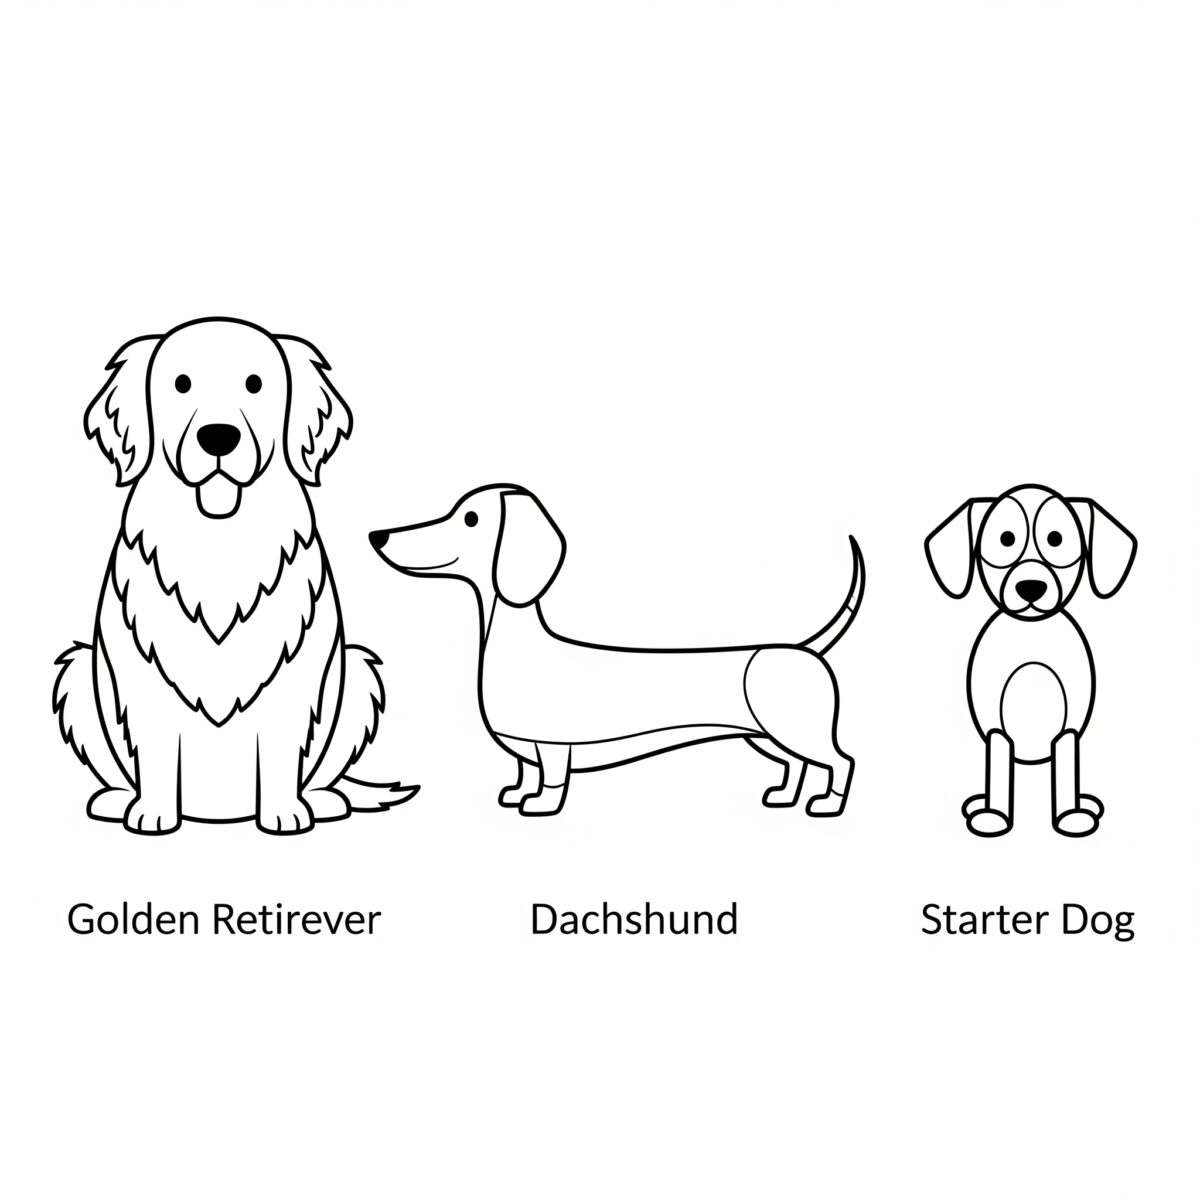
| Breed | Head Shape | Body Shape | Special Features |
|---|---|---|---|
| Golden Retriever | Large circle | Full oval | Fluffy ears, flowing tail |
| Dachshund | Medium circle | Very long oval | Short legs, elongated body |
| Beagle | Round circle | Compact oval | Droopy ears, sturdy build |
| Chihuahua | Small circle | Tiny oval | Large ears, delicate features |

Breed Adaptation Tips:
- Ear Variations: Pointy (German Shepherd), droopy (Beagle), or fluffy (Golden Retriever)
- Body Proportions: Long and low (Dachshund) or tall and lean (Greyhound)
- Tail Styles: Curled (Pug), straight (Labrador), or fluffy (Husky)
These simple modifications help you understand how basic shapes can create endless variety in your artwork. This same principle applies to other animal drawing projects too!
Adding Details: Eyes, Nose, and Facial Features
The face brings your dog drawing to life and gives it personality. Here’s how to add engaging facial features that make your dog look friendly and approachable:
Eye Techniques:

- Start with simple circles, then add smaller circles inside for pupils
- Leave a tiny white dot in each pupil for that “sparkle of life”
- Experiment with different eye shapes for various expressions
Nose and Mouth Details:
- Triangle noses work for most cartoon-style dogs
- Heart-shaped noses add cuteness factor
- A simple curved line creates a happy, panting expression
Adding Personality:
- Slightly tilted head suggests curiosity
- Hanging tongue shows playfulness
- Raised eyebrows create alertness
Remember, facial features don’t need to be realistic to be effective. Simple, expressive features often work better than complex, detailed ones, especially for beginner artists.
Common Mistakes and How to Fix Them
Every artist makes mistakes – it’s part of the learning process! Here are the most common issues beginners face when learning how to draw dogs, plus simple solutions:
Proportion Problems:

- Mistake: Head too big or too small compared to body
- Fix: Use the “head-to-body ratio rule” – dog’s body should be about 1.5 times the head size
Placement Issues:
- Mistake: Ears positioned too high or too low
- Fix: Place ears on the top third of the head circle
Leg Length Troubles:
- Mistake: Legs too short (stubby) or too long (giraffe-like)
- Fix: Dog’s legs should be about the same length as the body height
Symmetry Challenges:
- Mistake: Lopsided features or uneven ears
- Fix: Draw light guidelines to help place features evenly
These mistakes are completely normal and actually help you improve faster. Each error teaches you something new about proportions and shapes!
Fun Variations: Cartoon vs. Realistic Styles
One of the exciting aspects of dog drawing is exploring different artistic styles. You can use the same basic technique to create various looks:
Cartoon Style Benefits:
- More forgiving of proportion “mistakes”
- Allows for exaggerated features and personality
- Perfect for younger artists and creative doodling activities
- Focuses on fun rather than accuracy
Simple Realistic Approach:
- Maintains proper proportions
- Uses more natural colors and features
- Teaches observation skills
- Builds foundation for advanced techniques
Both styles start with the same circle-and-oval foundation, proving how versatile this basic method really is. Encourage experimentation – there’s no “wrong” way to express creativity!
Coloring Your Dog Drawing
Adding color brings your dog drawing to vibrant life and provides additional learning opportunities about color theory and art techniques:
Color Selection Tips:
- Realistic Colors: Browns, blacks, golds, whites for natural breeds
- Fantasy Colors: Pink, blue, purple for imaginative creations
- Mixed Media: Combine colored pencils with markers for texture
Coloring Techniques for Beginners:
- Start with light pressure and build up darker areas
- Color in the same direction for smooth appearance
- Leave some white areas for highlights and dimension
Educational Benefits: Coloring enhances the art therapy benefits of drawing while developing fine motor skills and color recognition. It’s also incredibly relaxing and meditative for both kids and adults.
Practice Tips for Kids and Beginners
Consistent practice is the key to improvement in any art form. Here are proven strategies to help young artists develop their dog drawing skills:
Daily Practice Ideas:
- Spend 10-15 minutes drawing different dog poses
- Try drawing from different angles (side view, front view, sitting, standing)
- Practice drawing the same dog breed multiple times to build muscle memory
Fun Practice Variations:
- Draw your family pet or neighborhood dogs
- Create comic strips featuring your drawn dogs
- Design greeting cards with your dog drawings
Building Confidence:
- Keep a dedicated sketchbook for dog drawing practice
- Date your drawings to track improvement over time
- Share your artwork with family and friends for encouragement
Remember, every professional artist started as a beginner. The key is enjoying the process and celebrating small improvements along the way.
Next Steps: Advancing Your Dog Drawing Skills
Once you’ve mastered basic dog drawing, you’re ready to explore more advanced techniques and expand your artistic horizons:
Skill Development Path:
- Master Basic Shapes: Perfect your circle-and-oval foundation
- Add Complexity: Include more detailed features and textures
- Explore Shading: Learn basic light and shadow techniques
- Study Real Dogs: Draw from photos or life observation
- Advanced Techniques: Experiment with different art media
Expanding Your Art Education: Consider exploring facial proportion techniques to improve your dog face drawings, or investigate other beginner-friendly art projects to build your overall artistic skills.
Creative Progression Ideas:
- Design your own dog characters for stories
- Create dog portrait gifts for pet-loving friends
- Develop a series of seasonal dog drawings
- Transition from pencil drawings to painting projects
The skills you learn drawing dogs transfer beautifully to other subjects, making this an excellent foundation for your artistic journey.
🎥 Helpful Video Resource:
Learning how to draw a dog easy opens doors to creativity, builds confidence, and provides hours of enjoyable artistic expression. This step-by-step approach using basic shapes gives kids and beginners the tools they need to create successful dog drawings from their very first attempt. Remember, every artist improves with practice, so grab your pencil, follow these simple steps, and start drawing your way to artistic success today!
Frequently Asked Questions
Q: What is the easiest way to draw a dog? A: Start with basic geometric shapes – a circle for the head and an oval for the body. This foundation method makes drawing dogs much easier and more successful for beginners.
Q: How do you draw a dog for a 5-year-old? A: Use very simple shapes, minimal details, and large, easy-to-follow steps. Focus on cartoon-style features rather than realistic details, and provide plenty of encouragement throughout the process.
Q: What dog is easiest to draw? A: Cartoon-style dogs or simple breeds like Golden Retrievers are easiest because they use basic shapes and don’t require complex proportions or detailed features.
Q: How long does it take to learn to draw a dog? A: With this step-by-step method, most beginners can draw a recognizable dog in 5-10 minutes. Mastering the technique typically takes a few practice sessions over several days.
Q: What supplies do I need to draw a dog? A: Just basic materials: plain paper, a regular pencil, and an eraser. Optional additions include colored pencils, markers, or crayons for adding color and personality.
Important Resources
Resources:
- Drawing for Beginners Basics: Your Ultimate Guide to Getting Started
- How to Draw Faces for Beginners: Basic Proportions Guide
- What Are Some Easy Things to Draw for Practice?
- Creative Doodling Ideas to Relax Your Mind and Spark Creativity
- Art for Kids Hub – Drawing Tutorials – Excellent video tutorials for children
- Drawing Now – Animal Drawing Lessons – Step-by-step animal drawing guides
- Crayola – Art & Craft Ideas – Free printable drawing templates and coloring pages

