Creating beautiful, smooth transitions with colored pencils is a skill that can transform your artwork from flat to fabulous. Learning how to blend colored pencils properly opens up a world of creative possibilities, allowing you to achieve effects that rival paintings while maintaining the control and precision pencils offer. Whether you’re a complete beginner or looking to improve your existing colored pencil techniques, this comprehensive guide will walk you through everything you need to know.
Key Points:
- Different blending methods work better for different effects
- The right paper makes a dramatic difference in blending quality
- Pressure control is crucial for creating depth and dimension
- Layering colors gradually is essential for smooth transitions
- Various tools can enhance your blending capabilities
Understanding How to Blend Colored Pencils
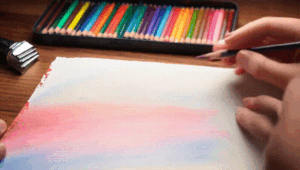
Blending colored pencils is all about creating smooth transitions between colors and eliminating visible pencil strokes. The wax or oil binders in colored pencils can be manipulated to create seamless color mixtures that bring your artwork to life. The secret lies in understanding the properties of your pencils and using techniques that work with—not against—these properties.
Unlike paints that physically mix together, colored pencil blending is achieved through layering, burnishing, and sometimes using additional tools or solvents. Each method creates different effects, giving you versatility in your artistic expression.
Essential Supplies for Successful Blending
Before diving into techniques, let’s make sure you have the right materials:
Colored Pencils:
- Wax-based pencils (like Prismacolor Premier) are softer and blend more easily
- Oil-based pencils (like Faber-Castell Polychromos) offer more control and less wax bloom
- Budget-friendly options include Arteza or Crayola colored pencils
Paper:
- Hot-pressed watercolor paper (smooth but with enough tooth)
- Bristol board (smooth surface for detailed work)
- Mixed media paper (versatile option)
- Avoid regular printer paper which doesn’t have enough texture for proper blending
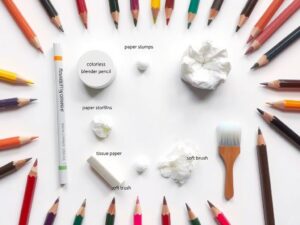
Blending Tools:
- Colorless blender pencils
- Paper stumps/tortillons
- Cotton swabs or soft tissues
- Blending markers or solvents (optional)
The quality of your paper is particularly important when learning how to blend colored pencils. A paper with some “tooth” or texture will grab the pigment better, allowing for smoother layering and blending. Too smooth, and the pencil will slide; too rough, and you’ll never achieve that polished look. Many artists who create detailed, realistic drawings with colored pencils prefer hot-pressed watercolor paper for its ideal surface.

Dry Blending Techniques
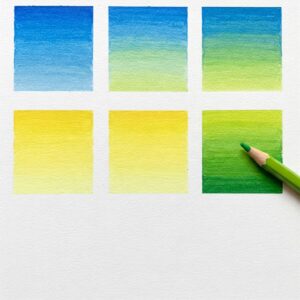
1. Layering Method
Layering is the foundation of colored pencil blending and requires no additional tools:
- Start with a light touch, applying thin layers of color
- Gradually build up layers, alternating between the colors you want to blend
- Work in small circular motions or use consistent directional strokes
- Continue adding layers until the transition appears smooth
The layering technique works well for creating subtle gradients and is perfect for beginners. Remember that patience is key—rushing through with heavy pressure will create a waxy buildup that actually prevents further blending.
2. Burnishing Technique
Burnishing involves applying heavy pressure with colored pencils to create a smooth, polished look:
- Build up light to medium layers of color first
- Once you have sufficient color, use firm pressure with a lighter colored pencil over the area
- For the smoothest finish, use a colorless blender pencil to burnish
- Apply pressure until the surface becomes shiny and the paper texture disappears
Burnishing creates a rich, saturated appearance but can only be done as a final step since it compresses the paper fibers, making it difficult to add more layers afterward.
 How varying pressure affects colored pencil blending and coverage
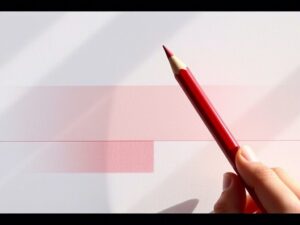
3. Pressure Control
Learning to control pressure is essential for successful blending:
- Very light pressure (barely touching the paper) for initial layers and highlights
- Medium pressure for building color intensity
- Heavy pressure for burnishing and creating saturated areas
Many beginning artists press too hard too soon. Start with whisper-light strokes and gradually increase pressure as you build layers. This approach gives you more control and produces smoother transitions.
According to a study published in the Journal of Art Education, students who practiced pressure control exercises improved their colored pencil blending skills by 40% compared to those who didn’t focus on this technique.
Solvent Blending Techniques
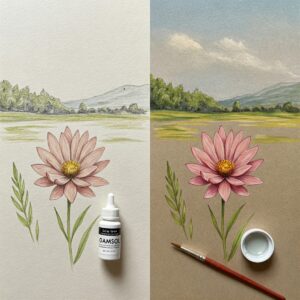
For those looking to achieve paint-like effects with colored pencils, solvents can be a game-changer:
1. Basic Solvent Blending
- Apply colored pencil to your paper as usual, creating areas of color
- Dip a brush in your chosen solvent (odorless mineral spirits, rubbing alcohol, or baby oil)
- Lightly brush the solvent over your colored pencil work
- Allow to dry completely before adding more layers
Solvents work by breaking down the wax or oil binder in the pencils, allowing the pigments to spread and blend. This technique creates a watercolor-like effect that’s impossible to achieve with dry blending alone.
“Learning how to blend colored pencils with solvents opened up a whole new dimension in my artwork. It combines the precision of drawing with the flowing quality of painting.
Professional Colored Pencil Artist
2. Solvent Pen Method
For more controlled solvent application:
- Use a blender pen (like Prismacolor Colorless Blender) or a refillable brush pen filled with solvent
- Apply the pen directly to colored pencil areas you want to blend
- Work quickly as the solvent evaporates
- Create interesting effects by only blending portions of your artwork
This method is perfect for detailed work where precision is important. Many artists prefer this over brush application when working on smaller pieces or intricate details.
Solvent blending works particularly well for creating atmospheric effects in landscapes or softening transitions in portrait drawings. Just be sure to work in a well-ventilated area if using mineral spirits or rubbing alcohol.
Advanced Blending Methods
1. Multi-Layer Color Mixing
To create rich, complex colors:
- Identify the colors you want to blend
- Plan your layering order (typically lightest to darkest)
- Apply 3-7 thin layers of different colors
- Vary pressure slightly with each layer
- Finish with a unifying layer or burnishing technique
This approach creates vibrant, nuanced colors that cannot be achieved with a single pencil. For example, a rich purple shadow might contain layers of blue, red, brown, and even a touch of green.
2. Textural Blending
Create interesting texture while blending:
- Apply base colors as usual
- Place textured material (mesh, fabric, etc.) over your work
- Use a colorless blender or light-colored pencil over the texture
- Remove the material to reveal the textural pattern
- Continue blending around the texture as desired
This technique is excellent for creating the appearance of fabric, foliage, or other textured surfaces. It adds dimension to your artwork while maintaining smooth color transitions in key areas.
Troubleshooting Common Blending Problems
Even experienced artists encounter challenges when blending colored pencils. Here are solutions to common issues:
| Problem | Cause | Solution |
|---|---|---|
| Wax bloom (cloudy appearance) | Wax binder rising to surface | Wipe gently with soft cloth; apply fixative when finished |
| Paper becoming too smooth | Overworking/burnishing too early | Switch to new area; use workable fixative between layers |
| Muddy colors | Too many layers or complementary colors mixing | Plan color combinations; simplify layering; use clean blending tools |
| Visible pencil strokes | Inconsistent pressure or direction | Use circular motions; maintain consistent stroke direction |
| Patchy blending | Uneven application or wrong paper | Build up more layers gradually; try different paper |
Understanding the science behind colored pencil behavior can help you avoid many of these issues. The binders in colored pencils respond to pressure, heat (from your hand), and the texture of your paper. Working with these properties rather than against them will improve your blending results.
Projects to Practice Your Blending Skills
Start with these exercises to build your colored pencil blending confidence:
- Color wheel blending – Create a color wheel with smooth transitions between primary and secondary colors
- Simple gradient practice – Draw rectangles with gradients from light to dark using a single color
- Two-color blends – Practice blending complementary colors (blue/orange, red/green, etc.)
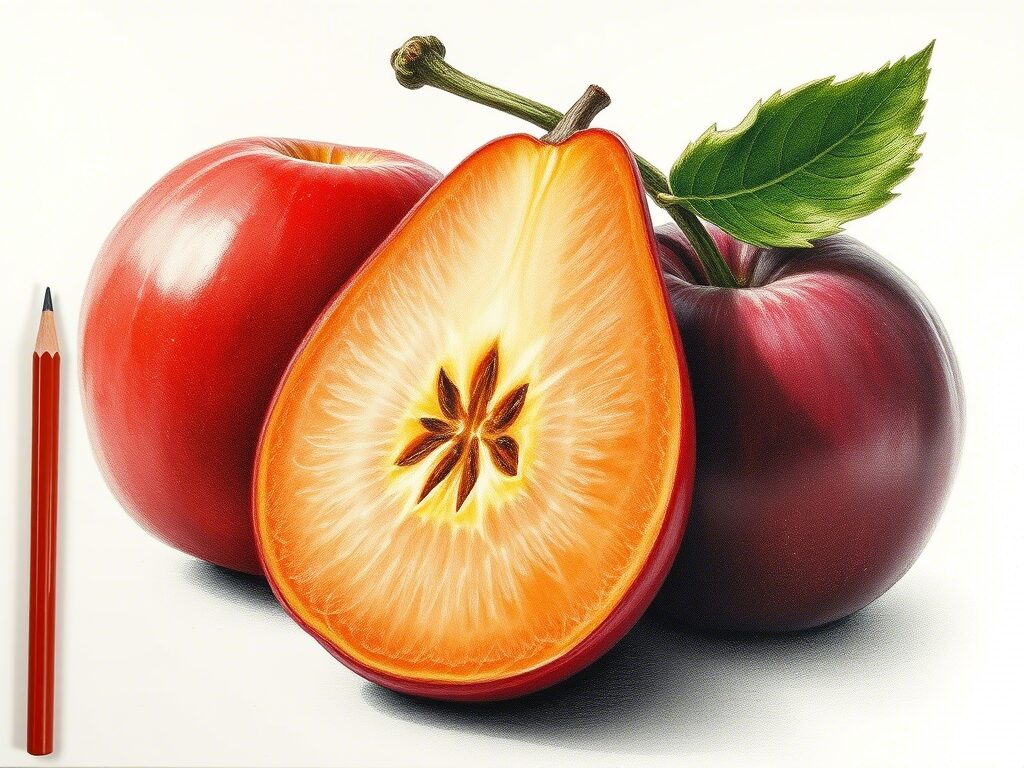
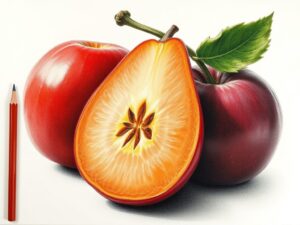
- Simple still life – Draw an apple or sphere, focusing on smooth transitions in shading
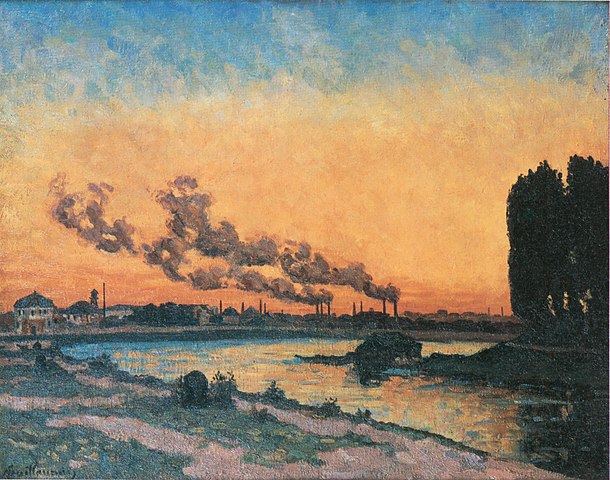
- Sky and cloud study – Practice soft blending for atmospheric effects
Each of these projects focuses on different aspects of how to blend colored pencils, helping you develop the specific skills needed for more complex artwork. The rule of thirds applies to colored pencil compositions just as it does to other art forms, so keep this in mind as you design your practice pieces.
Final Tips for Beautiful Blended Artwork
- Keep your pencils sharp for precision but not so sharp they tear the paper
- Work from light to dark and build up colors gradually
- Rest your hand on a clean sheet of paper to prevent smudging
- Take breaks to rest your hand and evaluate your progress
- Experiment with different papers to find your preference
- Use fixative to prevent wax bloom on finished pieces
- Clean blending tools between colors to prevent contamination
Remember that mastering how to blend colored pencils takes practice. Don’t be discouraged if your first attempts don’t look like the professional examples you admire. Each drawing is an opportunity to improve your technique.
By understanding and practicing the various methods of blending colored pencils, you’ll develop a valuable skill that can elevate your artwork to new levels. Whether you prefer the control of dry blending or the fluidity of solvent techniques, the smooth transitions you can achieve will give your colored pencil work depth, dimension, and professional polish.
FAQ: Common Questions About Blending Colored Pencils
What are the best colored pencils for blending?
Wax-based pencils like Prismacolor Premier are generally considered the easiest to blend due to their softer lead. However, oil-based pencils like Faber-Castell Polychromos offer excellent blending with less wax bloom. For beginners, Prismacolor offers the quickest success with blending techniques.
Can I blend colored pencils without special tools?
Absolutely! The layering technique requires only your pencils and paper. While special tools like blending stumps and colorless blenders enhance your options, many artists create beautifully blended work using just their pencils and varying pressure.
What paper is best for blending colored pencils?
Hot-pressed watercolor paper and bristol board are excellent choices. Look for paper with some tooth (texture) but not too rough. The right paper will grab enough pigment while allowing smooth layering. Avoid regular sketch paper or printer paper for serious colored pencil work.
How do I fix mistakes in colored pencil blending?
For minor mistakes, try using a kneaded eraser to gently lift some pigment. For larger issues, a colorless blender can sometimes help even out problematic areas. As a last resort, you can carefully use a craft knife to scrape away small areas, but this may damage the paper.
Which blending technique is best for realistic drawings?
A combination of techniques typically produces the most realistic results. Start with layering for building color, use burnishing for areas needing saturation, and consider solvent blending for very smooth transitions in key focal areas of your drawing.

