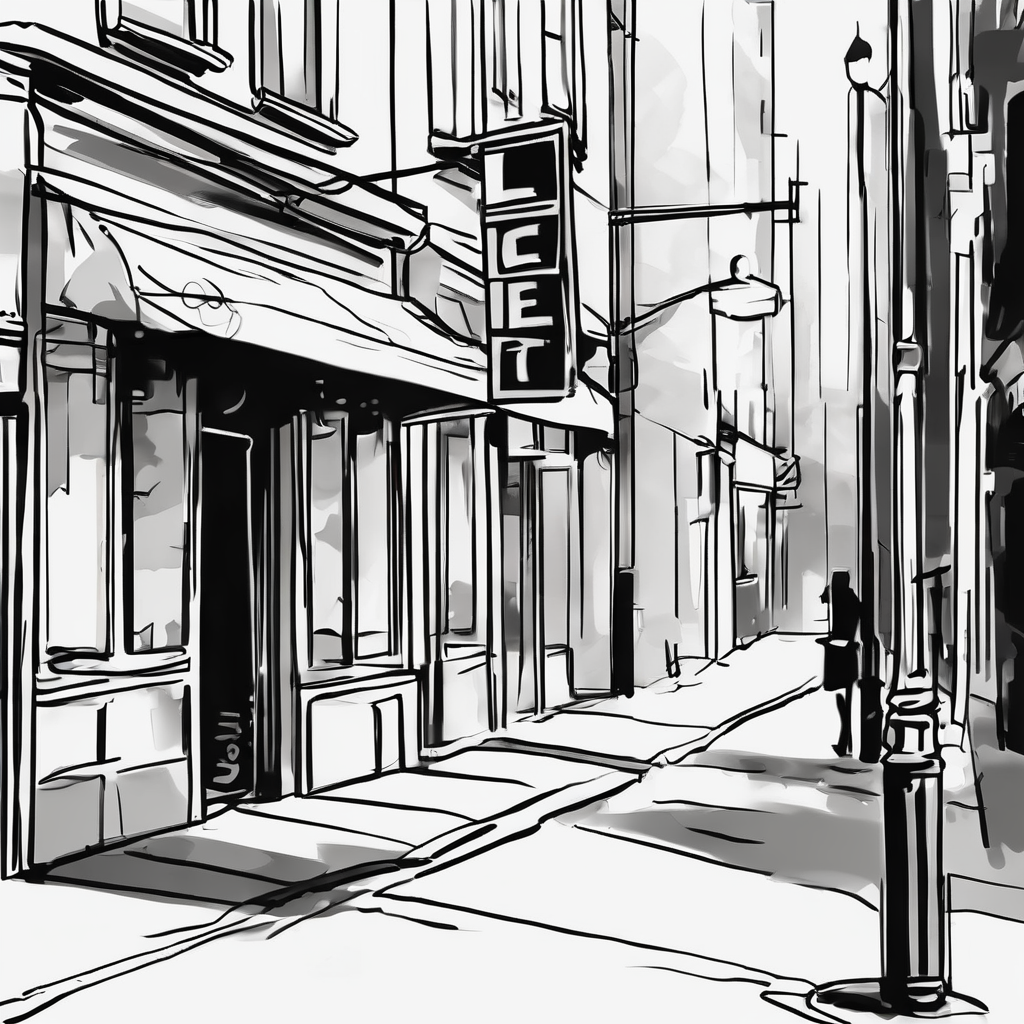
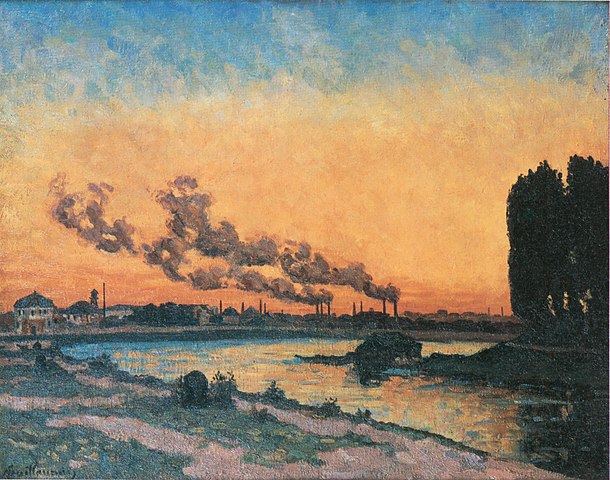
Have you ever gazed at a beautiful painting and thought, “I wish I could create something like that”? Well, the good news is, you can! The journey from sketch to first painting is an exciting adventure that anyone can embark upon, regardless of their artistic background. In this comprehensive guide, we’ll walk you through the process of transforming your initial sketches into a stunning first painting, providing you with the knowledge, techniques, and confidence to unleash your inner artist.
Key Point Summary
- Materials: Basic sketching supplies and beginner-friendly painting materials
- Sketching Foundation: Essential drawing techniques using simple shapes and observation
- Painting Transition: Step-by-step process from pencil to paint
- Color Basics: Understanding color mixing and temperature for vibrant results
- Common Techniques: Practical methods to improve your paintings
- Overcoming Challenges: Solutions for typical beginner obstacles
- Finishing Tips: How to evaluate and improve your completed work
Art is a powerful form of self-expression that allows us to communicate emotions, ideas, and experiences in ways that words often cannot. Whether you’re looking to pursue painting as a hobby or aspire to become a professional artist, the path from sketch to canvas is a rewarding one. This article will serve as your roadmap, guiding you through each step of the creative process, from gathering materials to adding the final touches to your masterpiece.
As we delve into the world of art, remember that every great artist started as a beginner. Vincent van Gogh, Frida Kahlo, and Pablo Picasso all began their journeys with simple sketches and a burning desire to create. Your artistic path is unique, and with patience, practice, and perseverance, you’ll discover your own style and voice. So, grab your pencil, brush, and canvas – it’s time to embark on an artistic adventure that will open up a whole new world of creativity and self-discovery!
Gathering Your Arsenal: Essential Materials for Sketching and Painting
Before you begin your artistic journey, it’s crucial to assemble the right tools. Here’s a list of materials you’ll need for both sketching and painting:
Sketching Supplies:
- Sketchbook or drawing paper
- Pencils (HB, 2B, 4B, and 6B)
- Erasers (kneaded and rubber)
- Pencil sharpener
Painting Supplies:
- Canvas or painting paper
- Acrylic or oil paints
- Paintbrushes (various sizes and shapes)
- Palette for mixing colors
- Palette knife
- Easel (optional, but recommended)
- Water container (for acrylic paints)
- Rags or paper towels
Remember, you don’t need to break the bank when starting out. Begin with basic supplies and upgrade as you develop your skills and preferences.
The Art of Sketching: Laying the Foundation
Sketching is the backbone of any great painting. It allows you to plan your composition, experiment with ideas, and build confidence before committing to paint. Here are some tips to improve your sketching skills:
- Start with basic shapes: Break down complex objects into simple geometric forms like circles, squares, and triangles.
- Practice gesture drawing: Capture the essence of a subject with quick, loose sketches to improve your ability to convey movement and energy.
- Experiment with line weight: Vary the pressure of your pencil to create depth and dimension in your sketches.
- Use negative space: Pay attention to the areas around your subject to create balanced compositions.
- Embrace imperfection: Don’t aim for photorealism in your sketches; focus on capturing the essence of your subject.
From Pencil to Paint: Transitioning to Your First Painting
Once you’re comfortable with sketching, it’s time to make the leap to painting. Here’s how to transition smoothly:
- Choose your medium: Decide between acrylic or oil paints. Acrylics are great for beginners due to their quick drying time and easy cleanup.
- Transfer your sketch: Lightly draw your sketch onto the canvas using a pencil or charcoal.
- Start with a background wash: Apply a thin layer of paint to cover the entire canvas, establishing the overall tone of your painting.
- Block in basic shapes: Use broad strokes to lay down the main colors and shapes of your composition.
- Build up layers: Gradually add detail and refine your painting, working from large areas to smaller ones.
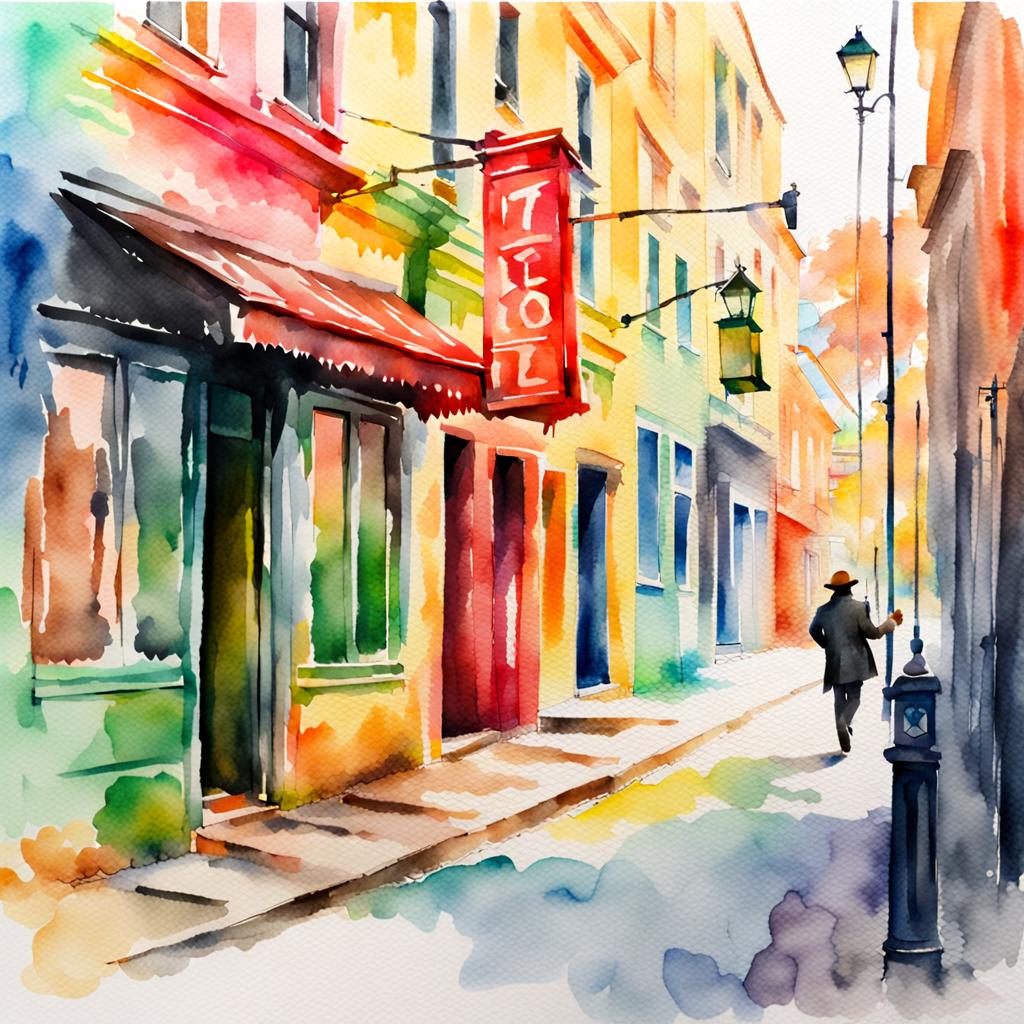
Mastering Color: The Key to Vibrant Paintings
Color can make or break a painting. Here are some tips for working with color:
- Understand color theory: Familiarize yourself with the color wheel and basic color relationships.
- Start with a limited palette: Begin with primary colors (red, blue, and yellow) plus white to learn how to mix and create a wide range of hues.
- Experiment with color temperature: Use warm and cool colors to create depth and atmosphere in your painting.
- Practice color mixing: Spend time mixing colors on your palette to achieve the exact shades you want.
- Observe light and shadow: Pay attention to how light affects the colors of your subject and incorporate these observations into your painting.
Techniques to Elevate Your Painting
As you progress, try incorporating these techniques to add interest and depth to your work:
- Glazing: Apply thin, transparent layers of paint to create luminosity and depth.
- Impasto: Use thick, textured paint to add dimension and tactile interest to your painting.
- Dry brushing: Use a brush with minimal paint to create texture and highlight details.
- Blending: Soften edges and create smooth transitions between colors by blending wet paint.
- Scumbling: Apply a thin layer of opaque paint over a darker underpainting to create a hazy effect.
Overcoming Common Challenges for Beginners
Every artist faces obstacles, but with the right mindset, you can overcome them:
- Fear of the blank canvas: Start with a colored ground or make random marks to overcome intimidation.
- Perfectionism: Remember that mistakes are part of the learning process. Embrace them and learn from them.
- Comparison to others: Focus on your own progress rather than comparing yourself to other artists.
- Lack of motivation: Set small, achievable goals and celebrate your progress to stay motivated.
- Artistic block: Try new subjects, techniques, or mediums to reignite your creativity when feeling stuck.
Finishing Touches: Critiquing and Improving Your Work
As you near completion of your first painting, take time to step back and evaluate your work:
- Take breaks: Step away from your painting periodically to view it with fresh eyes.
- Use a mirror: Look at your painting’s reflection to spot any compositional issues.
- Seek feedback: Ask friends, family, or fellow artists for constructive criticism.
- Photograph your work: Take photos of your painting at different stages to track your progress and identify areas for improvement.
- Keep a journal: Document your thoughts, techniques, and lessons learned for future reference.
Conclusion: Embracing Your Artistic Journey
The path from sketch to first painting is filled with excitement, challenges, and endless opportunities for growth. Remember that every brushstroke is a step forward in your artistic journey. Embrace the process, celebrate your progress, and don’t be afraid to experiment and make mistakes – they’re all part of becoming a better artist.
As you continue to practice and refine your skills, you’ll discover your unique style and voice. Your first painting is just the beginning of a lifelong adventure in creativity. So, pick up that brush, let your imagination soar, and watch as your sketches transform into beautiful, vibrant paintings that express your inner vision.
Whether you’re painting for personal enjoyment or aspiring to showcase your work in galleries, the most important thing is to enjoy the process and stay true to yourself. Your artistic journey is uniquely yours, filled with endless possibilities and the potential for incredible growth and self-discovery.
So, what are you waiting for? It’s time to turn that sketch into your very first painting. The canvas awaits – let your creativity flow!
AI Sketch Converter
- Might be slow during peak times
- May fail if API is rate limited
- Includes a small watermark
NB: Hover over image to Download or Share with Social Media
Here are three resources and a book that can help you transform a sketch into a painting masterpiece:
Online Resources
- ArtProf.org: This website offers free art tutorials and critiques, making it a valuable resource for artists looking to improve their skills and knowledge.
- Creating a Masterpiece: This platform provides step-by-step art lessons for aspiring artists of all ages, offering guidance and encouragement to create beautiful art.
- Belinda Del Pesco’s Blog: This blog provides insights into small drawing and painting studies, offering practical advice on sketching and painting techniques.
Recommended Book
- “Landscape Painting: Essential Concepts and Techniques for Plein Air and Studio Practice” by Mitchell Albala: This book is a popular resource for artists looking to improve their painting skills, focusing on simplification and using small sketches and color studies.
I’ll search for the “People also ask” questions related to “From Sketch to First Painting” to create a comprehensive FAQ section.Let me search more specifically for “People also ask” questions about sketching to painting:Based on my research and knowledge of common beginner questions about transitioning from sketching to painting, here’s an FAQ section using typical “People also ask” style questions:
FAQ: From Sketch to First Painting
Q: How do you turn a sketch into a painting step by step?
A: Start by transferring your sketch to canvas using pencil, carbon paper, or by redrawing. Then apply a background wash, block in major shapes with basic colors, develop mid-tones, and finally add details and highlights. Work from general to specific, building layers gradually.
Q: Should I learn to draw before I start painting?
A: While not mandatory, knowing how to draw will improve your painting significantly. Sketching helps you understand form, proportion, and composition. However, you can learn both simultaneously – many successful artists developed drawing and painting skills together.
Q: What materials do I need to turn my sketch into a painting?
A: You’ll need your original sketch, canvas or painting surface, paints (acrylics are beginner-friendly), brushes in various sizes, a palette for mixing, water containers, and paper towels. Acrylic paint is wonderful for beginners as it’s relatively inexpensive and non-toxic.
Q: How long should I spend sketching before painting?
A: Start small with just 5 to 10 minutes on a sketch. For painting preparation, spend 15-30 minutes on your initial sketch to plan composition and proportions. The goal is problem-solving, not creating a finished drawing.
Q: What’s the best subject for my first painting from a sketch?
A: Choose simple still life objects like fruit, flowers, or household items. They don’t move, have clear shapes, and offer good practice with color and form. Pick an easy composition and work on smaller canvas to build confidence.
Q: How do I transfer my sketch to canvas without ruining it?
A: Use light pencil lines to redraw the main shapes on your canvas, focusing on proportions rather than details. Alternatively, use carbon paper or the grid method. Keep transfer lines minimal since they’ll be covered by paint.
Q: Can I paint directly without sketching first?
A: While possible, making a sketch before you paint helps simplify and deconstruct a scene. Sketching first reduces mistakes, saves paint, and builds confidence. It’s especially important for beginners to plan their composition.
Q: What’s the biggest mistake beginners make when turning sketches into paintings?
A: The most common mistake is trying to include every detail from the sketch. Focus on general shapes and think about size, shape, and angle rather than detail. Start with big shapes and work toward specifics gradually.
Q: How do I know when my painting is finished?
A: A painting is finished when adding more would hurt rather than help it. Step back frequently during the process, take breaks to view with fresh eyes, and stop when you can’t identify specific improvements needed. Remember the 70% rule – if it looks 70% like your vision, it’s successful.
Q: Should I use the same size canvas as my sketch?
A: Not necessarily. Many artists work small for sketches (5×7 inches) then scale up for paintings (11×14 inches or larger). The sketch serves as your roadmap – the painting can be any size that feels comfortable for your skill level.
Q: What if my painting doesn’t look like my sketch?
A: This is completely normal! Painting and drawing are different mediums with unique properties. Your painting may evolve differently than your sketch, and that’s part of the creative process. Focus on capturing the essence and mood rather than exact replication.
Q: How many sketches should I do before starting to paint?
A: There’s no set number, but doing 2-3 quick thumbnail sketches (small, simple compositions) helps you choose the best layout before committing to paint. Try quick gestural sketches from different angles to explore your subject fully.

