How to Paint with Alcohol Inks: A Beginner’s Guide to Vibrant Art
6 minutes of reading
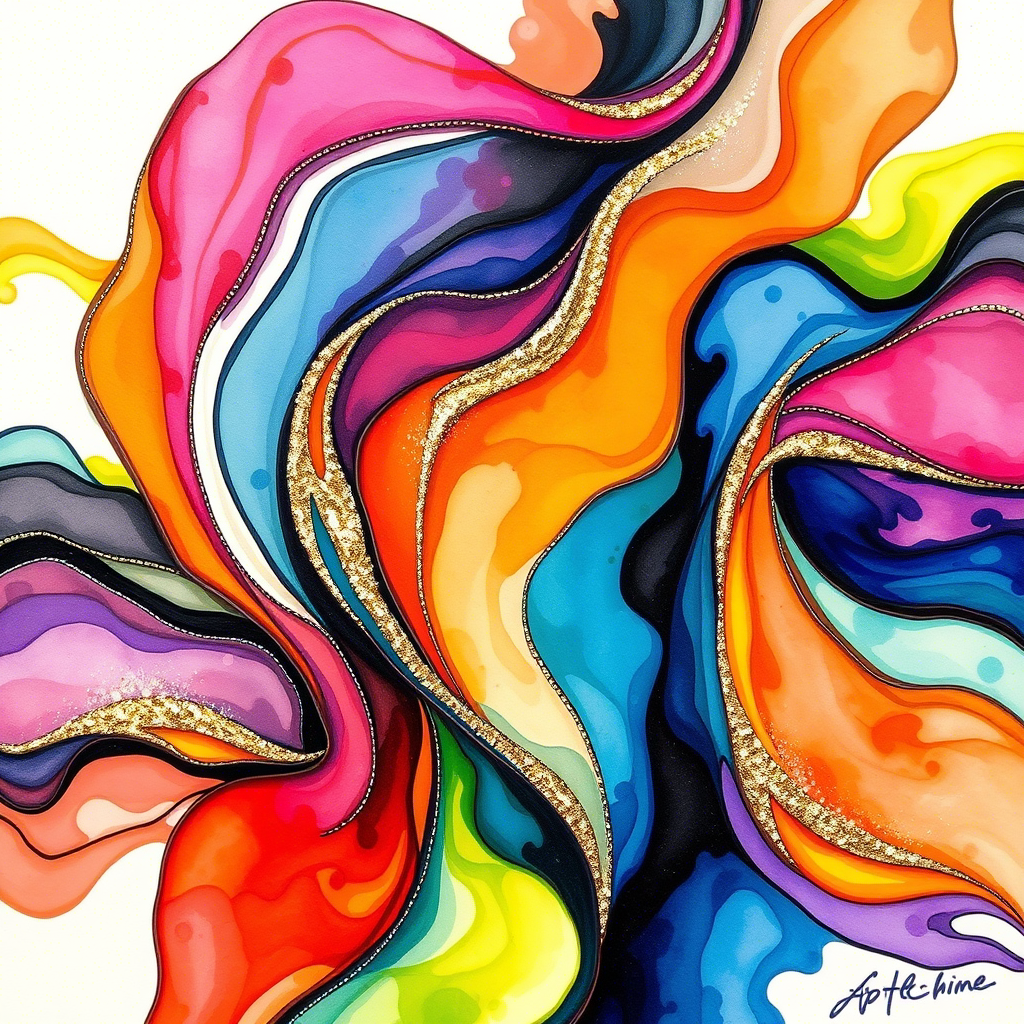
Have you ever seen artwork that looks like it’s glowing from within, bursting with color and energy? That’s the magic of alcohol inks! These vibrant, dye-based inks create stunning, fluid designs on non-porous surfaces like Yupo paper, ceramic, or glass. If you’re a beginner looking to dive into a new painting medium that’s both forgiving and fun, alcohol inks are the perfect starting point. They’re quick-drying, easy to blend, and require minimal supplies – making them ideal for artists who want bold results without years of practice.
In this guide, we’ll walk you through everything you need to know to start painting with alcohol inks. From gathering supplies to creating your first masterpiece, you’ll be amazed at how simple it is to unlock your creativity with this trendy medium.
Key Point Summary
What Are Alcohol Inks?: Vibrant, dye-based inks used on non-porous surfaces for fluid, colorful art.
Supplies Needed: Essential tools include alcohol inks, rubbing alcohol, Yupo paper, and droppers.
Step-by-Step Tutorial: Learn to create a simple abstract background with blending techniques.
Creative Tips: Enhance your art with metallic inks or mixed media.
Troubleshooting: Fix common mistakes like over-saturation or muddy colors.
Why It’s Beginner-Friendly: Quick results, forgiving medium, and affordable supplies.
What Are Alcohol Inks?
Alcohol inks are highly pigmented, fast-drying inks that create vivid, flowing designs. Unlike traditional paints, they’re alcohol-based, which means they spread and blend effortlessly when mixed with rubbing alcohol. This creates mesmerizing, unpredictable patterns that make each piece of art unique.
Why are they perfect for beginners?
Quick Results: No waiting for layers to dry—alcohol inks dry almost instantly.
Forgiving: Mistakes can be corrected by adding more ink or alcohol.
Vibrant Colors: Even a few drops create bold, eye-catching effects.
If you’ve ever felt intimidated by watercolor or acrylics, alcohol inks offer a refreshing, low-pressure way to explore your artistic side. Plus, they’re trending in 2025 for their versatility in everything from abstract art to DIY crafts.
Supplies You’ll Need for Alcohol Ink Painting
Before you start, gather these essential supplies. Don’t worry—alcohol ink painting is budget-friendly, and you can find most items at your local craft store or online. For more tips on choosing affordable art tools, check out our guide on Affordable Art Supplies.
Essential Supplies
Item
Purpose
Budget Option
Alcohol Inks
The main medium for painting
Ranger or store-brand inks
Rubbing Alcohol
Blends and manipulates the inks
91% isopropyl alcohol
Yupo Paper
Non-porous surface for inks
Synthetic paper pads
Droppers or Brushes
Apply inks and alcohol
Plastic pipettes or small brushes
Blending Solution
Optional for smoother blending
Ranger Blending Solution
Tips for Choosing Supplies
Inks: Start with a small set of primary colors (red, blue, yellow) and a few metallics for flair.
Paper: Yupo paper is ideal, but you can experiment with ceramic tiles or glass for unique projects.
Alcohol: Higher concentrations (90%+) work best for blending.
Pro Tip: If you’re unsure about investing in a full set, try a beginner’s kit that includes inks, paper, and tools.
Step-by-Step Tutorial: Create a Simple Abstract Background
Ready to create your first alcohol ink masterpiece? Let’s start with a simple abstract background—perfect for beginners. This project will teach you the basics of blending and layering colors.
Materials Needed
3–4 alcohol ink colors (e.g., blue, purple, pink)
Rubbing alcohol
Yupo paper (5×7 inches)
Dropper or brush
Straw (optional for blowing ink)
Steps
Prepare Your Workspace: Cover your surface with a plastic sheet or old newspaper—alcohol inks can stain!
Add Base Colors: Using a dropper, place a few drops of your first color (e.g., blue) onto the Yupo paper. Let it spread naturally.
Blend with Alcohol: Add a few drops of rubbing alcohol around the ink to make it flow and create soft edges.
Layer More Colors: Add drops of your second color (e.g., purple) near the first. Use alcohol to blend where they meet.
Create Movement: Tilt the paper to guide the ink, or use a straw to blow it in different directions for organic shapes.
Add Details: Once dry (in seconds!), add small drops of a third color (e.g., pink) for contrast.
Let It Dry: Alcohol inks dry quickly, so your artwork will be ready in minutes.
Pro Tip: Don’t overthink it—alcohol inks are all about embracing the unexpected!
Creative Tips to Elevate Your Alcohol Ink Art
Once you’ve mastered the basics, it’s time to get creative! Here are a few techniques to take your alcohol ink paintings to the next level.
1. Add Metallic Accents
Metallic alcohol inks (like gold or silver) add a luxurious touch. Apply them sparingly for highlights or mix with other colors for a shimmering effect.
2. Use Stencils
Place a stencil over your dried ink painting and dab rubbing alcohol through it to lift color and create patterns.
3. Combine with Pens
Once your ink is dry, use fine-tipped pens to add details like outlines or doodles. This works beautifully for mixed media projects.
4. Experiment with Surfaces
Try painting on ceramic coasters, glass ornaments, or even phone cases for functional art.
“Alcohol inks are like a dance—you guide them, but they have a mind of their own. That’s the beauty of it.” Sarah James, Mixed Media Artist
Troubleshooting Common Alcohol Ink Mistakes
Even pros make mistakes, but with alcohol inks, most issues are easy to fix. Here are solutions to common beginner problems.
1. Over-Saturation (Too Much Ink)
Problem: Colors look muddy or overly dark.
Fix: Add rubbing alcohol to dilute the ink and lighten the area.
2. Uneven Blending
Problem: Harsh lines between colors.
Fix: Use a brush dipped in alcohol to soften the edges.
3. Ink Not Spreading
Problem: Ink stays in one spot.
Fix: Add more alcohol or tilt the paper to encourage movement.
4. Colors Bleeding Too Much
Problem: Colors mix too quickly, losing definition.
Fix: Work in smaller sections or let layers dry before adding more ink.
For more troubleshooting tips, watch this tutorial on alcohol ink techniques.
Pro Tip: Mistakes are part of the process—embrace them as happy accidents!
Why Alcohol Inks Are Perfect for Beginners (+ Tips to Get Started)
Alcohol inks are a fantastic entry point for new artists. Here’s why:
Quick Gratification: See results in minutes, not hours.
Affordable: Basic supplies cost less than $50.
No Experience Needed: The inks do most of the work for you.
Tips for Success
From beginner to expert!
Start Small: Use small paper (5×7 inches) to experiment without wasting materials.
Watch Tutorials: YouTube is full of beginner-friendly videos—check out this playlist.
Join a Community: Connect with other alcohol ink artists on social media for inspiration and advice.
If you’re looking for more beginner-friendly projects, try our guide on Fix Watercolor Mistakes: Turn Oops into Masterpieces!.
Dive Into the World of Alcohol Inks
Alcohol ink painting is like a playground for your creativity—vibrant, unpredictable, and endlessly fun. Whether you’re creating abstract backgrounds, experimenting with mixed media, or just playing with color, this medium offers a low-pressure way to express yourself. Plus, it’s perfect for beginners who want stunning results without the steep learning curve.
So, grab your inks, a sheet of Yupo paper, and let the colors flow. You’ll be amazed at what you can create? Ready for more? Explore other beginner tutorials, like How to Paint Like Van Gogh: Beginner Tips.
Olly Farmer M.Sc, B.Sc, PGCE
25 years experience of Watercolor Painting and AI Art; teacher for 13 years; Creator of Art Tools;
Art Gallery
Contributor of Art Articles to Medium.com, LinkedIn and Facebook
We use cookies to ensure that we give you the best experience on our website. If you continue to use this site we will assume that you are happy with it.