Have you ever looked at a beautiful drawing of a city street and wondered how the artist made it look so real, with buildings receding convincingly into the distance? The secret is perspective. Mastering perspective is a fundamental skill that adds depth, space, and a sense of realism to your drawings, turning a flat page into a three-dimensional world.
As a beginner, perspective can seem daunting, but it’s actually a set of simple, logical rules that anyone can learn. This post will demystify the core concepts of one-point and two-point perspective. Even better, we’ll use a handy interactive web tool to help you visualize and understand these principles in real-time. Forget complex theory—let’s dive in and start creating worlds with depth!

What is Perspective? The Basics of Making Your Drawings Pop
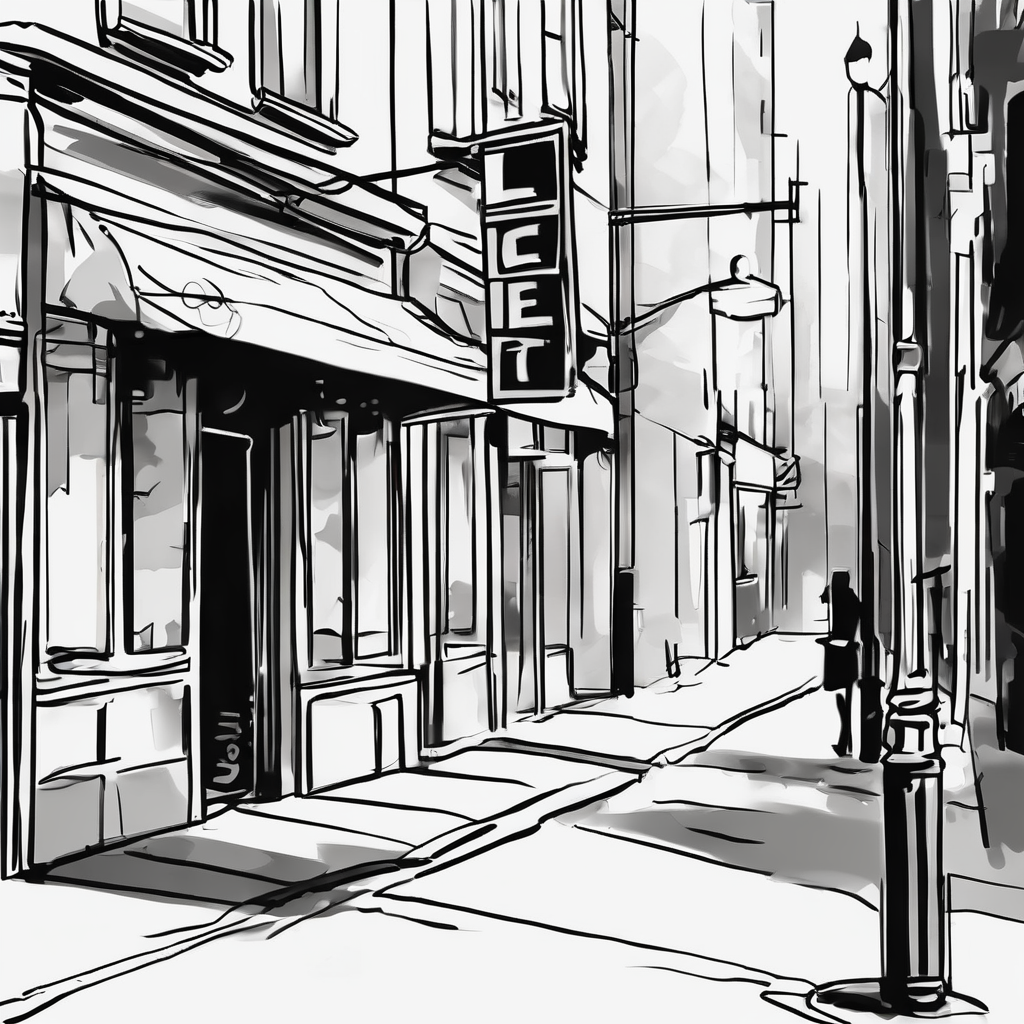
At its heart, perspective is the art of representing three-dimensional objects on a two-dimensional surface. It’s all about creating an illusion. Think of a photograph: objects that are closer appear larger, and as they get farther away, they seem to shrink and converge toward a single point. That’s the essence of what we’re trying to replicate by hand.
Every perspective drawing relies on a few key concepts:

- The Horizon Line: This is the line where the sky meets the ground. It’s not just a line for landscapes; in any drawing, it represents the viewer’s eye level. If you’re looking down from a high balcony, the horizon line will be higher up in your drawing. If you’re lying on the ground, it will be very low. The horizon line is the anchor for your entire perspective setup.
- Vanishing Point(s): These are the imaginary points on the horizon line where parallel lines appear to meet and vanish. For example, if you stand on a straight road and look forward, the parallel edges of the road and the telephone poles will seem to meet at a single point in the distance. That point is a vanishing point. The number of vanishing points you use determines the type of perspective you’re drawing.
- Orthogonal Lines: These are the lines that recede into the distance and converge at a vanishing point. They’re the “guidelines” that give your drawing its sense of depth. Think of the edges of a building or a railway track.
- Transversal Lines: These are the lines that run perpendicular to the orthogonal lines and are parallel to the horizon line. In a perspective grid, they create the illusion of equal spacing, even as the objects get smaller and farther away.
The tool on this page is a great way to see these concepts in action. You can see the orthogonal lines and how they interact with the vanishing point, helping you to build a solid mental model before you even put pencil to paper.
One-Point Perspective: A Simple Starting Point
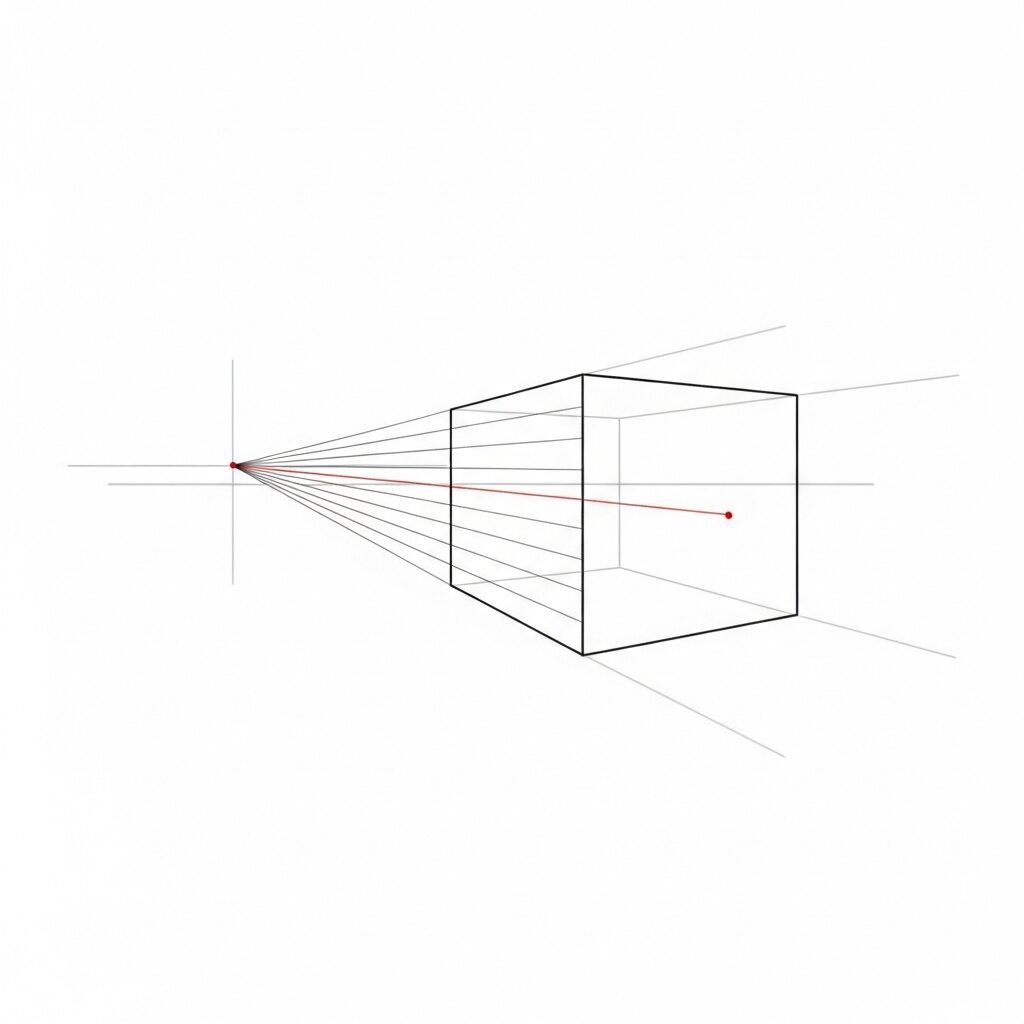
One-point perspective is the easiest type of perspective to master and is perfect for beginners. It’s used when you’re looking directly at the front of an object, like a straight hallway, a railroad track, or a box sitting squarely in front of you. It uses just one vanishing point on the horizon line.
To get started, switch the “Grid Type” on the tool to One Point.
Perspective Grid Generator
Click and drag to move the focal point.
Notice the single red dot in the center of the canvas. That’s your vanishing point. All the receding lines, the orthogonal lines, are heading directly to that point. The horizontal and vertical lines on the canvas are your transversal lines, which remain parallel to the canvas edges.
Now, take your mouse or finger and click and drag the red dot. See how all the lines immediately snap to the new position of the vanishing point? This simple interaction shows you a fundamental rule of one-point perspective: all depth is dictated by a single, central vanishing point. You can move this point anywhere on the horizon line, but it’s most often used in the center for a symmetrical, head-on view.
A Quick Exercise: Let’s imagine we’re drawing a simple rectangular prism.
- Start by drawing the flat front face of the box. This is a simple rectangle that’s completely flat and has no perspective.
- Next, draw a line from each corner of your rectangle to the vanishing point on the tool. These are your orthogonal lines. They define how the sides of the box will recede into the distance.
- Finally, draw a new rectangle behind the first one, making sure its horizontal and vertical lines are parallel to the edges of your original rectangle. The corners of this new rectangle should sit on the orthogonal lines you just drew. This second rectangle is the back of your box!
By simply following the lines on the tool, you’ve created a convincing 3D shape. One-point perspective is incredibly useful for drawing interiors, roads, and objects seen from the front.
Two-Point Perspective: Turning a Corner

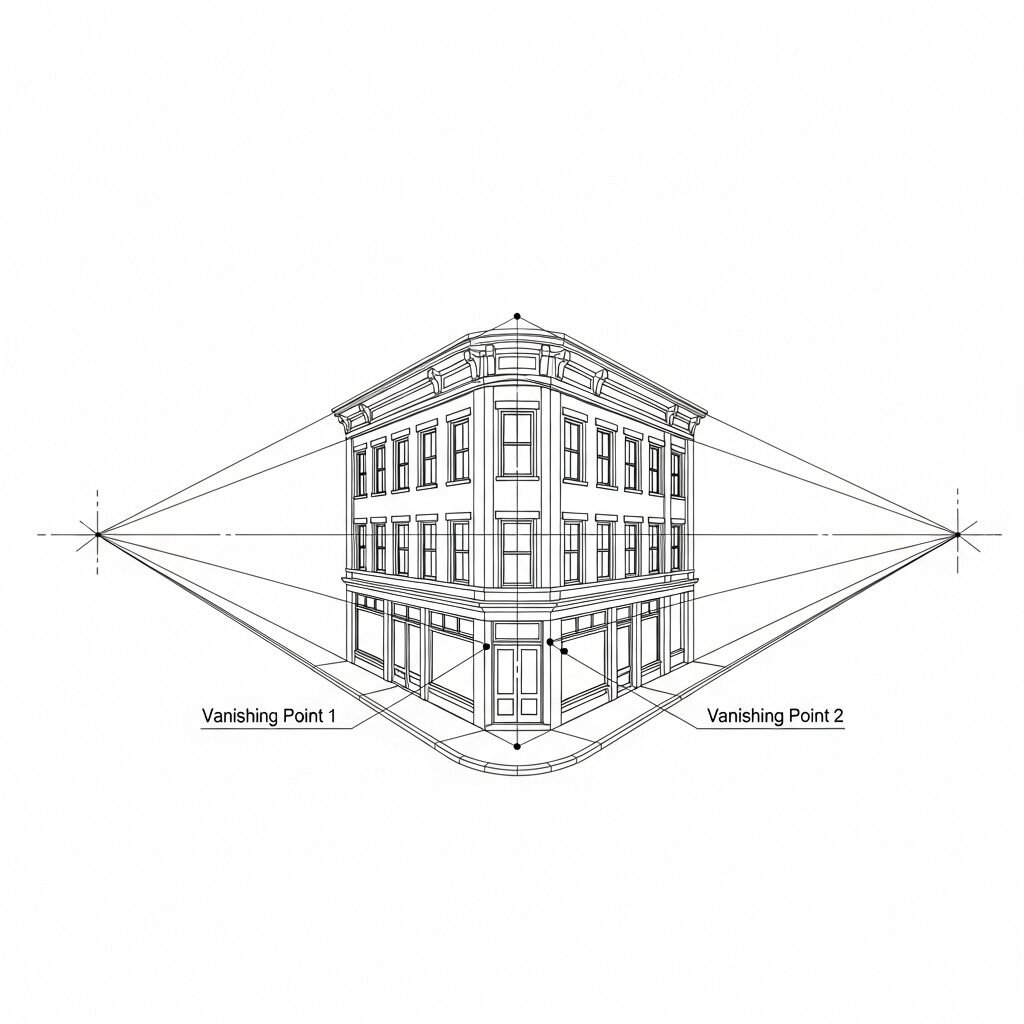
When you’re ready to add more complexity and dynamic energy to your drawings, it’s time to move on to two-point perspective. This is used when you’re looking at a corner of an object, like a building on a street corner or a table viewed from an angle. It uses two vanishing points, both on the horizon line.
On the tool, select Two Point from the “Grid Type” dropdown.
Now, instead of one red dot, you’ll see two. These are your two vanishing points. They both sit on the horizon line (the central horizontal line of the grid). Just like before, you can click and drag each red dot independently. As you move them, you’ll see how the grid lines change. This creates a much more dynamic and complex grid, which is perfect for drawing objects from a different angle.
In two-point perspective, all horizontal lines recede to one of the two vanishing points, while vertical lines remain perfectly vertical. This is what gives your object a sense of rotation and makes it feel like it has multiple visible sides.
A Quick Exercise: Let’s draw a building on a street corner.
- First, draw the vertical corner of the building. This is the only vertical line in your drawing that will remain a true vertical.
- From the top and bottom of this line, draw orthogonal lines extending to the vanishing point on the left. Then, draw another set of orthogonal lines from the same points to the vanishing point on the right. This creates a “slice” of your building’s footprint.
- Next, draw two more vertical lines, one for the other side of the left wall and one for the other side of the right wall. These vertical lines must be perfectly parallel to the first one you drew.
- Finally, connect the tops and bottoms of these new vertical lines to the appropriate vanishing points to complete the top and bottom of your building.
You’ll notice that the side of the building that is closer to you will appear wider, and the side that is farther away will look narrower. This is the effect of two-point perspective and is what makes your drawing so convincing. The tool is your guide, showing you exactly where each line should go.
Practical Tips for Your Creative Journey
Now that you understand the basics, here are a few tips to help you on your artistic journey:
- Don’t Rush It: Take your time with perspective. It’s a skill that builds on practice. Start with simple shapes and slowly move to more complex scenes.
- Observe Your World: Pay attention to how objects in real life recede into the distance. Where is the horizon line? Where would the vanishing points be? This will train your eye to see perspective everywhere.
- Use the Tool! The generator on this page is a fantastic training tool. Before you start a new drawing, use the tool to create a quick grid that matches your vision. You can even download the SVG and use it as a reference in your digital art software.
- Pencil Lightly: When you’re first sketching your perspective lines, use a very light pencil so you can erase them easily later.
- Have Fun: Remember that drawing is a creative and enjoyable process. Don’t get bogged down by perfectionism. The goal is to learn and grow as an artist.
Masters of Perspective
| Artist | Key Artistic Movement | Noteworthy Use of Perspective |
|---|---|---|
| Filippo Brunelleschi | Early Renaissance | Credited with inventing linear perspective. His work on the Baptistery of Florence cathedral is considered one of the first demonstrations of the technique. |
| Leon Battista Alberti | Early Renaissance | Codified the principles of linear perspective in his influential treatise De Pictura (1435), making the technique accessible to other artists. |
| Masaccio | Early Renaissance | One of the first painters to apply Brunelleschi’s theories in a masterpiece. His fresco The Holy Trinity is a prime example of flawless one-point perspective. |
| Piero della Francesca | Renaissance | Known for his scientific approach to art and his mastery of mathematical perspective. His work often features highly geometric compositions and perfectly rendered architectural spaces. |
| Leonardo da Vinci | High Renaissance | Utilized linear perspective to create depth and volume in his work. He also pioneered aerial perspective, using color and clarity to suggest distance. |
| Raphael | High Renaissance | Famous for using perspective to create dynamic and harmonious compositions. His fresco The School of Athens uses perfect one-point perspective to create a grand, unified space for its figures. |
| Albrecht Dürer | Northern Renaissance | A master printmaker who meticulously studied and documented the principles of perspective. He used it to create highly detailed and realistic scenes in his engravings. |
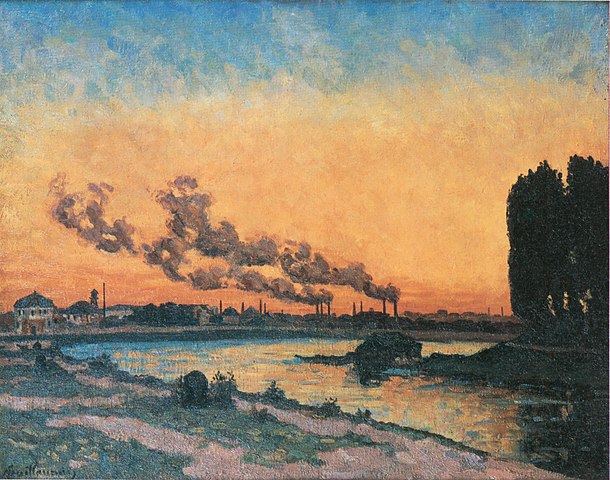
| J.M.W. Turner | Romanticism | While not a strict user of linear perspective, he masterfully used atmospheric and aerial perspective to create a sense of vast space and light in his landscapes. |
| Gustave Caillebotte | Impressionism | Used strong linear perspective in paintings of modern Paris. His work, like Paris Street; Rainy Day, features dramatic converging lines that emphasize the scale of city life. |
| M.C. Escher | 20th Century | Took perspective to a surreal extreme. He famously created impossible spaces and optical illusions by playing with and distorting the rules of perspective. |
FAQs: Mastering Perspective
What are the main types of perspective?
There are three main types of linear perspective: one-point, two-point, and three-point. One-point perspective is for objects seen head-on, two-point is for objects seen from a corner, and three-point is used when looking up or down at an object, adding a vertical vanishing point.
What is the difference between a horizon line and a vanishing point?
The horizon line represents your eye level, where the ground and sky meet. Vanishing points are specific spots on the horizon line where parallel lines appear to converge and disappear. You can have one or more vanishing points on a single horizon line, depending on the type of perspective.
How do I find the horizon line in a real-life scene?
Simply look straight ahead! The horizon line is always at your eye level. If you are standing, it’s a straight line in front of you. If you sit down, your eye level (and thus the horizon line) lowers.
What is an orthogonal line?
Orthogonal lines are the receding parallel lines that meet at a vanishing point. Think of them as the guidelines that define the depth of an object. In a drawing of a cube, the lines going back into the distance are the orthogonal lines.
What tools do I need for perspective drawing?
The most essential tools are a pencil, an eraser, and a ruler. A straightedge is crucial for drawing accurate orthogonal and transversal lines. Having a good sketchbook or paper is also important. The tool on this page can also be used as a digital reference or guide for your sketches!
Conclusion: It’s Your Turn to Create!
By understanding the concepts of the horizon line, vanishing points, and orthogonal lines, you’ve unlocked the power to create compelling and realistic drawings. One-point perspective is your friend for straightforward, head-on views, while two-point perspective gives you the freedom to explore more dynamic angles and compositions.
The tool on this page is a powerful aid to help you internalize these rules. It’s a sandbox for you to play with, experiment, and see how simple changes to a vanishing point can completely transform the look of your grid. The ability to change colors and opacity means you can even use it as a base layer for your digital art.
So, go ahead and give it a try. Use the tool, move the focal points around, and create your own grids. Then, apply what you’ve learned to your sketchbook. A whole new world of drawing is waiting for you!


